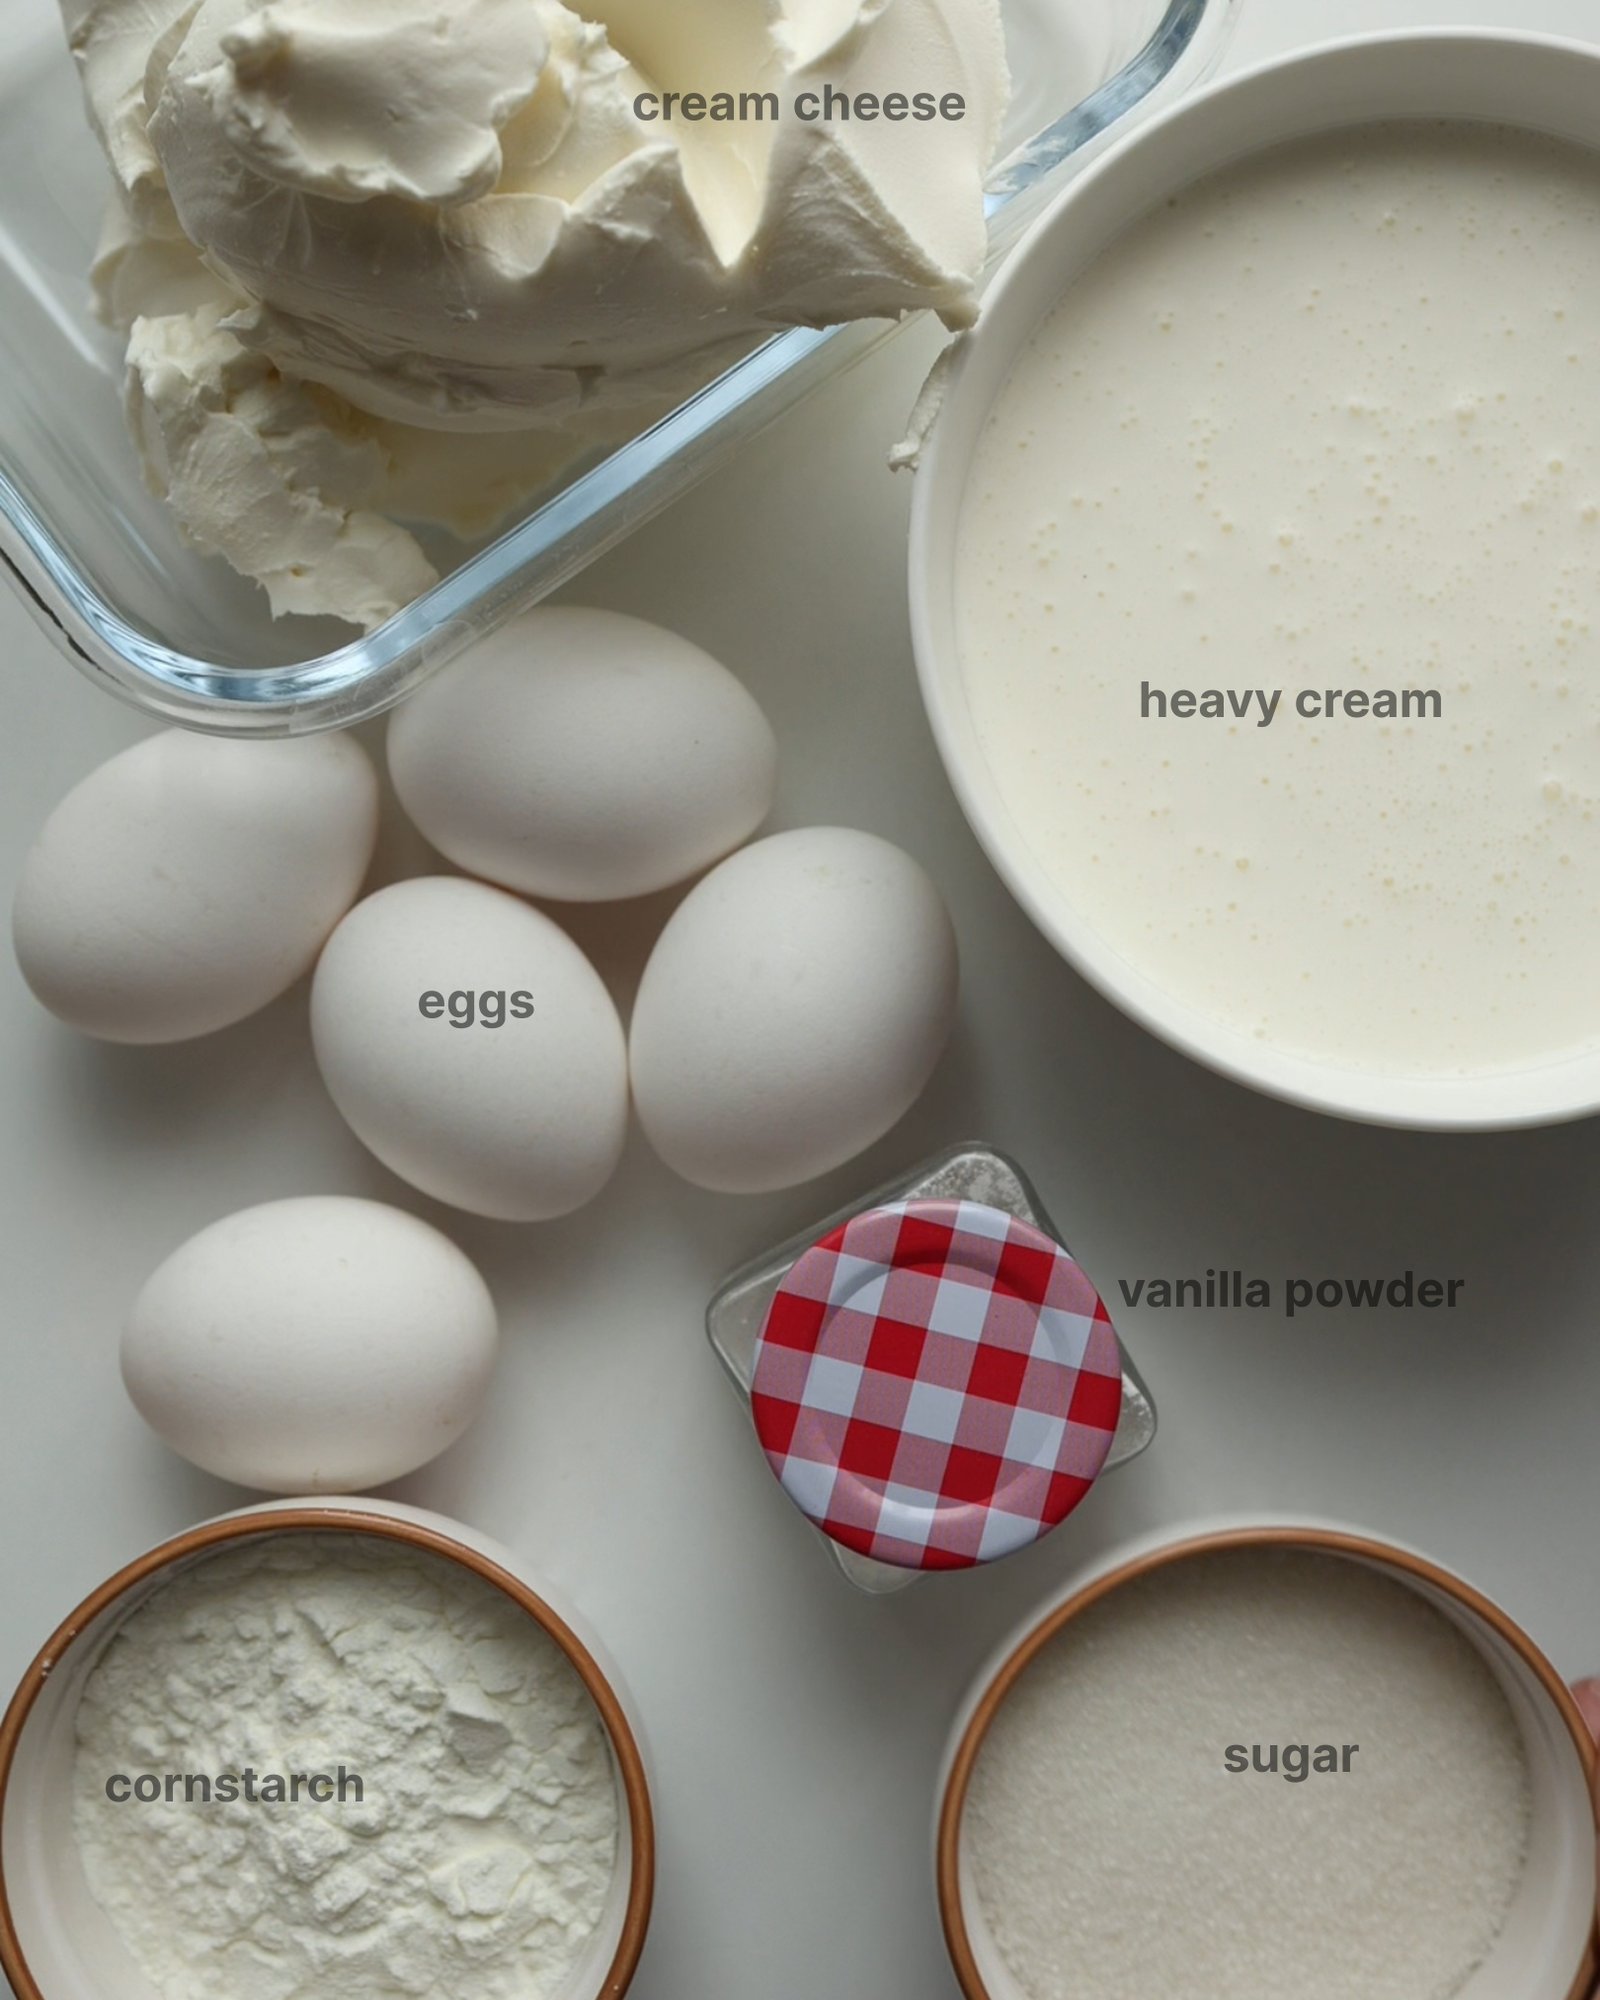
- Prepare the Ingredients
- Prepare the Pan and Oven
Preheat your oven to 250°C (482°F). This high temperature is essential for achieving the signature burnt top. Take a springform pan (24 cm / 9,4 inches) and line it with two sheets of parchment paper. Lightly dampen the paper and wring it out — this makes it easier to shape and helps it stick to the pan. Press the parchment into the pan, allowing natural folds and wrinkles to form. Do not try to smooth it out completely — the rustic look is part of the cheesecake’s charm. Trim any excess paper hanging too high above the edges to prevent burning in the oven.
- Mix the Cream Cheese Base
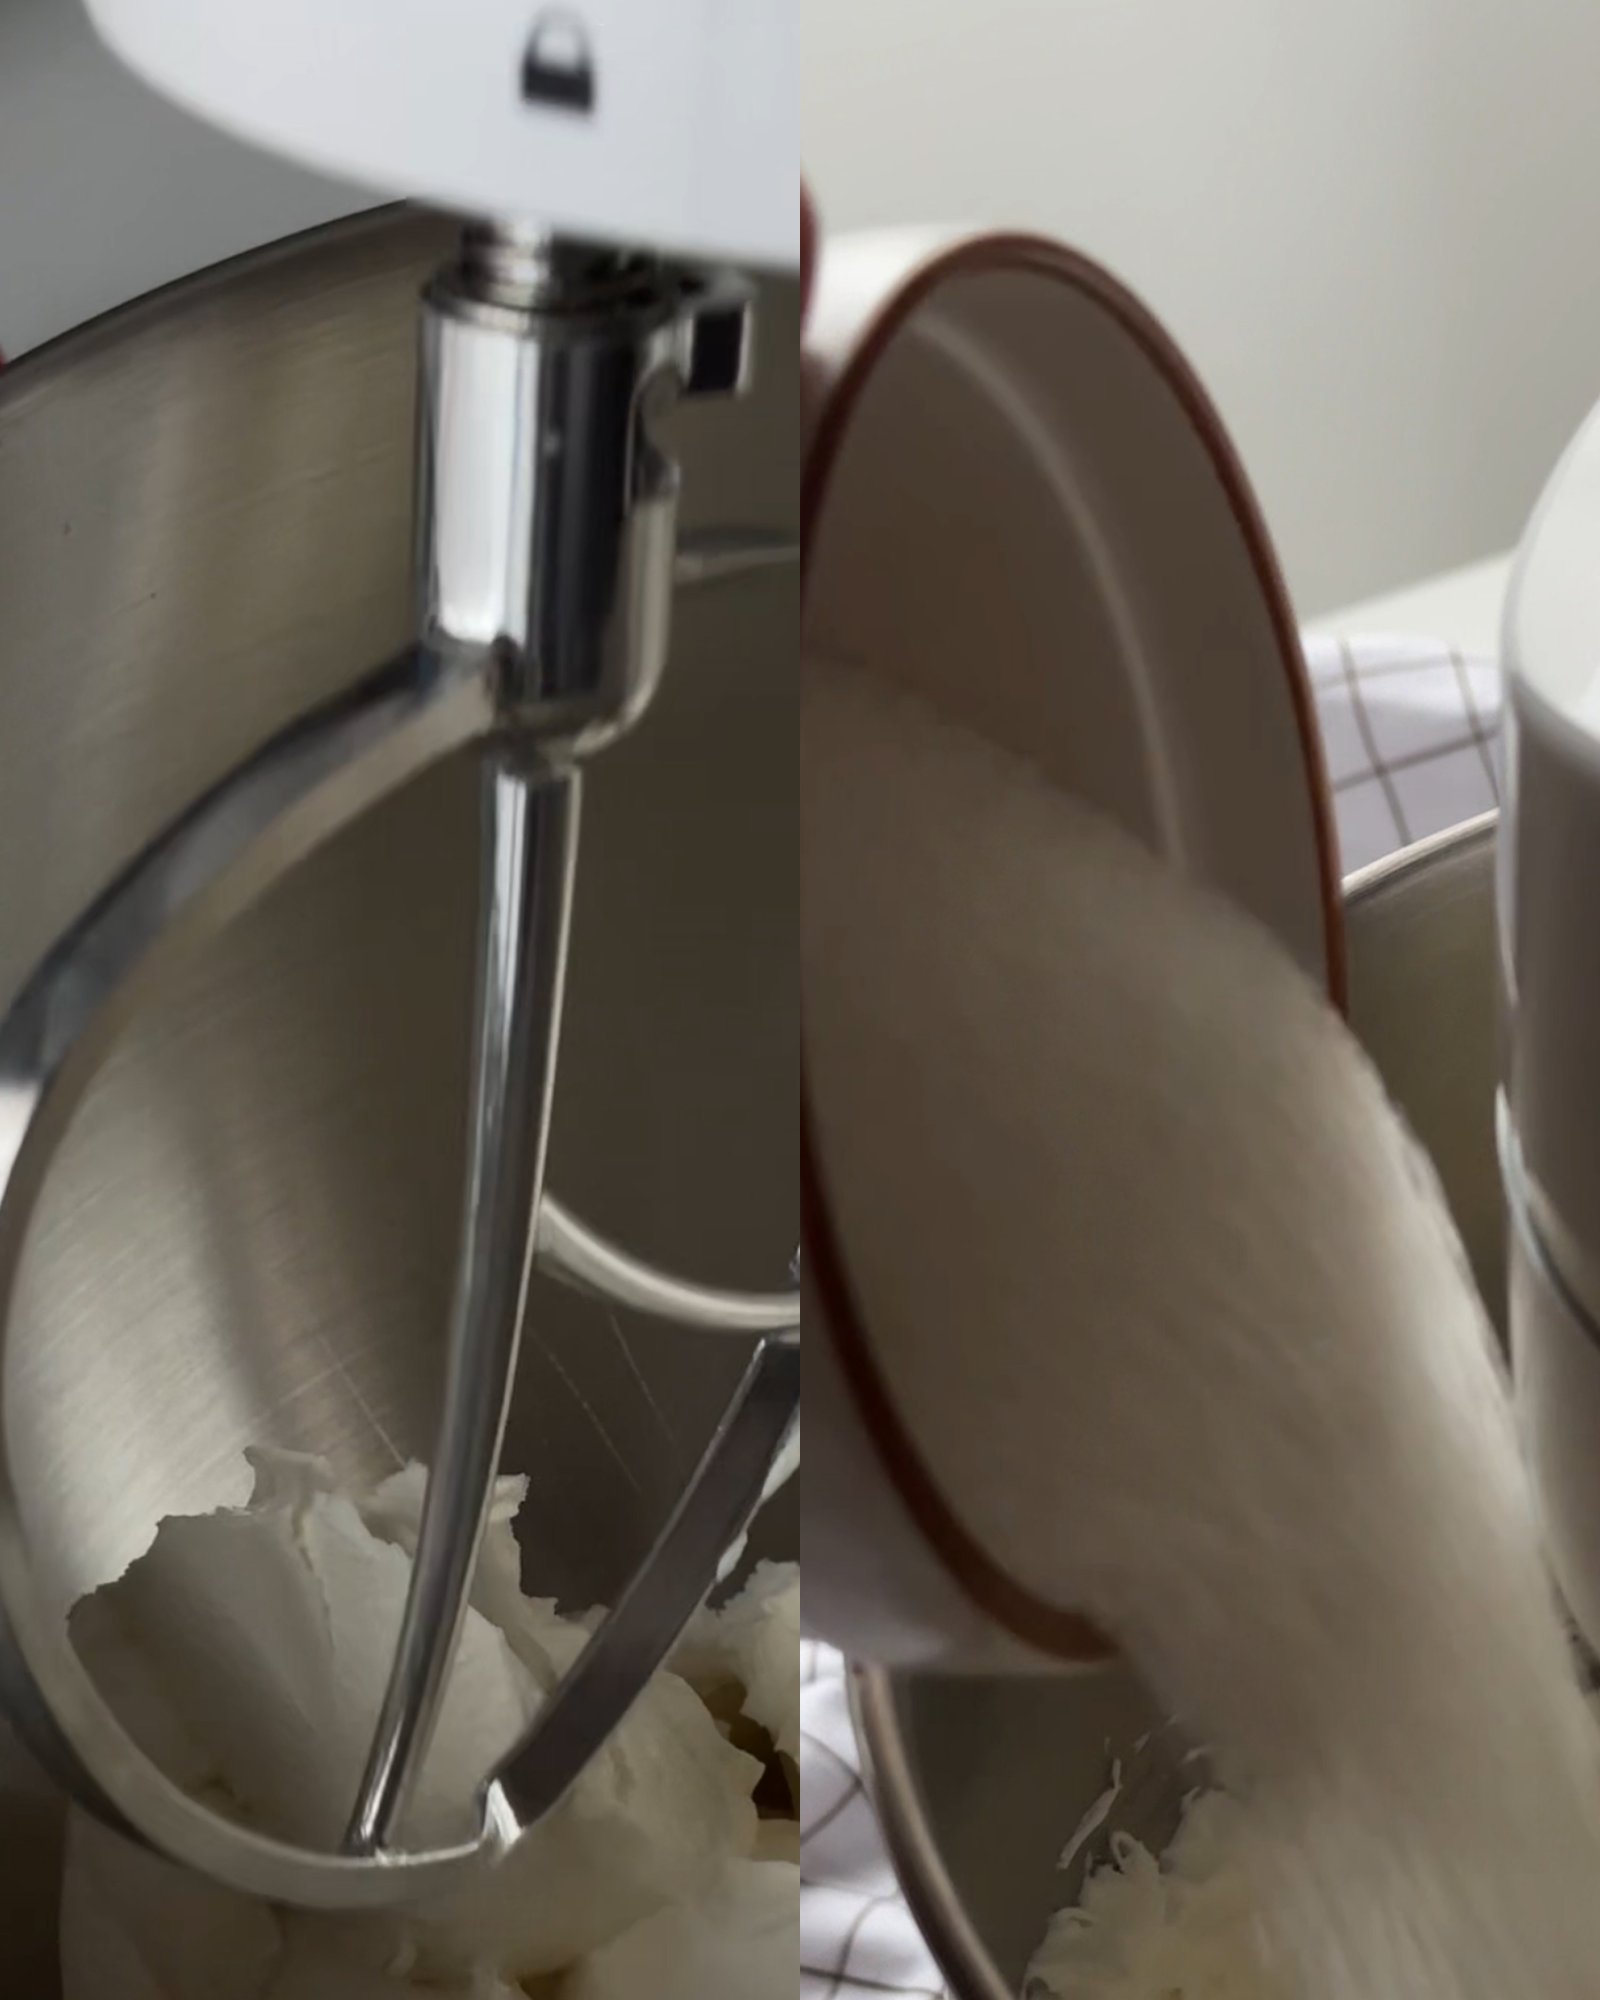
Place the cream cheese into a large mixing bowl. Using a paddle attachment (or a hand mixer on low speed), begin mixing until the texture becomes smooth and creamy. Avoid whipping — you don’t want to incorporate too much air. Add the sugar and vanilla, then continue mixing until the sugar fully dissolves. Pause occasionally to scrape down the sides of the bowl to ensure everything is evenly combined and no lumps remain.
- Incorporate the Eggs
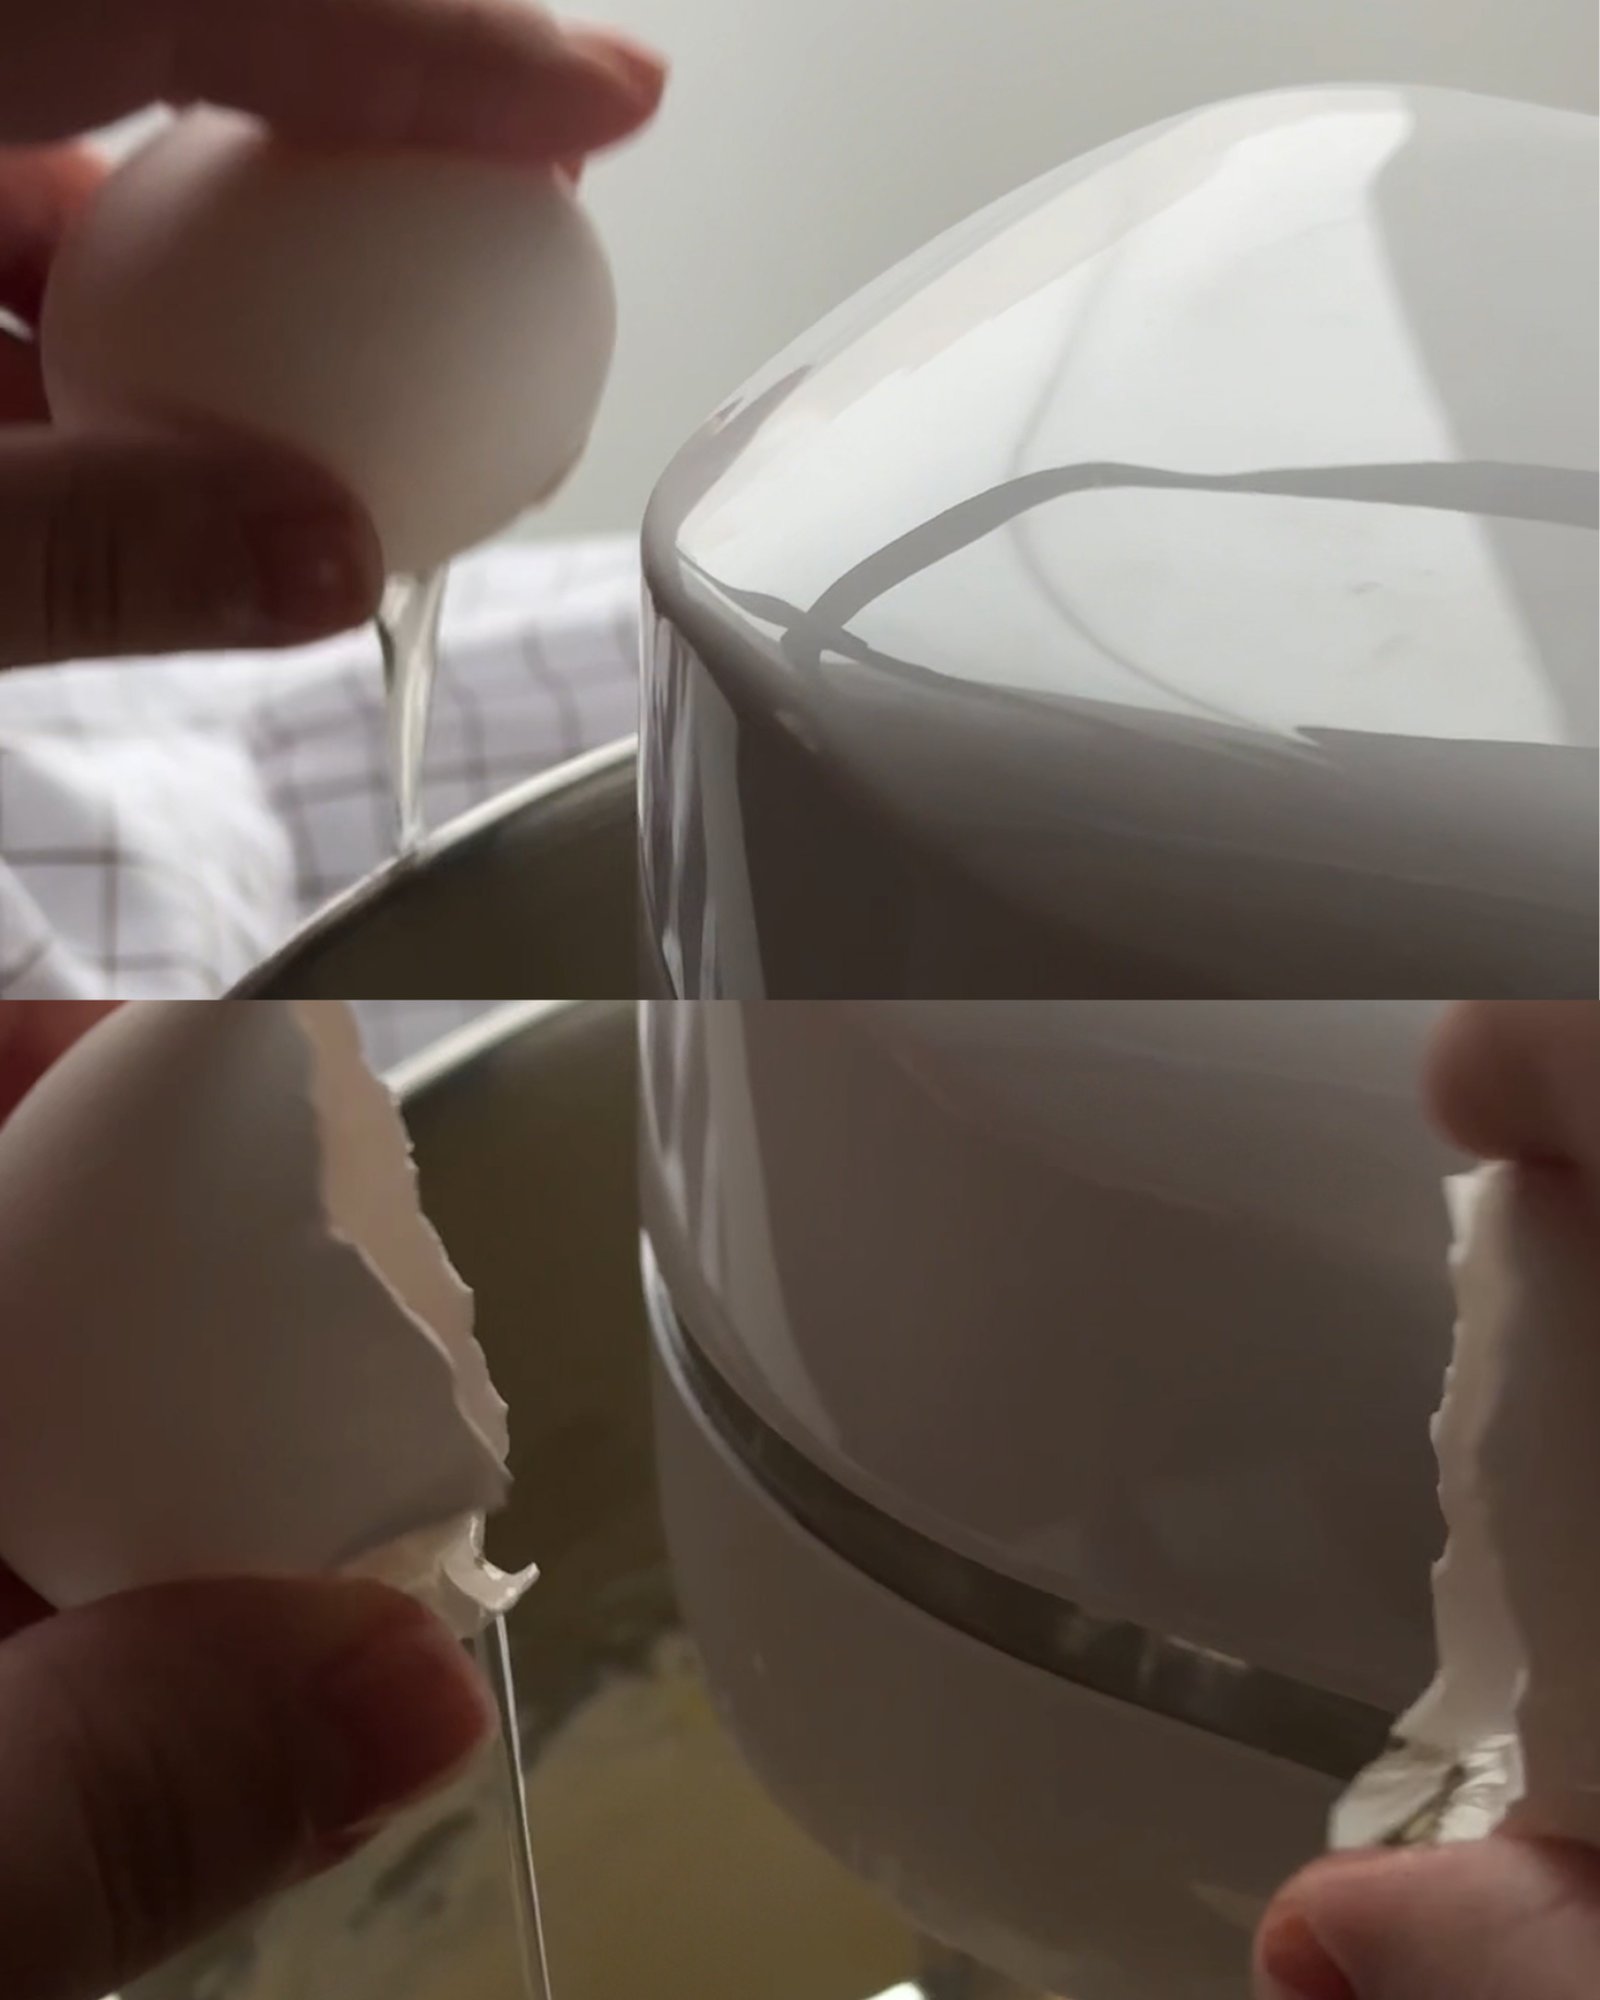
Add the eggs one at a time, mixing gently after each addition. This step is important — adding them gradually helps maintain a smooth, stable batter. Mix just until each egg is fully incorporated. Overmixing at this stage can introduce too much air, which may affect the final texture and cause cracks.
- Add Cream and Cornstarch

In a small bowl, dissolve the cornstarch in a portion of the cream. Stir until completely smooth with no lumps — this ensures even thickening later. Pour the remaining cream into the main batter, followed by the dissolved cornstarch mixture. Mix everything together on low speed until the batter becomes silky, smooth, and uniform.
- Pour and Remove Air Bubbles
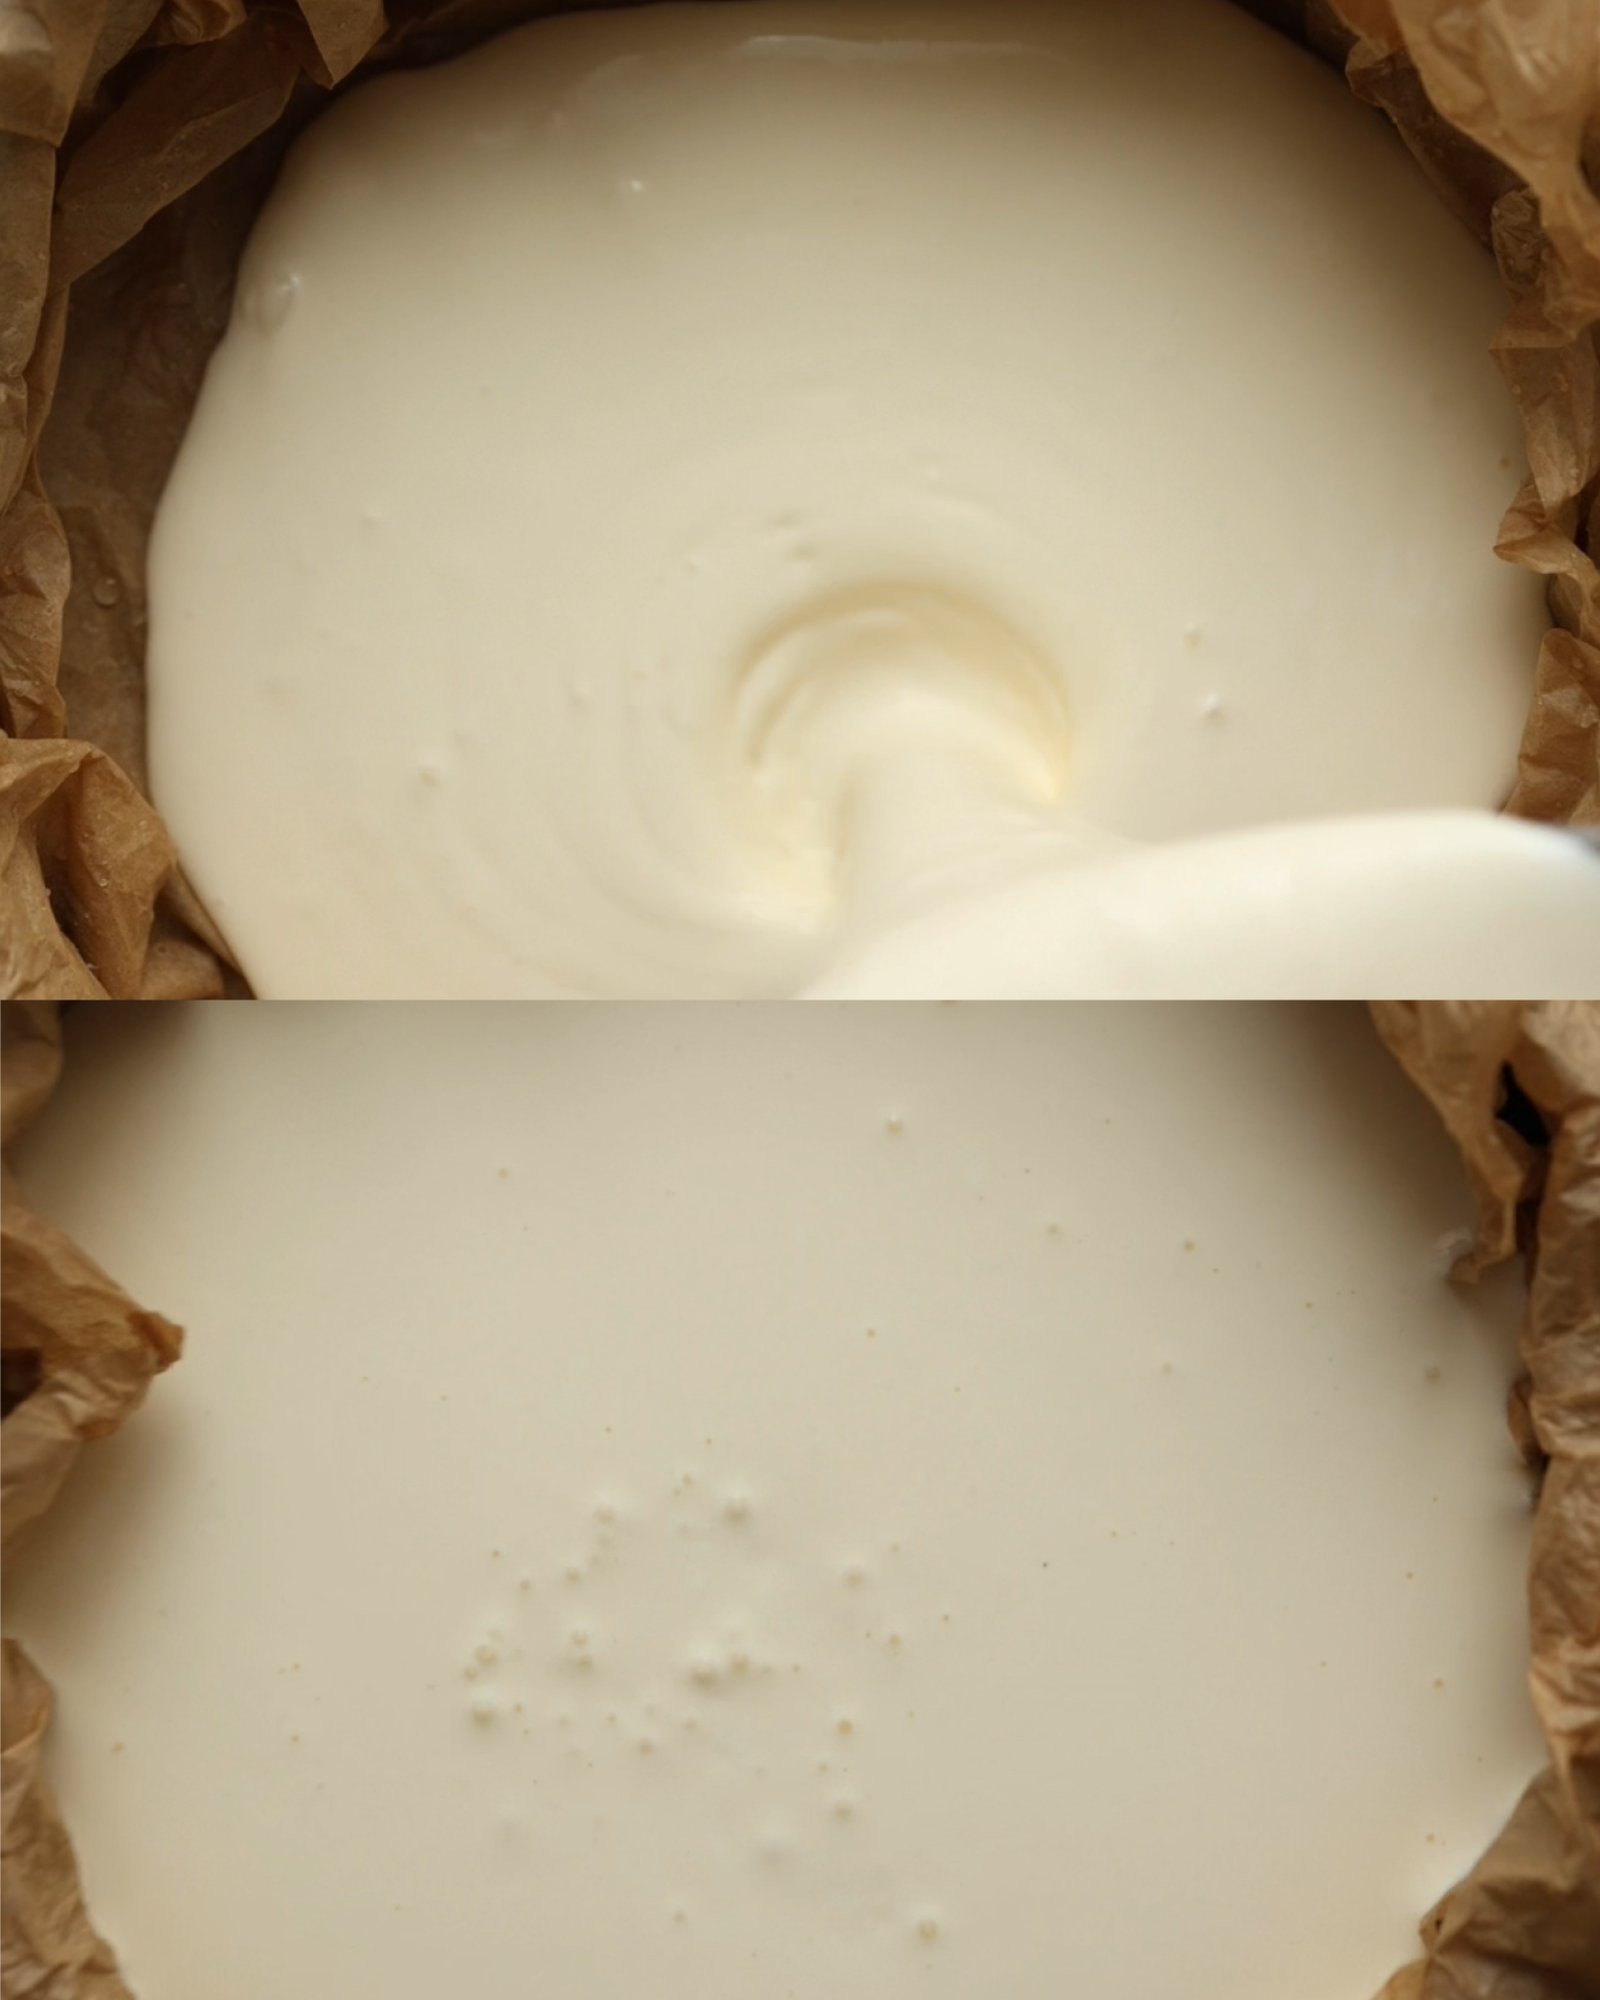
Pour the finished batter into the prepared pan. Gently tap the pan on the countertop several times to release trapped air bubbles. If you notice bubbles on the surface, you can pop them with a toothpick for a smoother finish.
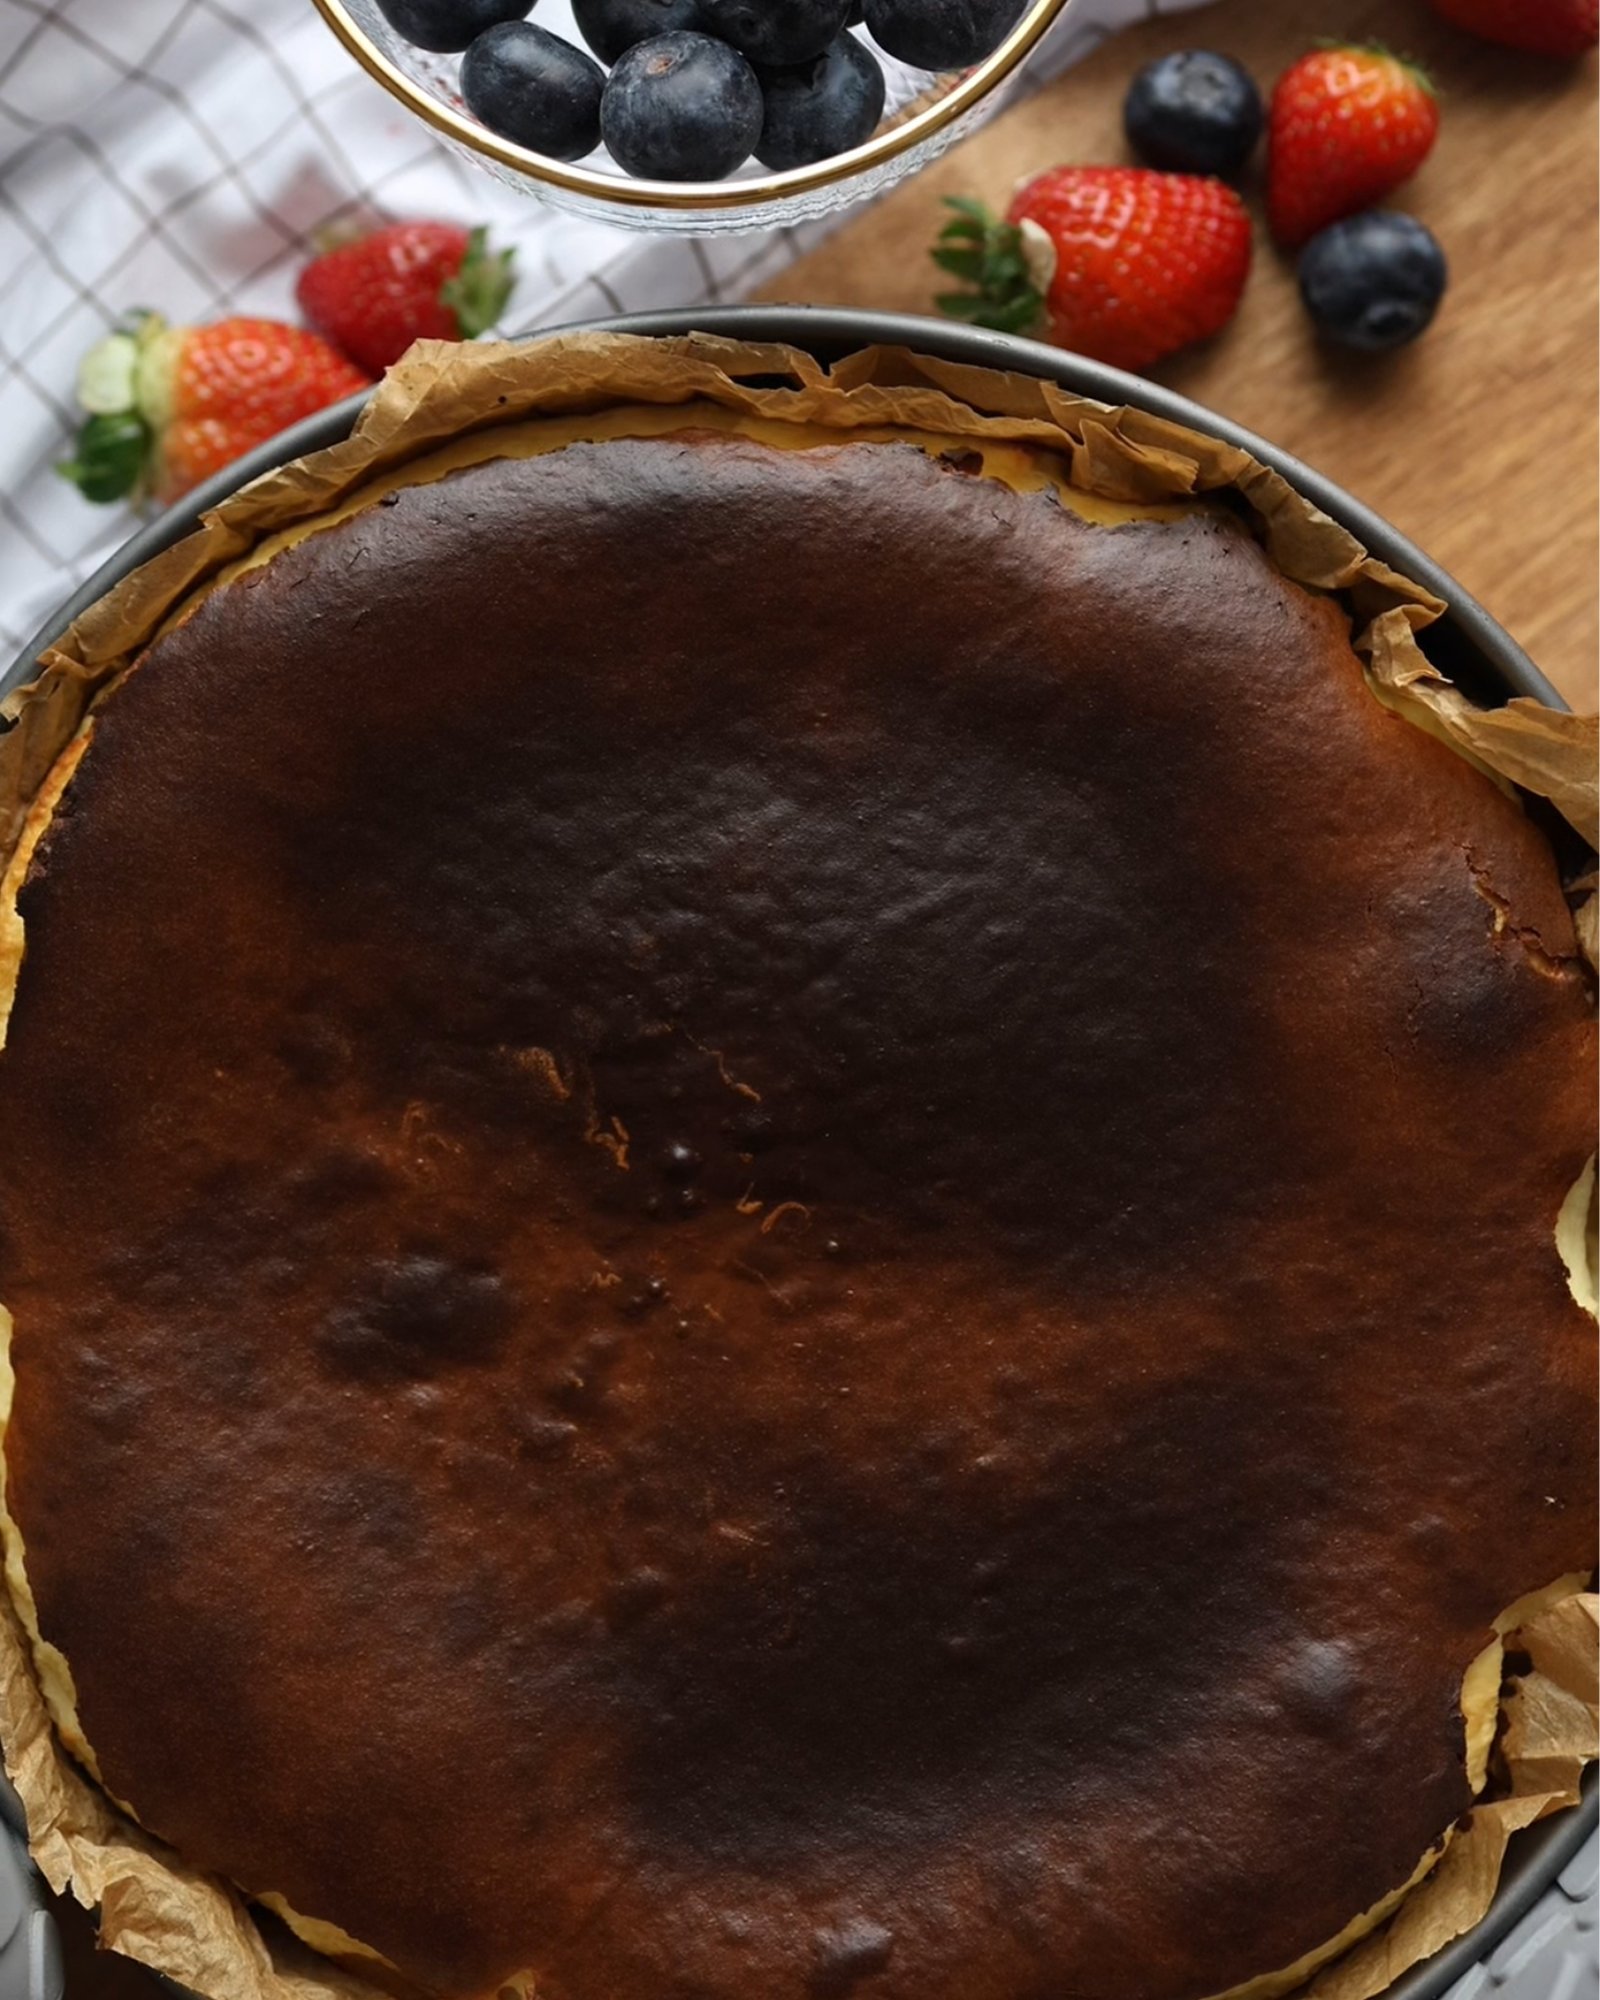
- Bake
Place the cheesecake in the preheated oven and bake for 25–30 minutes. If your oven tends to run hot, reduce the temperature slightly to 230–240°C (446–464°F). During baking, the top will darken significantly — this is exactly what you want. The edges should be set, while the center should remain slightly jiggly when you gently shake the pan.
- Cool and Chill
Remove the cheesecake from the oven and let it cool at room temperature for about 3 hours. It will continue to set as it cools. Once cooled, cover it with plastic wrap and refrigerate overnight. This step is essential — it allows the texture to fully stabilize and develop that signature creamy consistency.
- Serve
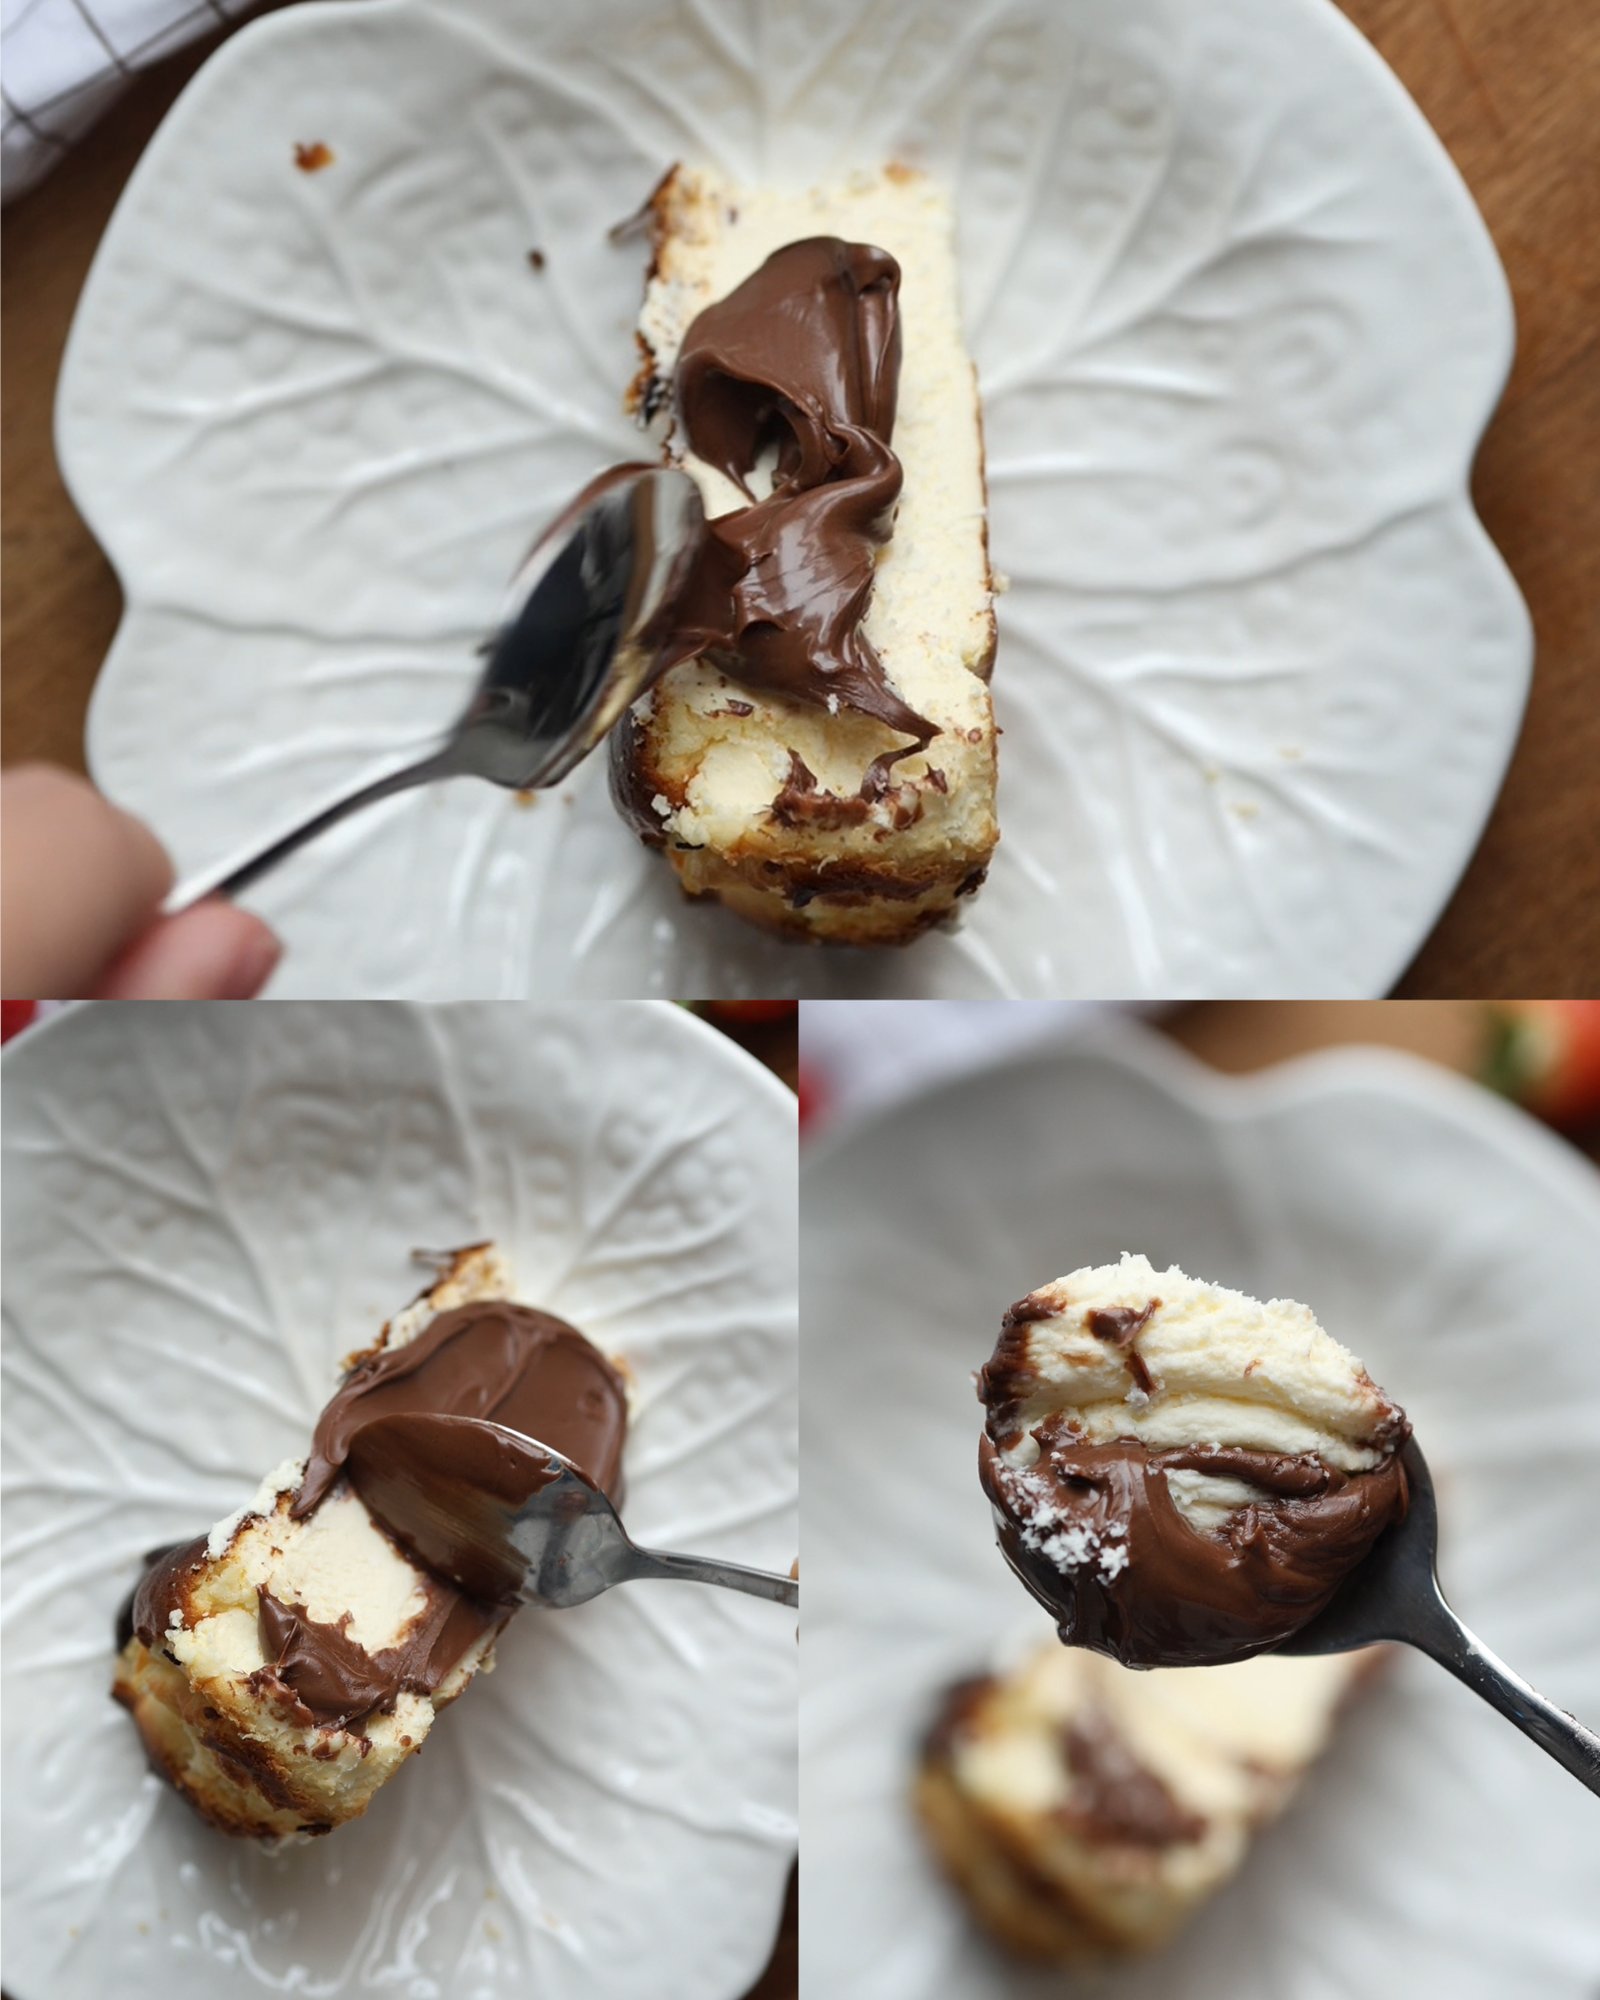
The next day, carefully remove the cheesecake from the pan and peel away the parchment paper. Transfer it to a serving plate. When sliced, the texture should be soft, creamy, and slightly custard-like — similar to softened butter. The flavor is delicate, rich, and perfectly balanced without needing additional toppings.
San Sebastian Cheesecake, also known as burnt Basque cheesecake, is famous for its deeply caramelized top and irresistibly creamy center. Unlike classic cheesecakes, it’s intentionally rustic, slightly cracked, and beautifully imperfect.
Table of Contents
- What Is San Sebastian Cheesecake?
- Why You’ll Love This Recipe
- Recipe Variations
- How to Store & Serve
- Frequently Asked Questions
What Is San Sebastian Cheesecake?
San Sebastian Cheesecake originates from the Basque region of Spain and is known for its signature “burnt” top and custard-like interior. Unlike traditional cheesecakes with a crust, this version is crustless and baked at a high temperature, creating a caramelized exterior while keeping the inside incredibly soft and creamy.
It’s typically served chilled or slightly at room temperature, allowing its rich texture to fully develop.
Why You’ll Love This Recipe
- Minimal ingredients and no crust required
- No water bath or complicated techniques
- Rich, creamy texture with a caramelized top
- Naturally rustic — no need for perfect presentation
- Works beautifully as both a dessert and a centerpiece
Recipe Variations
- Less sweet: Reduce sugar slightly for a more balanced, tangy flavor
- Citrus twist: Add lemon or orange zest for freshness
- Chocolate version: Add melted dark chocolate to the batter
- Mini cheesecakes: Bake in smaller molds and reduce baking time
- Extra creamy: Slightly underbake for an even softer center
How to Store & Serve
- Store in an airtight container in the refrigerator for up to 4 days
- Serve chilled or let it sit at room temperature for 20–30 minutes before serving
- Do not freeze — the texture may change and lose its creaminess
Frequently Asked Questions
Why is the center jiggly after baking?
That’s exactly how it should be. The cheesecake will firm up as it cools and chills.
Can I bake it at a lower temperature?
You can, but you won’t achieve the signature burnt top and unique flavor.
Why did my cheesecake crack too much?
Overmixing or baking too long can cause excessive cracking. Keep mixing gentle and watch baking time.