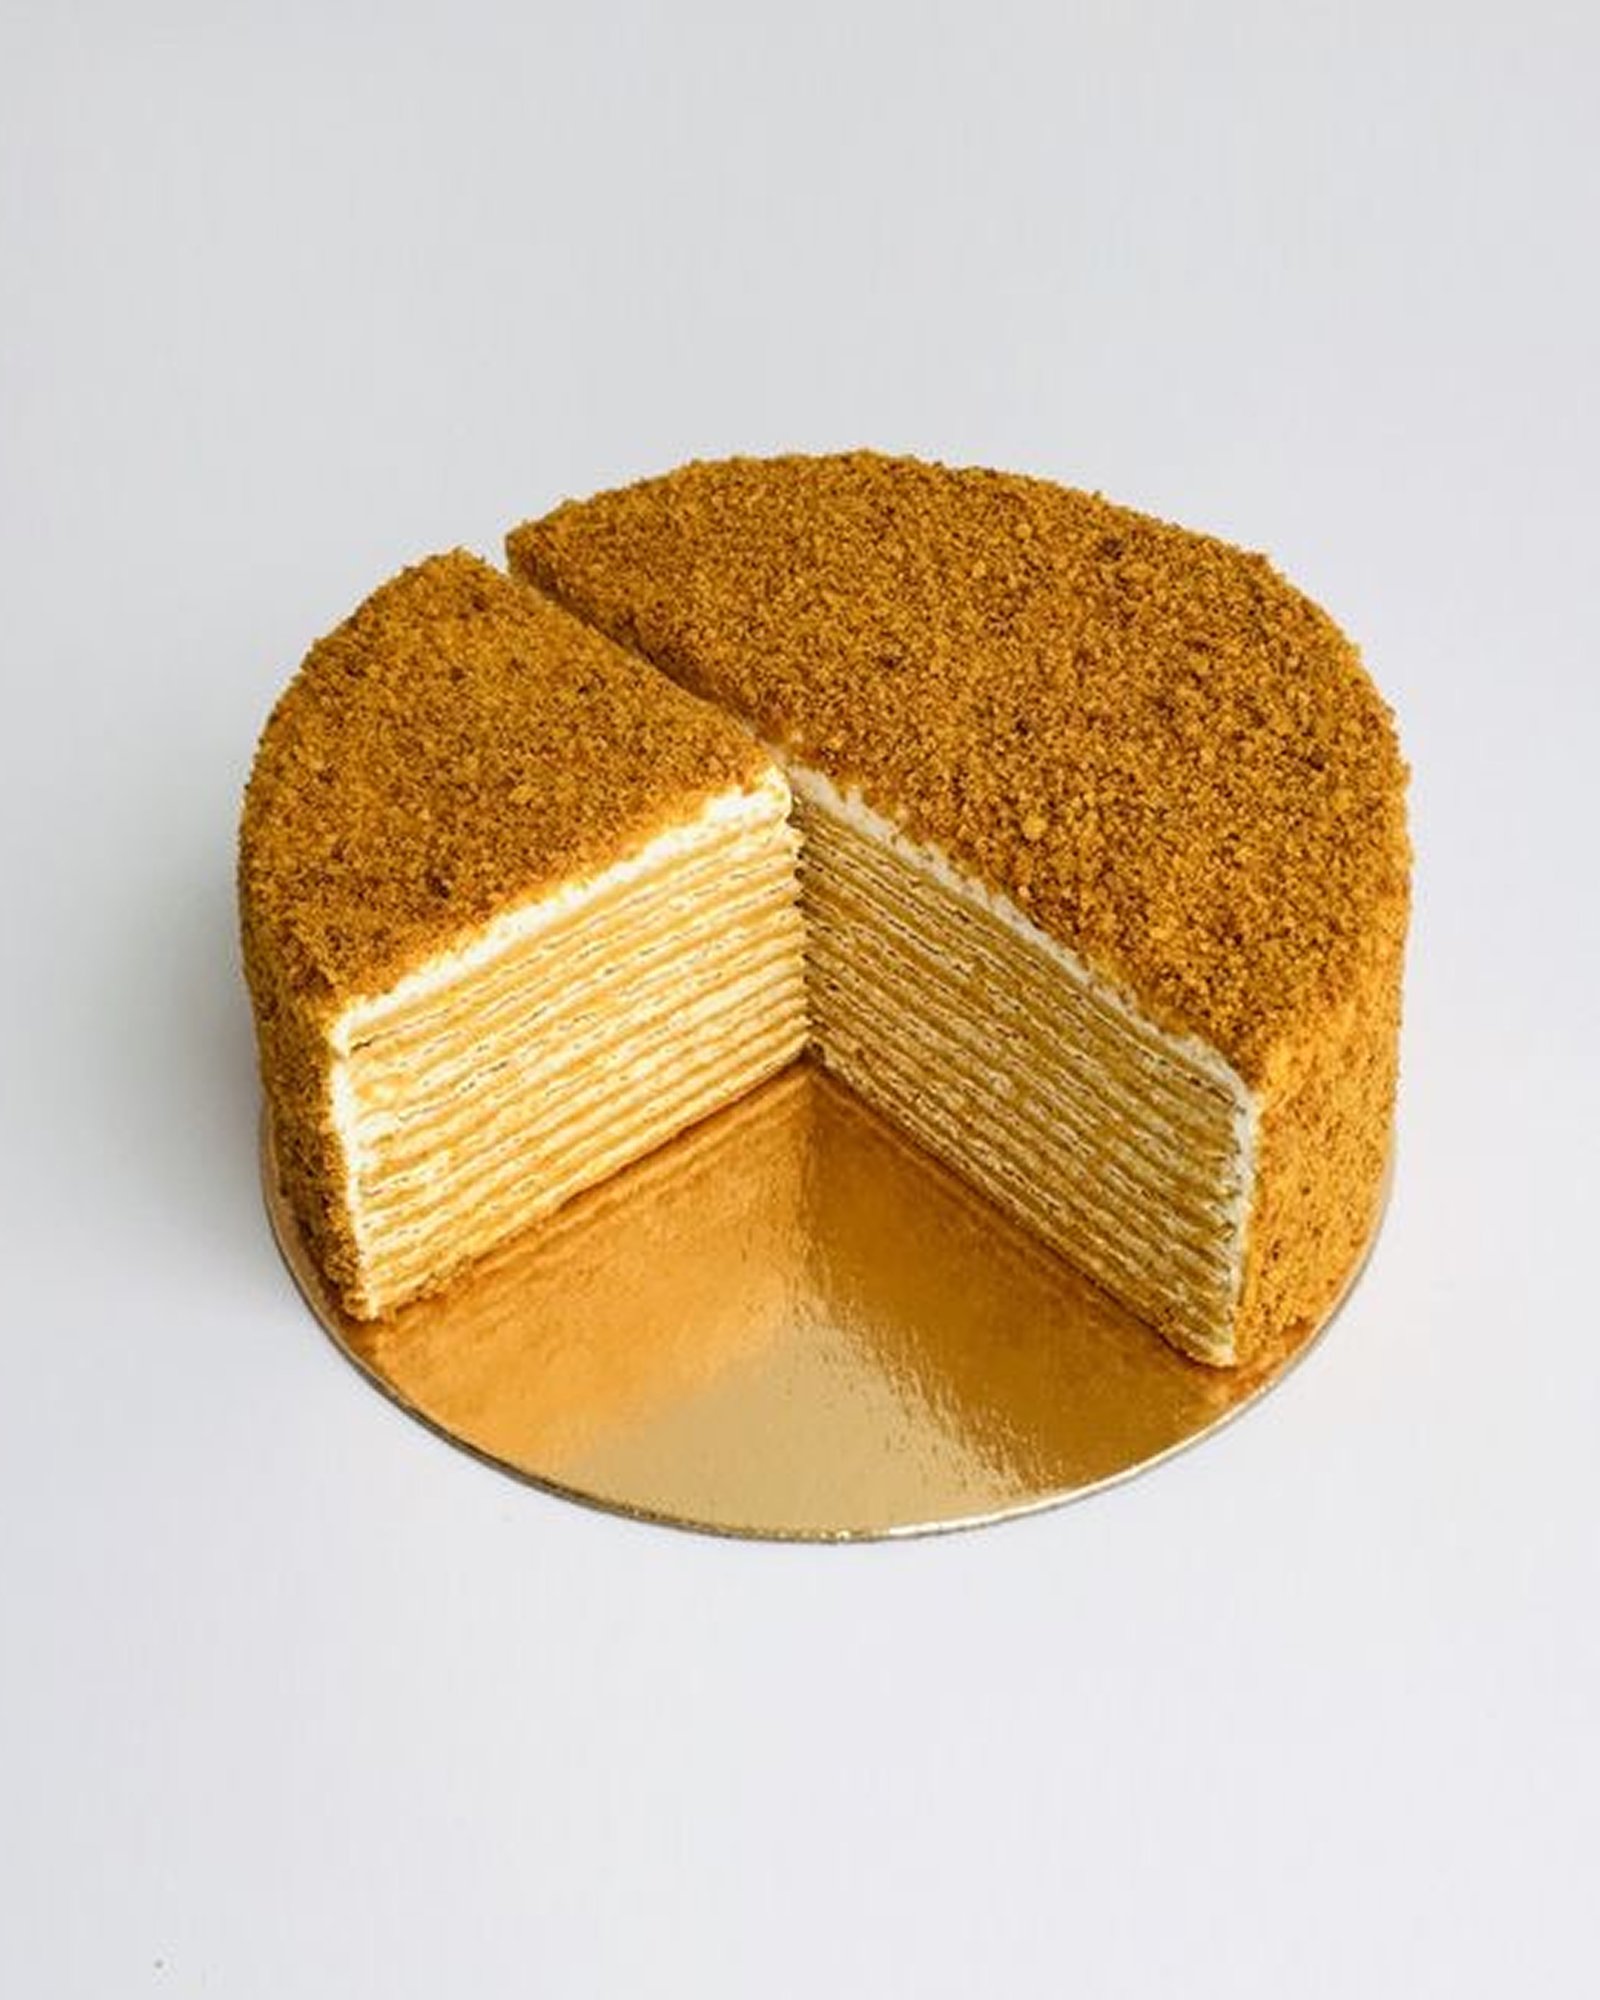


Honey Cake is a beloved layered dessert made with soft honey-infused cake layers and a rich homemade custard cream. After resting overnight, the layers become incredibly tender and melt beautifully together, creating one of the most comforting and nostalgic cakes.
Perfect for holidays, family gatherings, or cozy tea moments, this classic cake has a delicate honey flavor and a smooth creamy texture that only gets better with time.
Table of Contents
- What Is Honey Cake?
- Why You’ll Love This Recipe
- How to Make Honey Cake
- Recipe Variations
- How to Store & Serve
- Frequently Asked Questions
What Is Honey Cake?
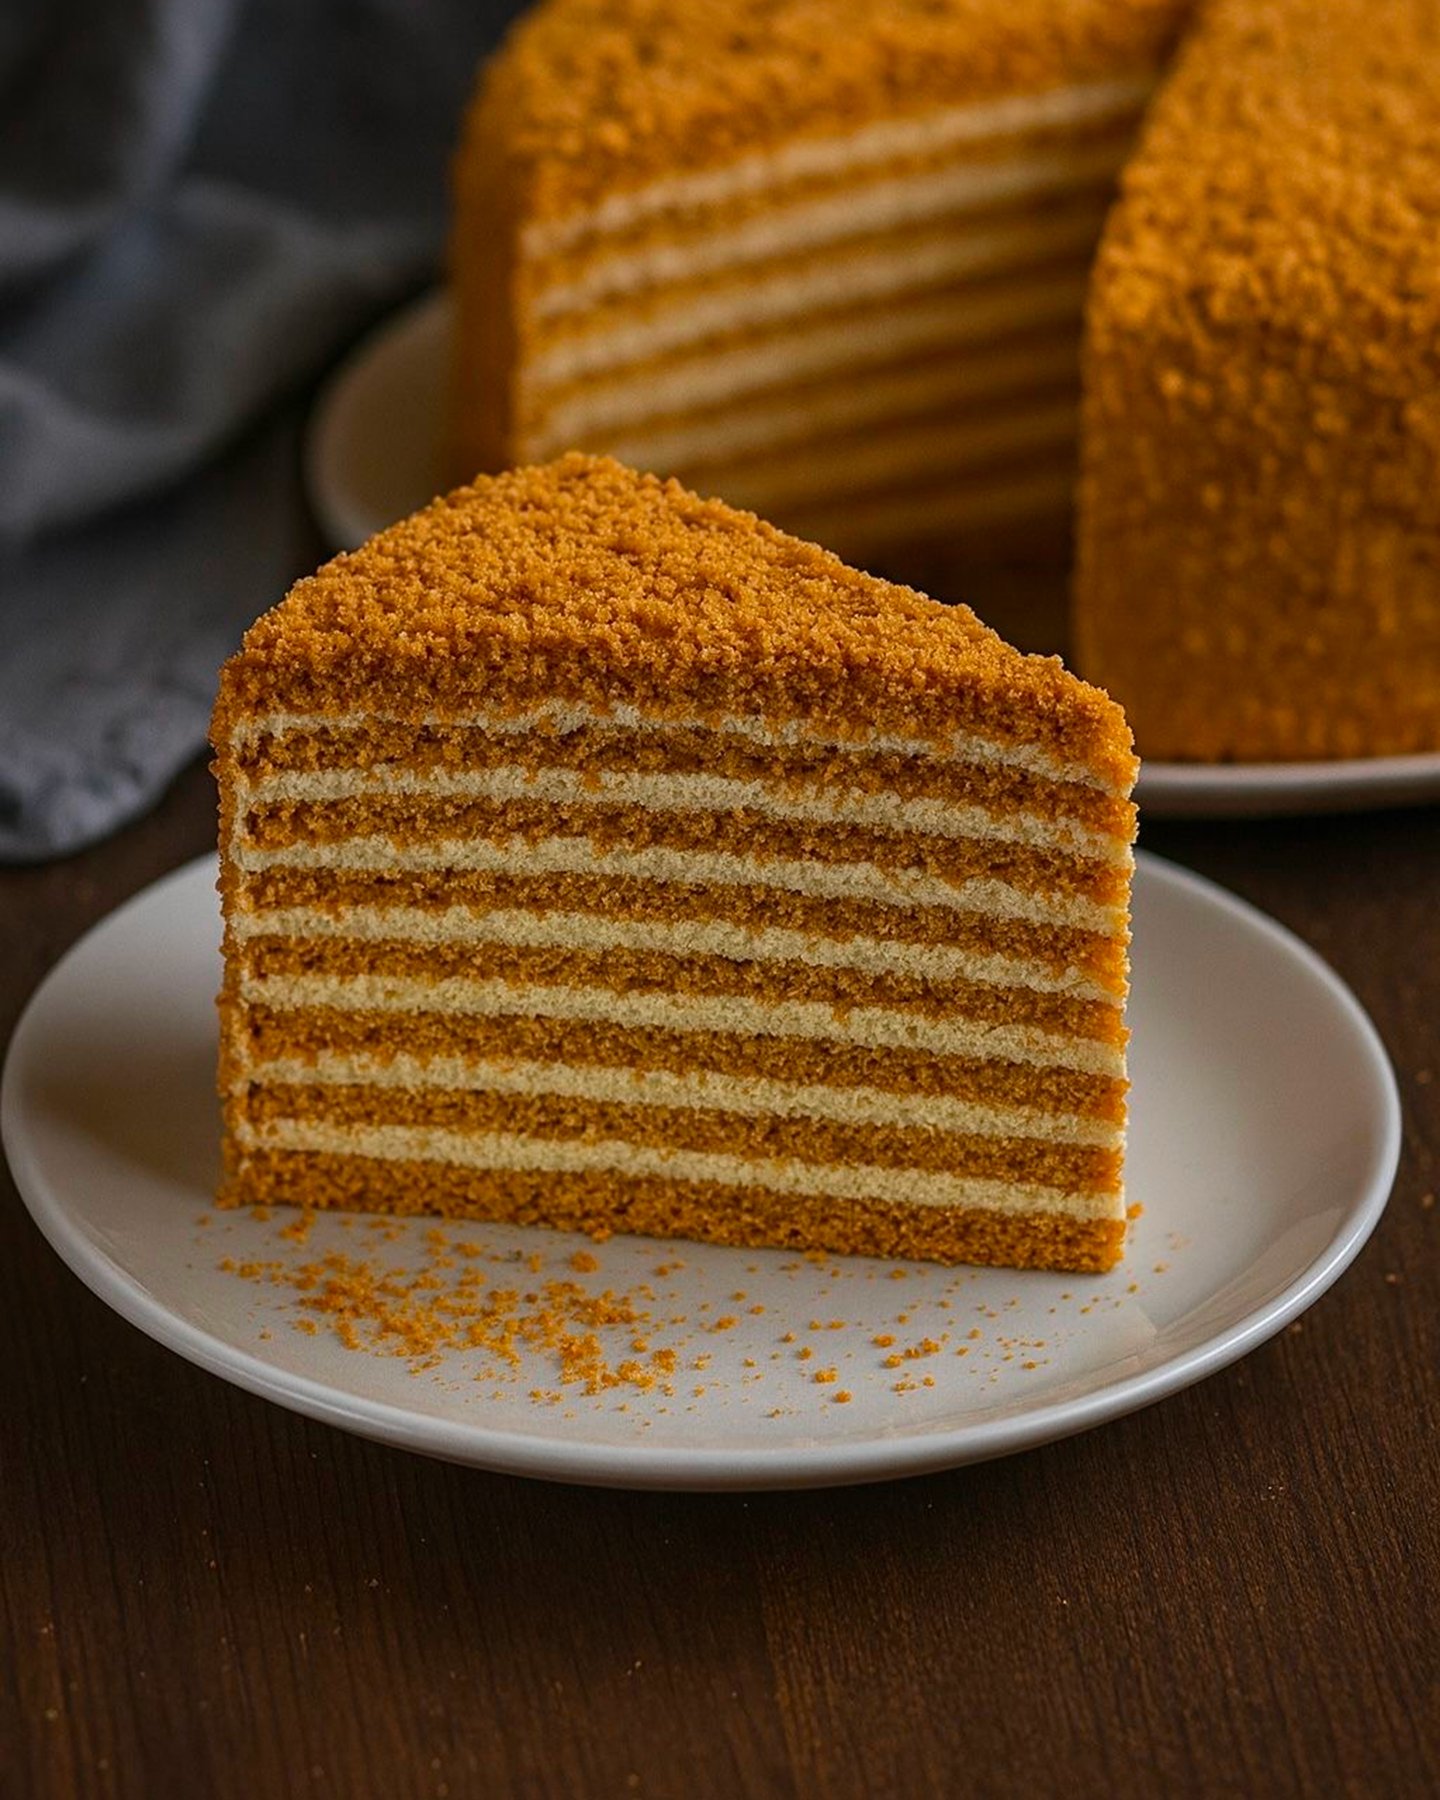
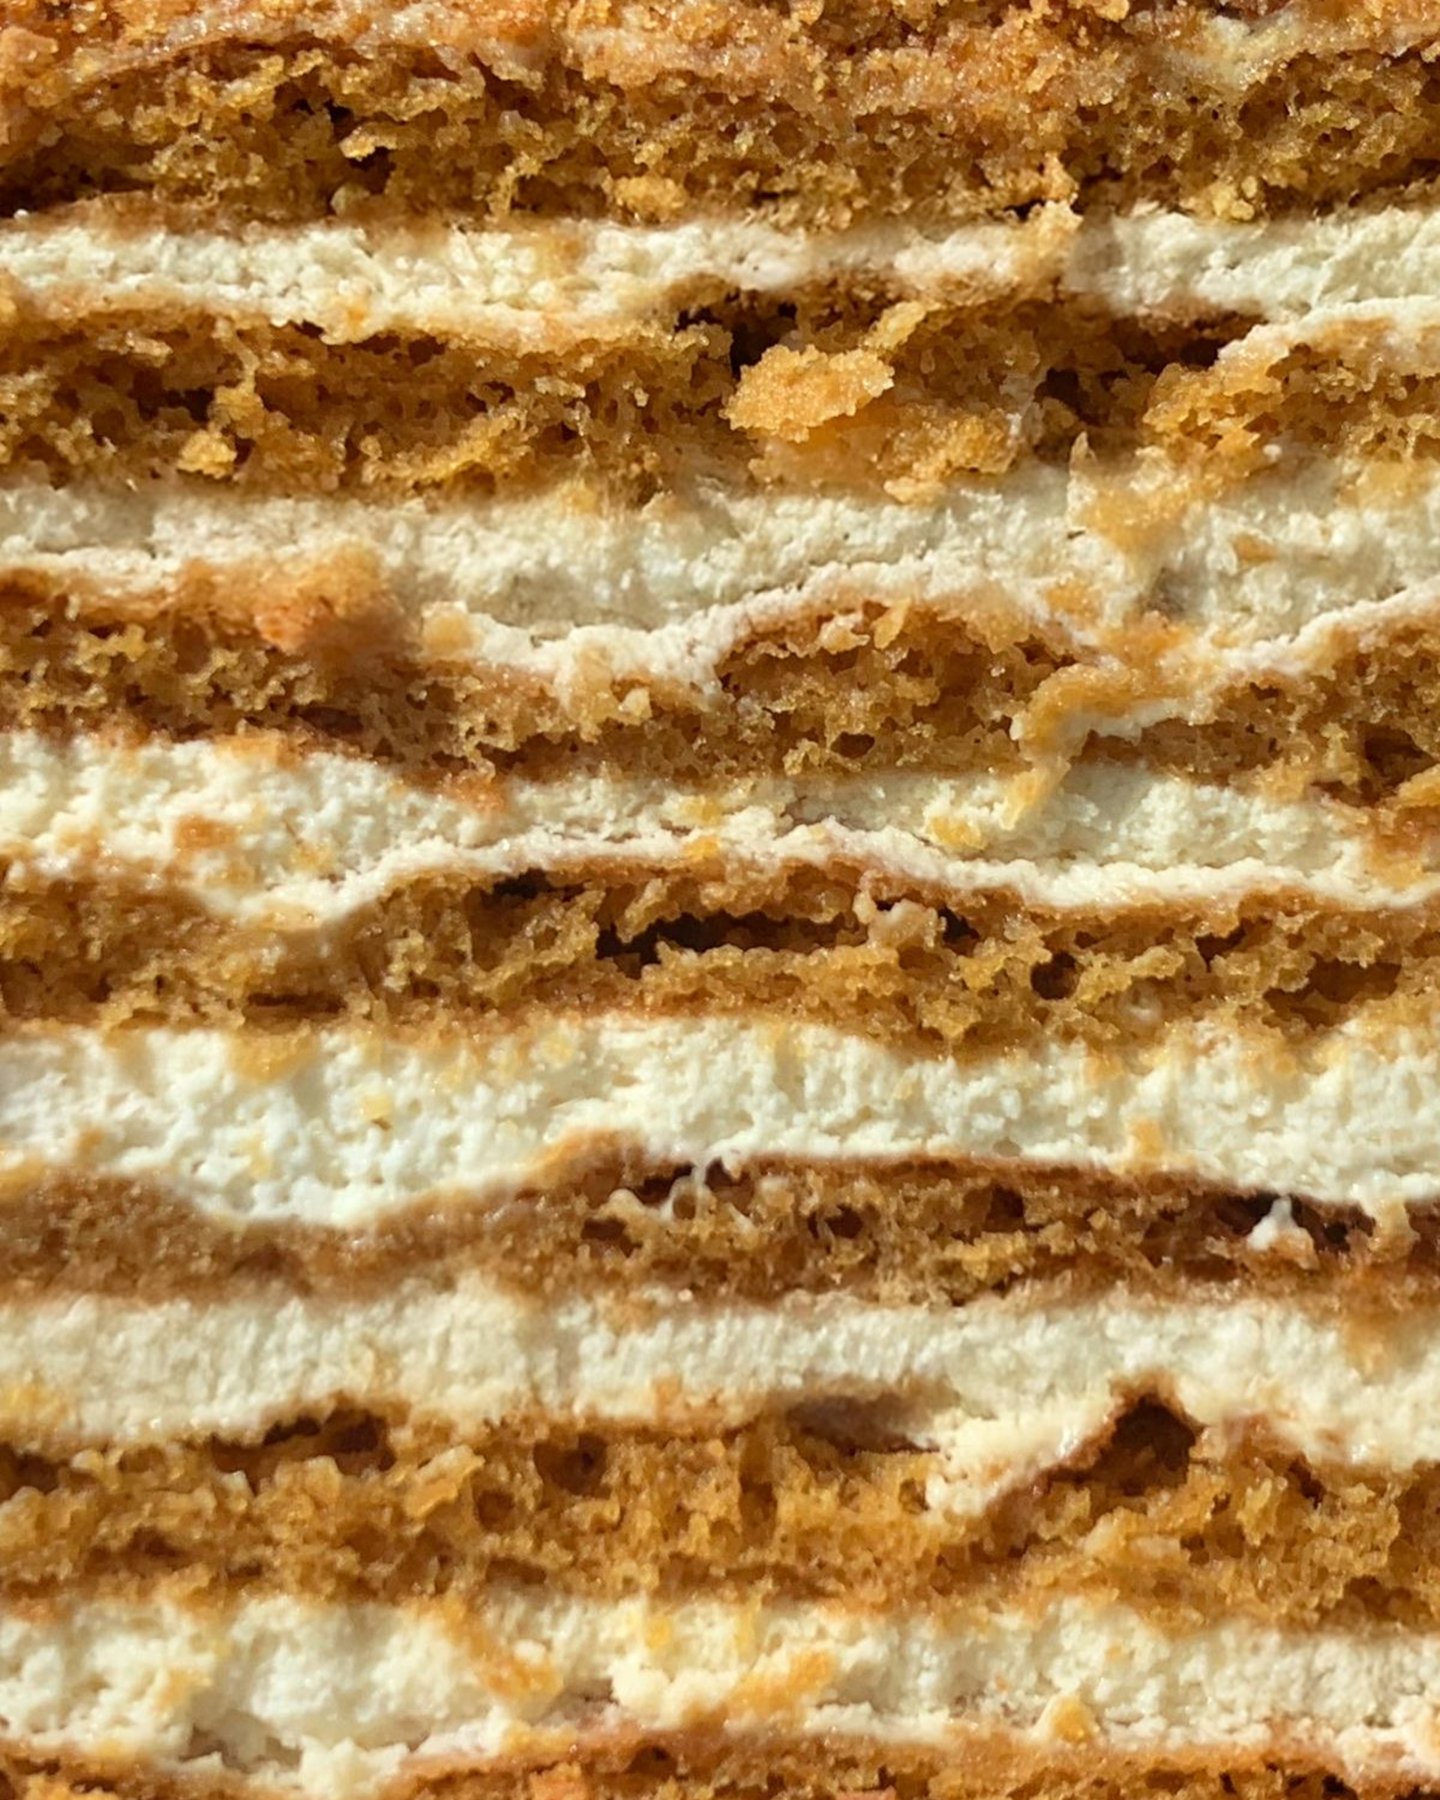
Honey Cake, or Medovik, is a traditional layered cake popular across Eastern Europe. It’s made with thin honey-flavored cake layers that are stacked with a silky custard cream. After chilling for several hours, the layers absorb moisture from the cream and become incredibly soft and delicate.
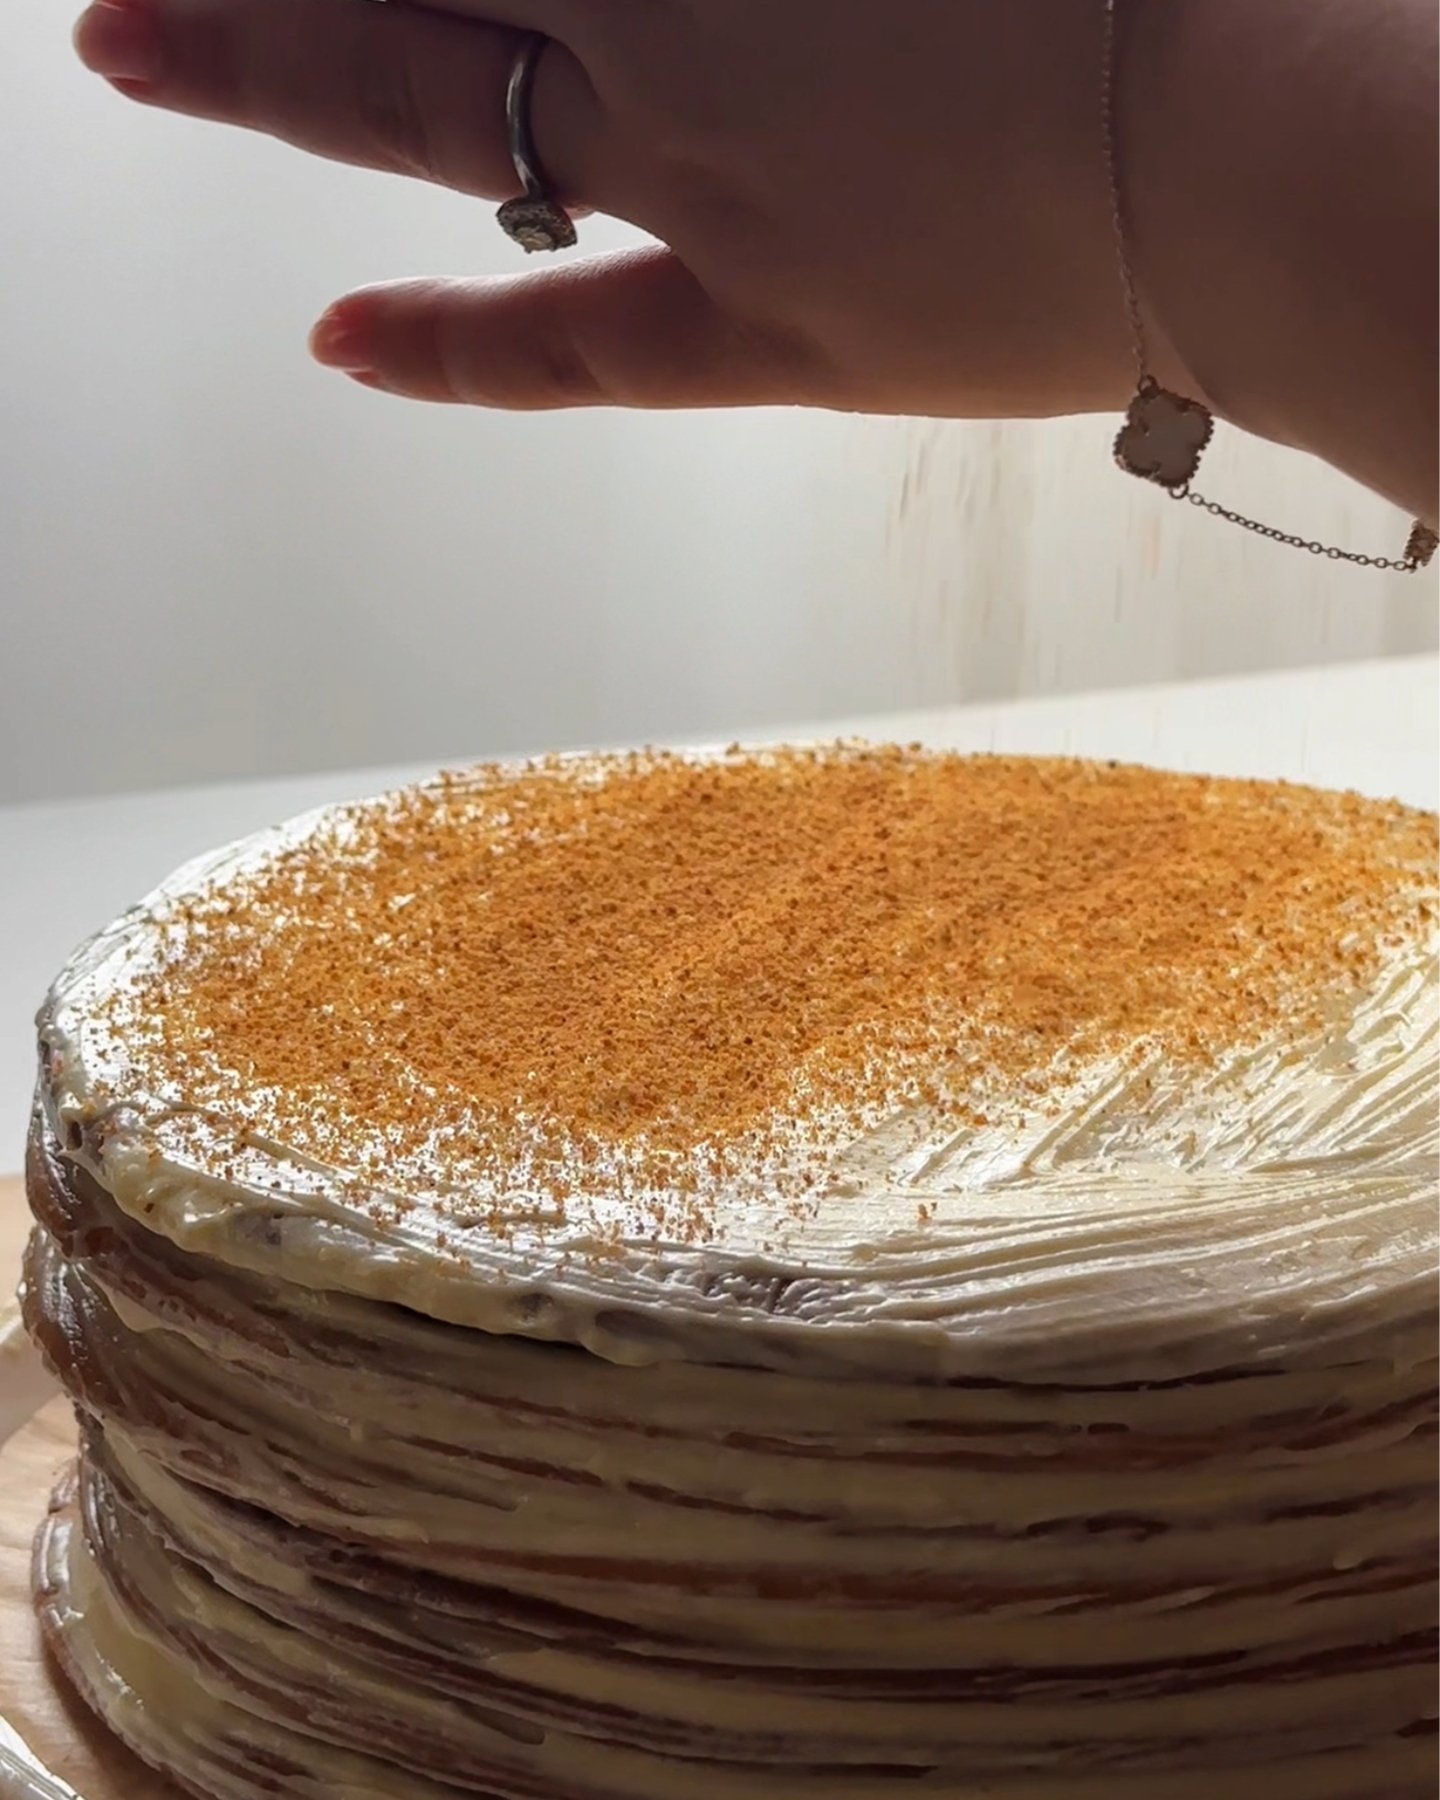
The cake is usually finished with fine cake crumbs on the outside, giving it its classic rustic appearance and tender texture.
Why You’ll Love This Recipe
- Soft and delicate honey-flavored layers
- Rich homemade custard cream
- Perfect make-ahead dessert
- Beautiful layered presentation
- Classic nostalgic flavor
- Even better the next day
How to Make Honey Cake
Prepare the Ingredients
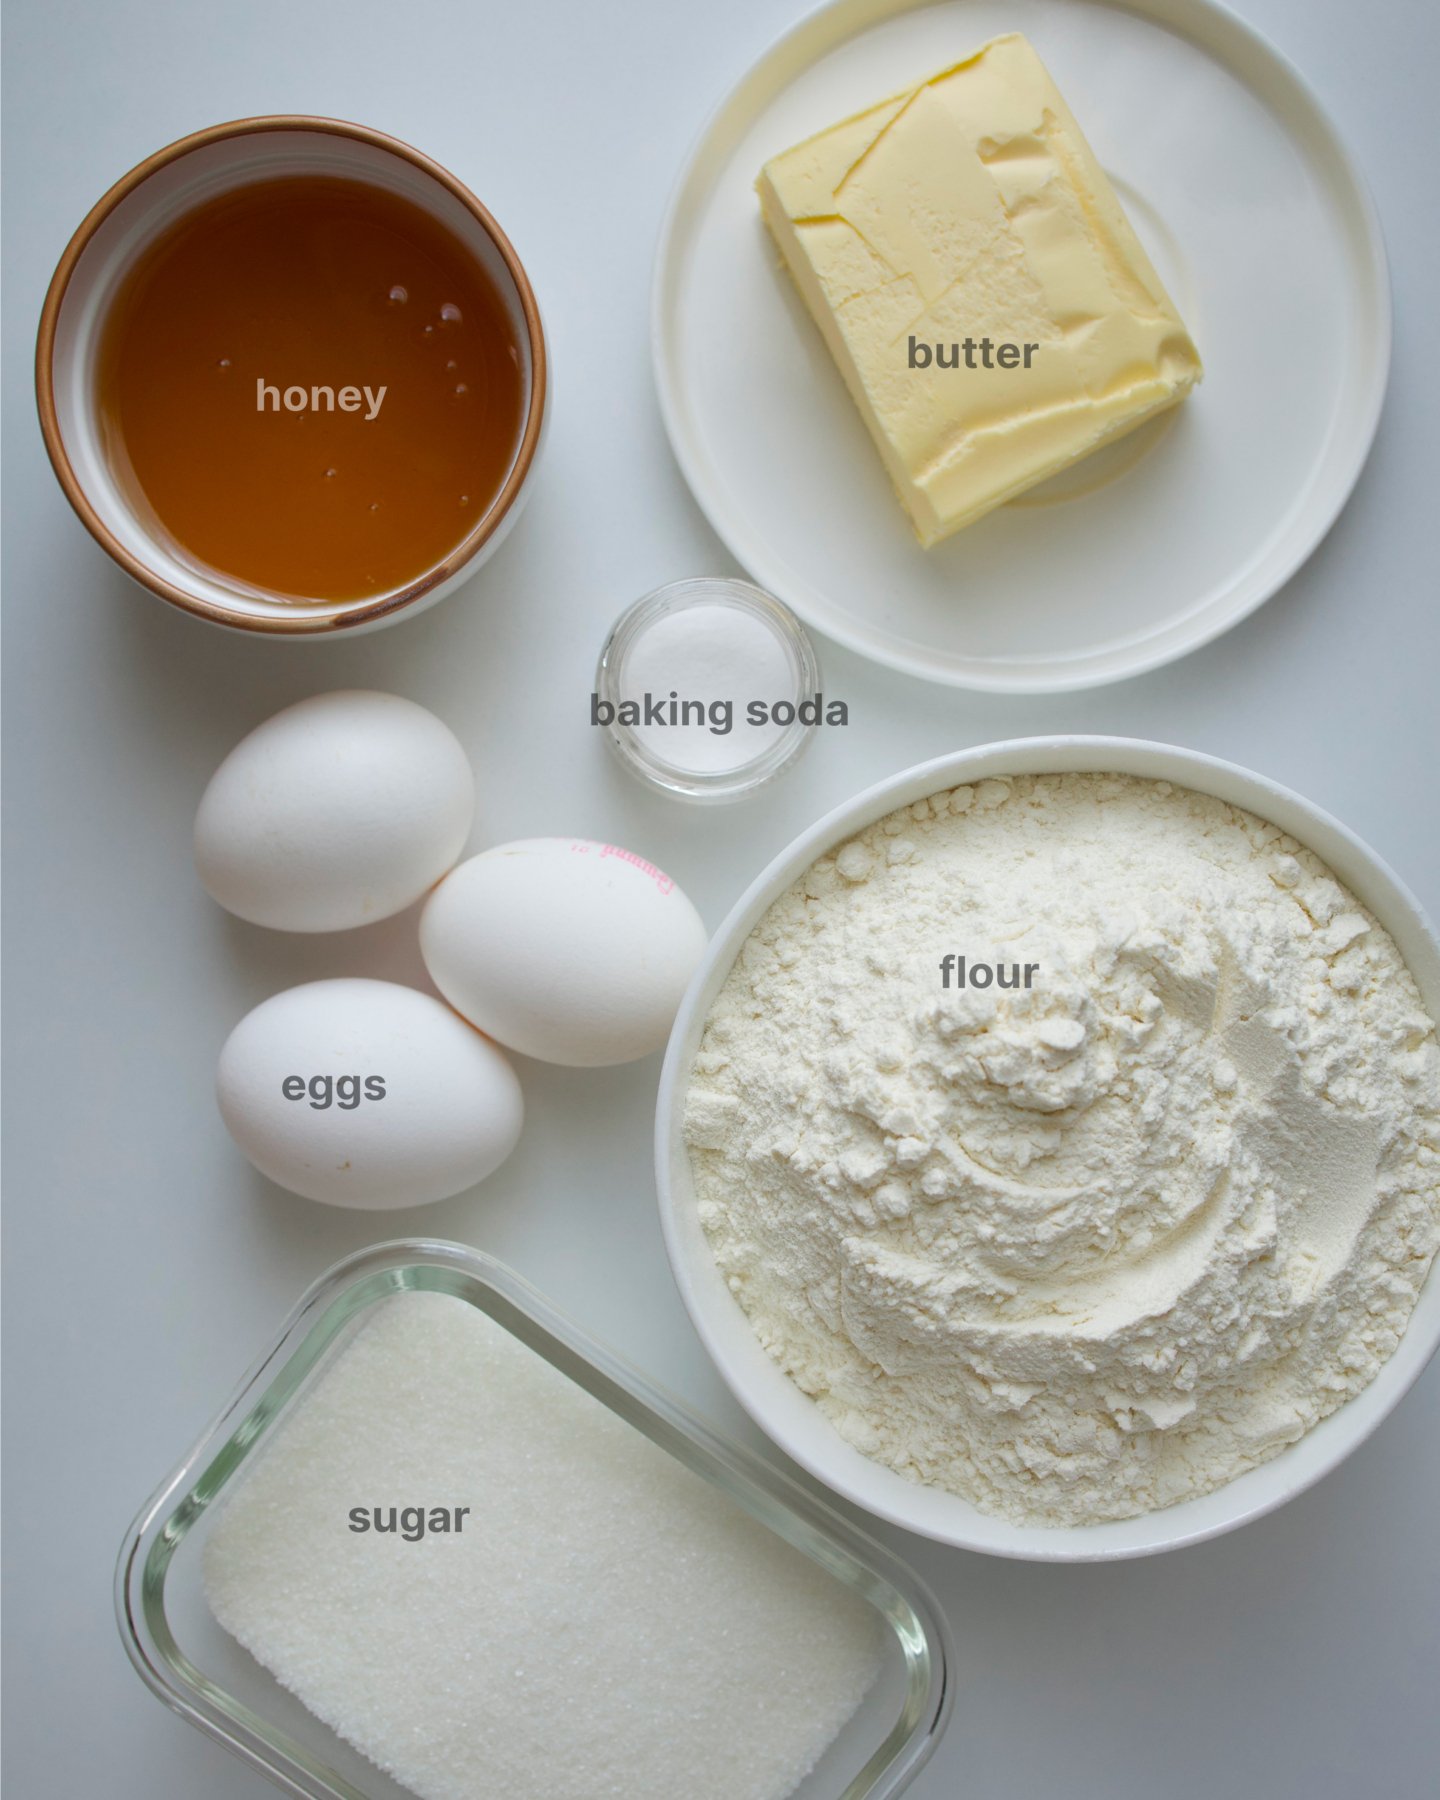
Step 1: Prepare the Honey Base
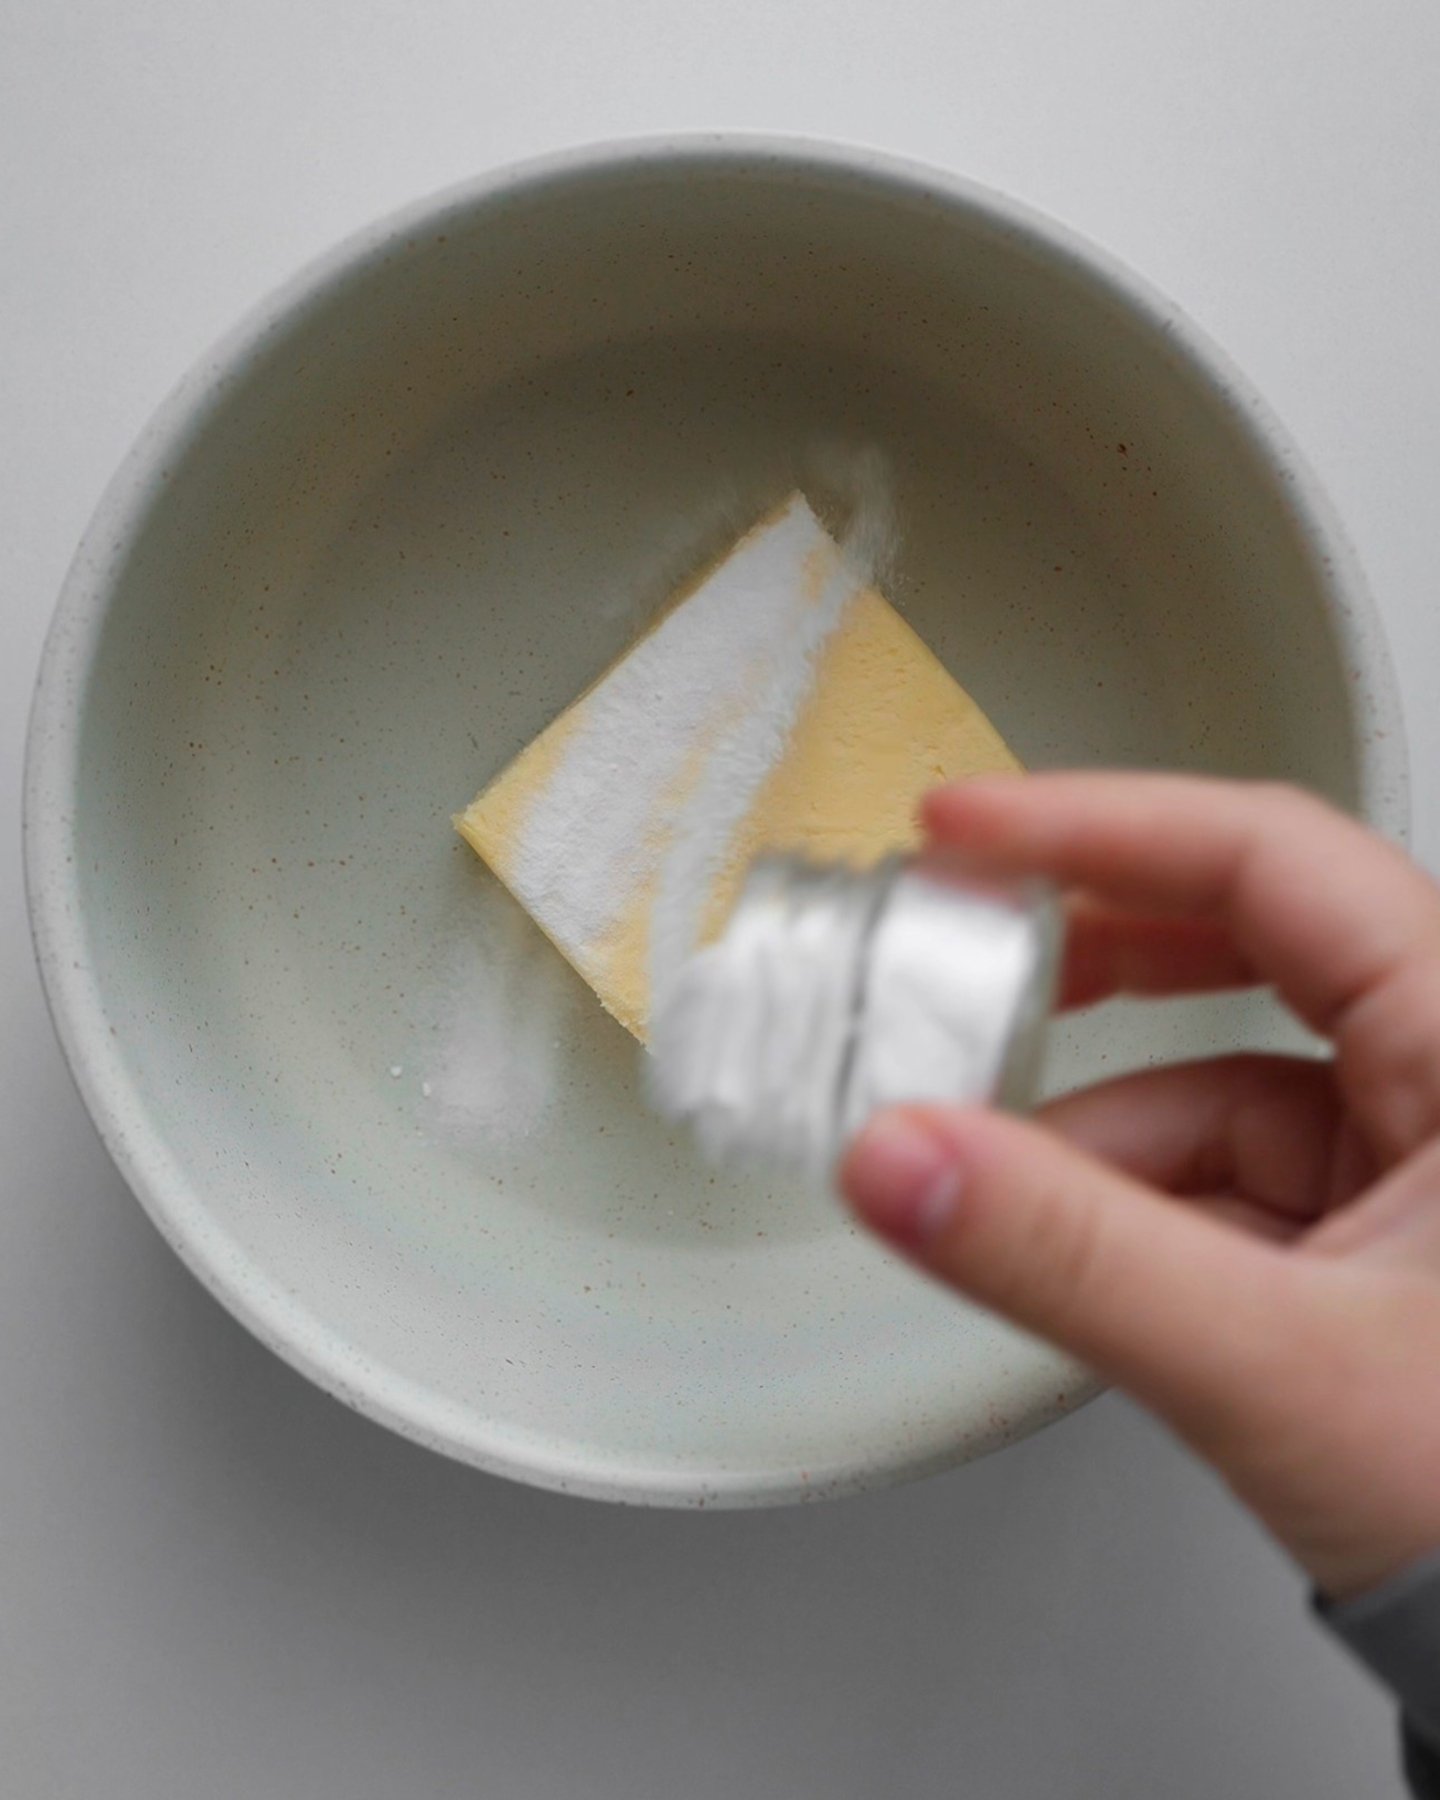
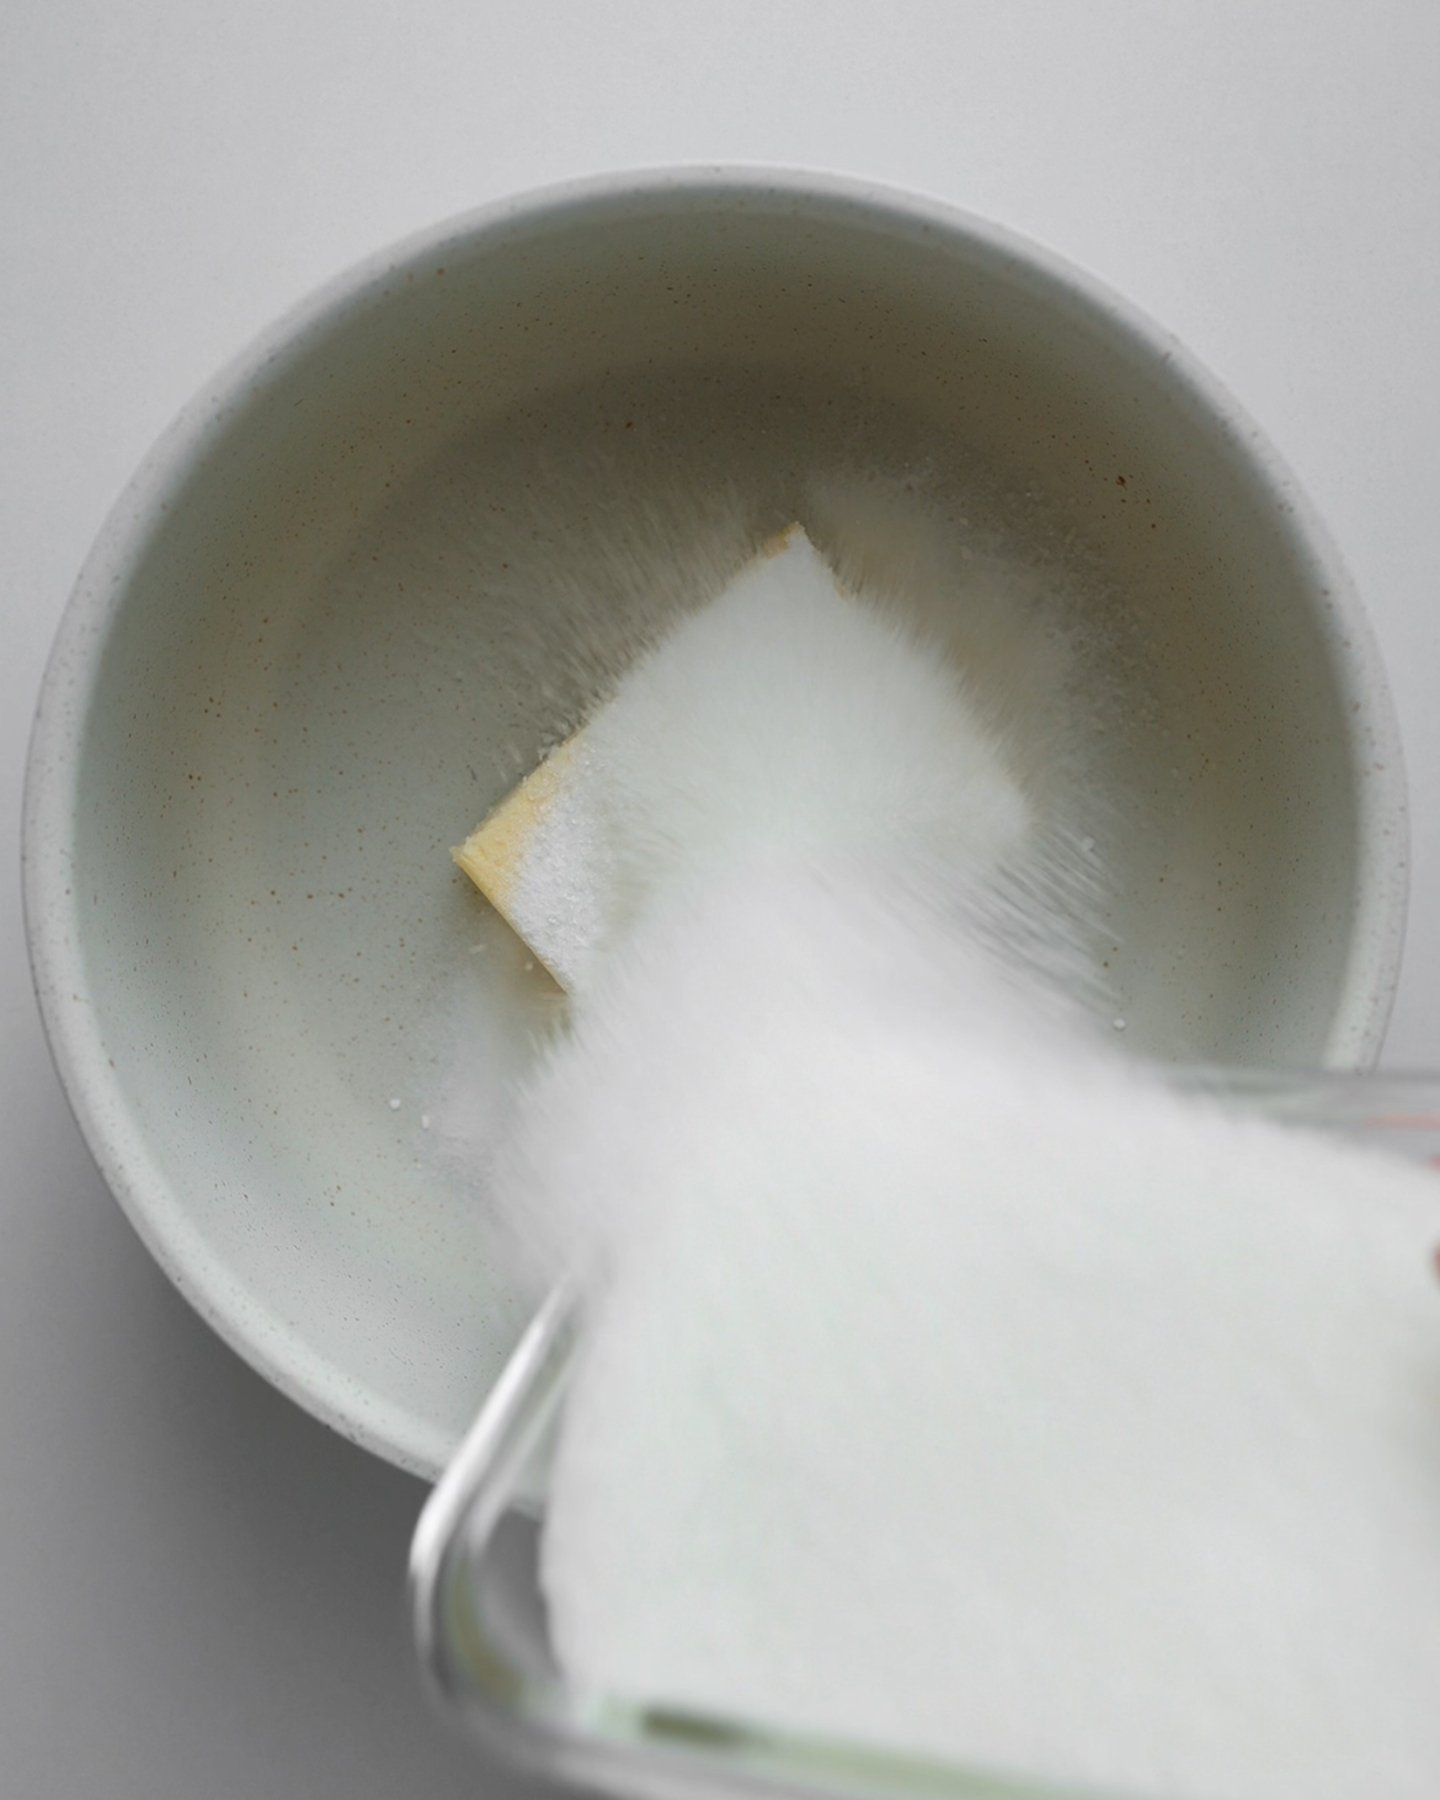
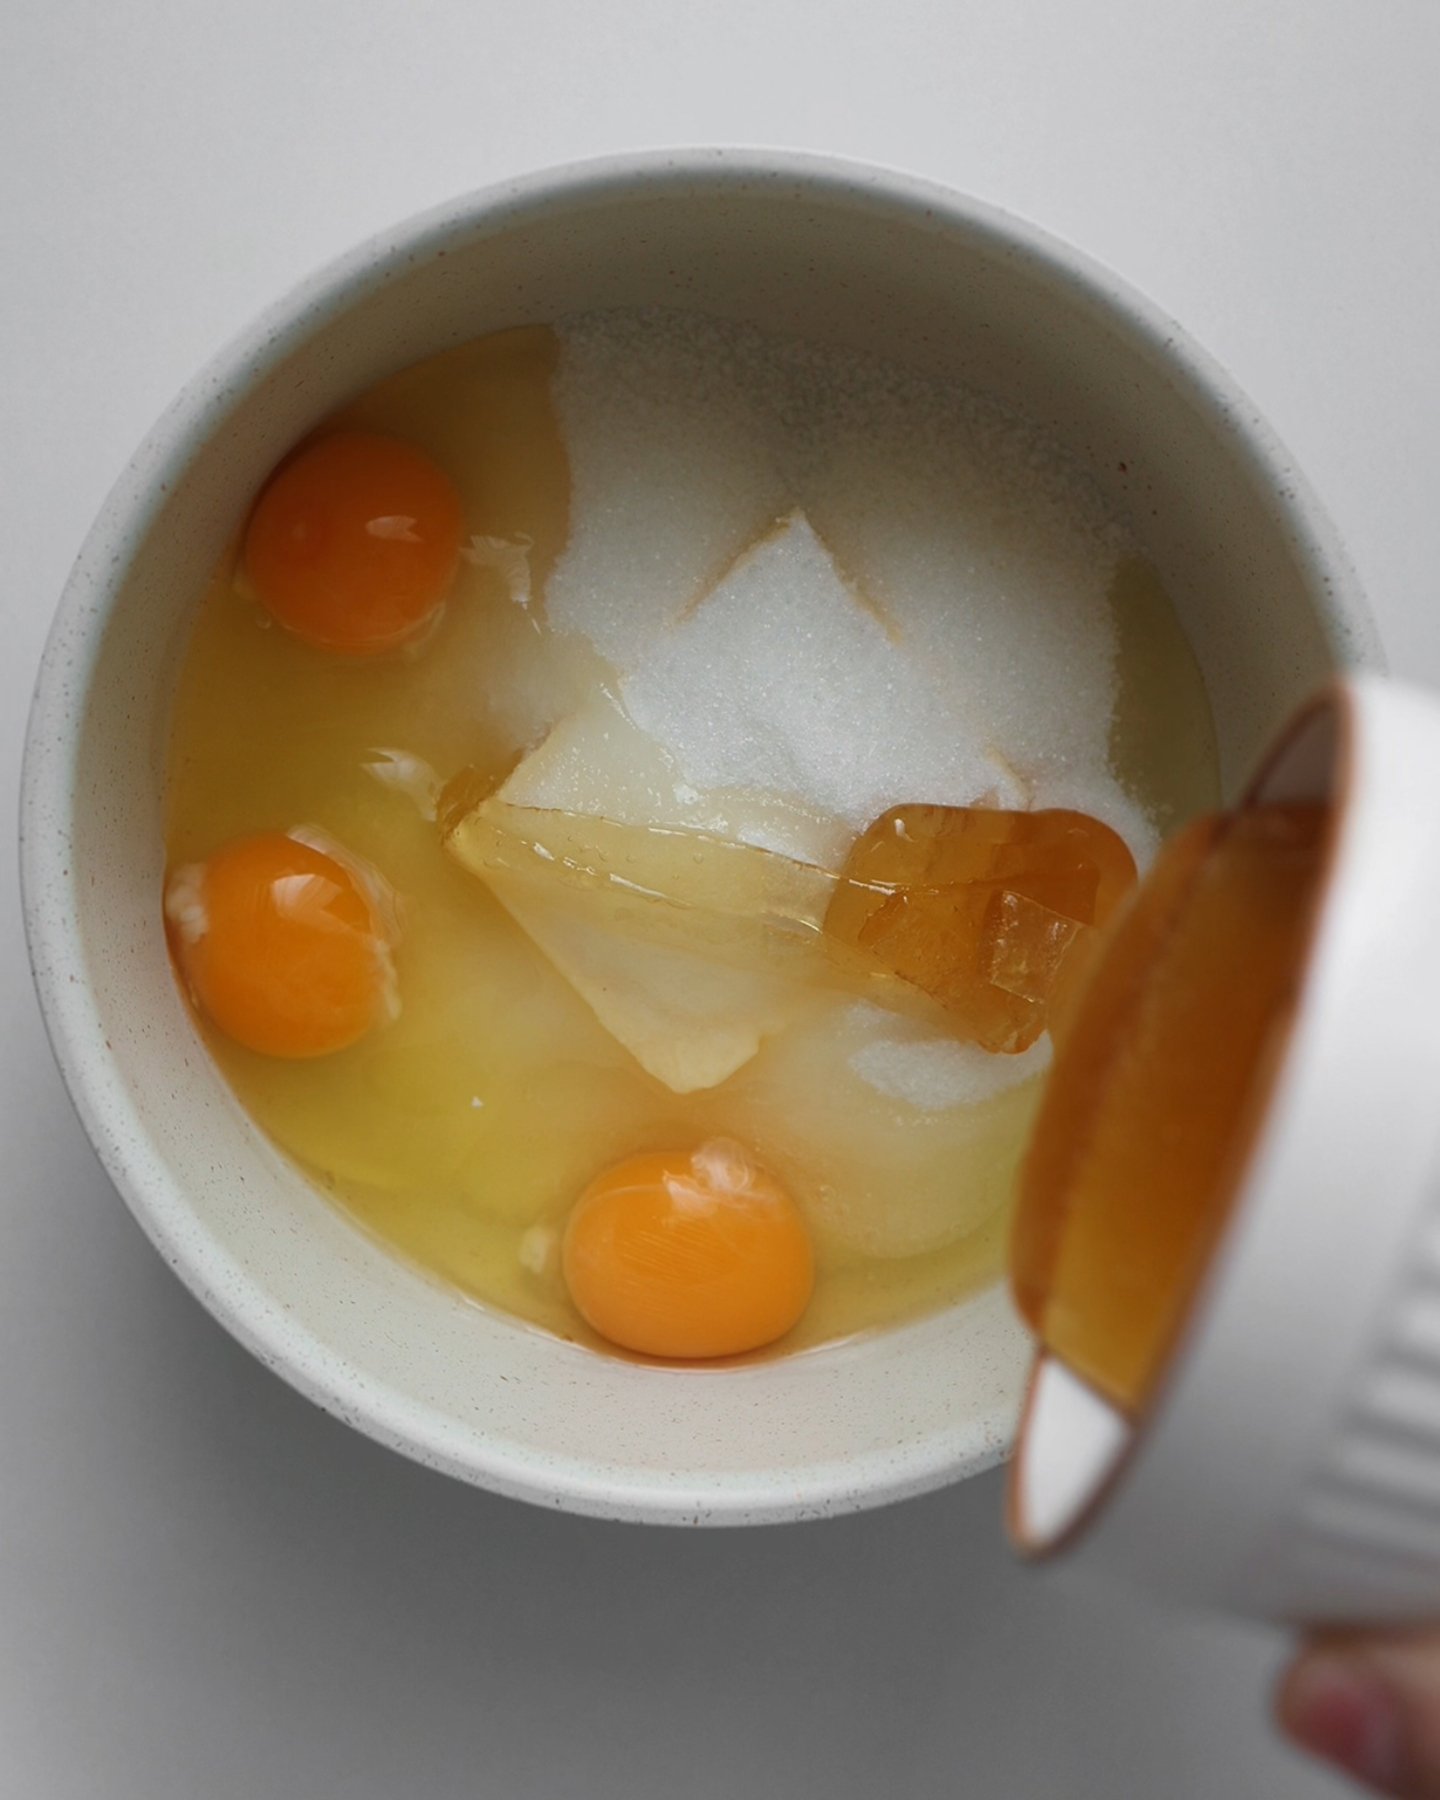
In a large saucepan, combine the butter, sugar, honey, eggs, and baking soda. Place the saucepan over medium heat and stir continuously using a whisk or spatula. As the mixture heats, the butter will melt and the sugar will begin to dissolve.
Continue stirring carefully until the mixture becomes smooth, slightly foamy, and well combined. Do not let the eggs scramble — constant stirring is important here. Once the sugar is dissolved and everything is fully incorporated, remove the saucepan from the heat.
Step 2: Make the Dough
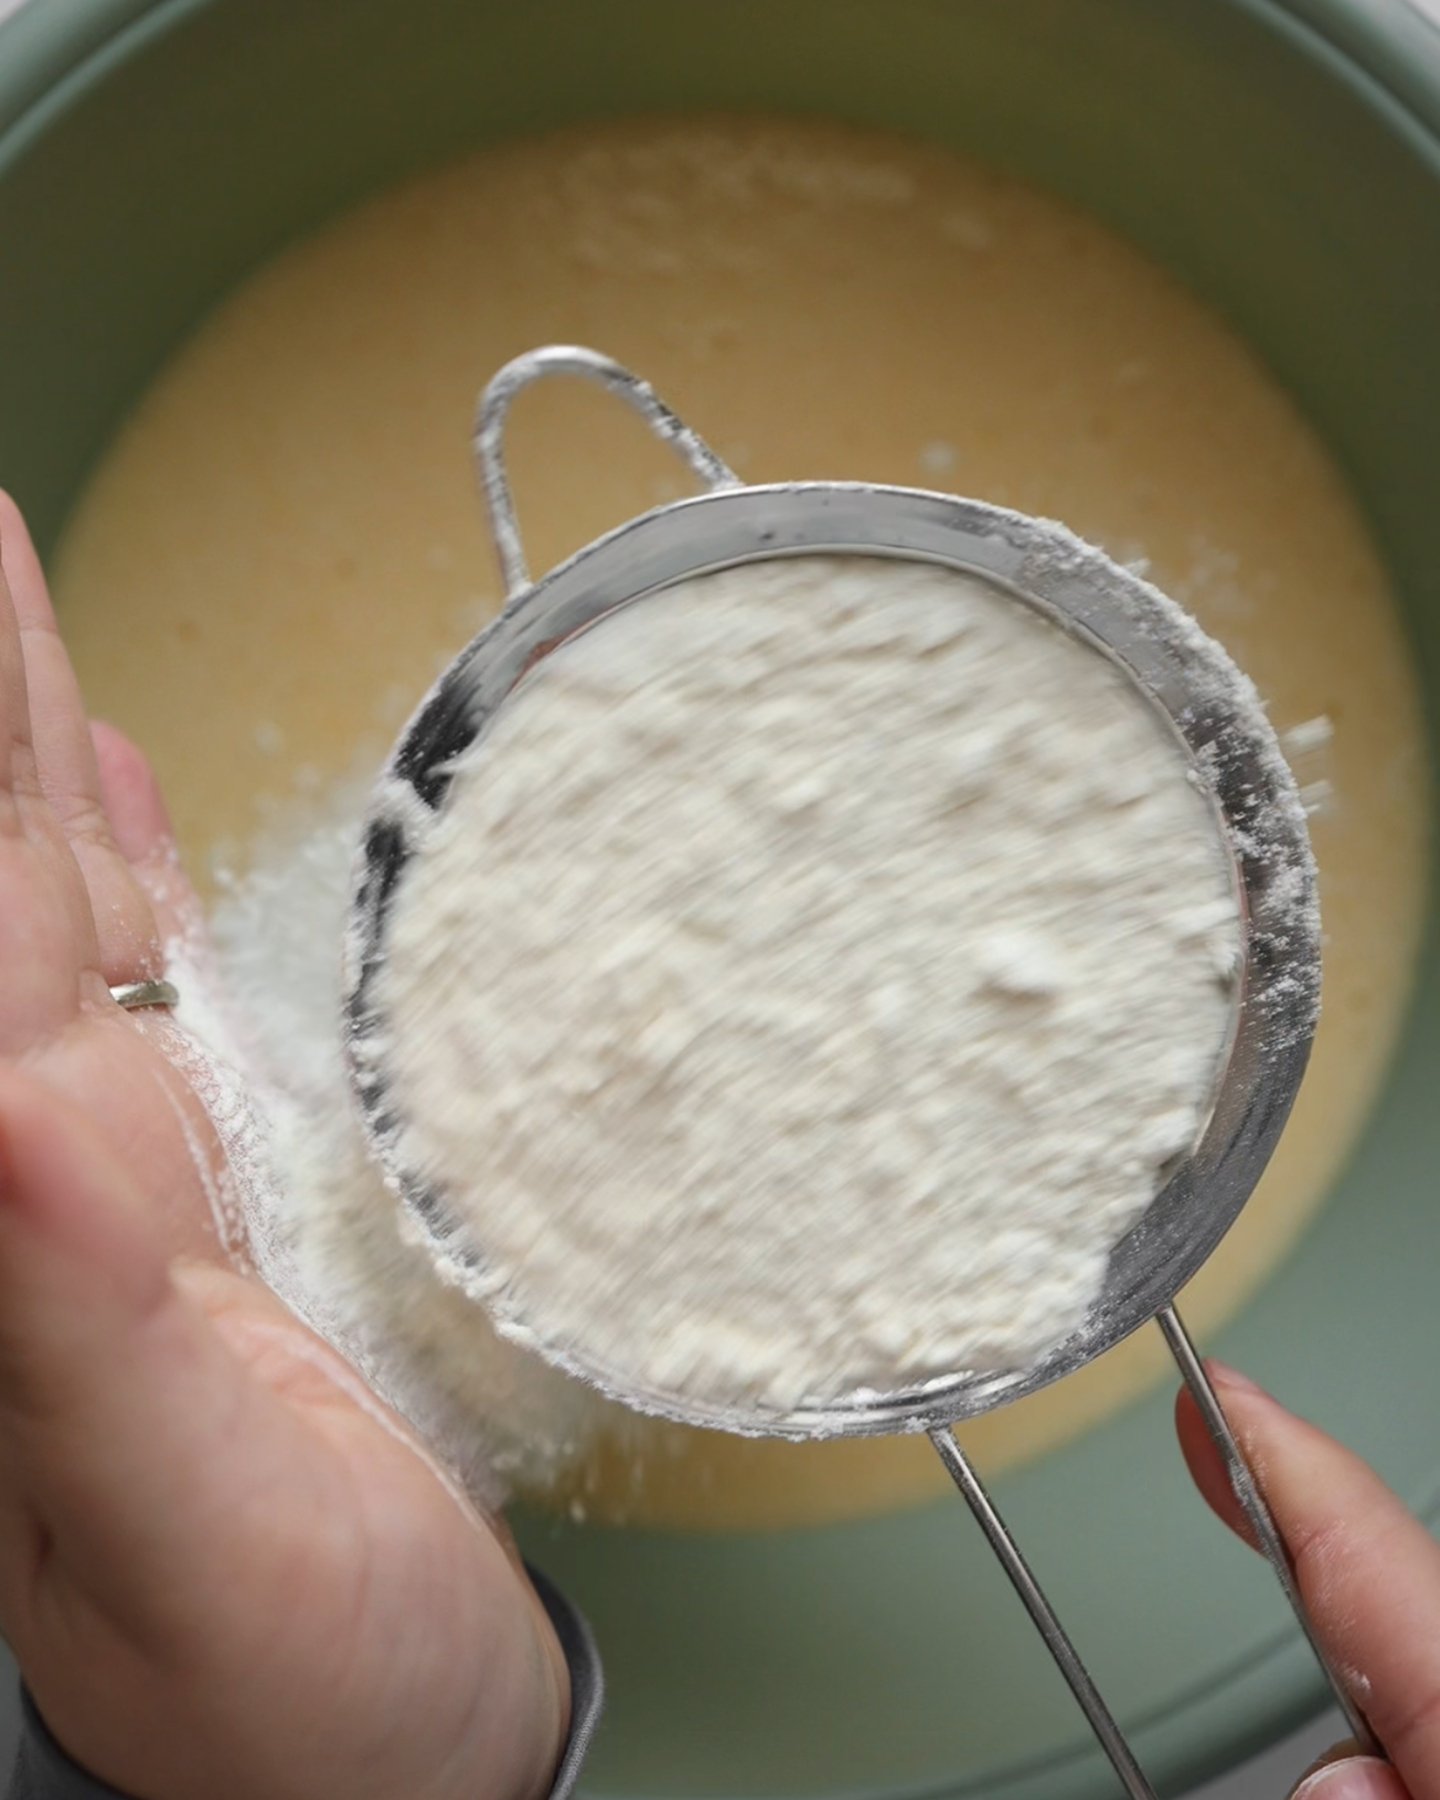
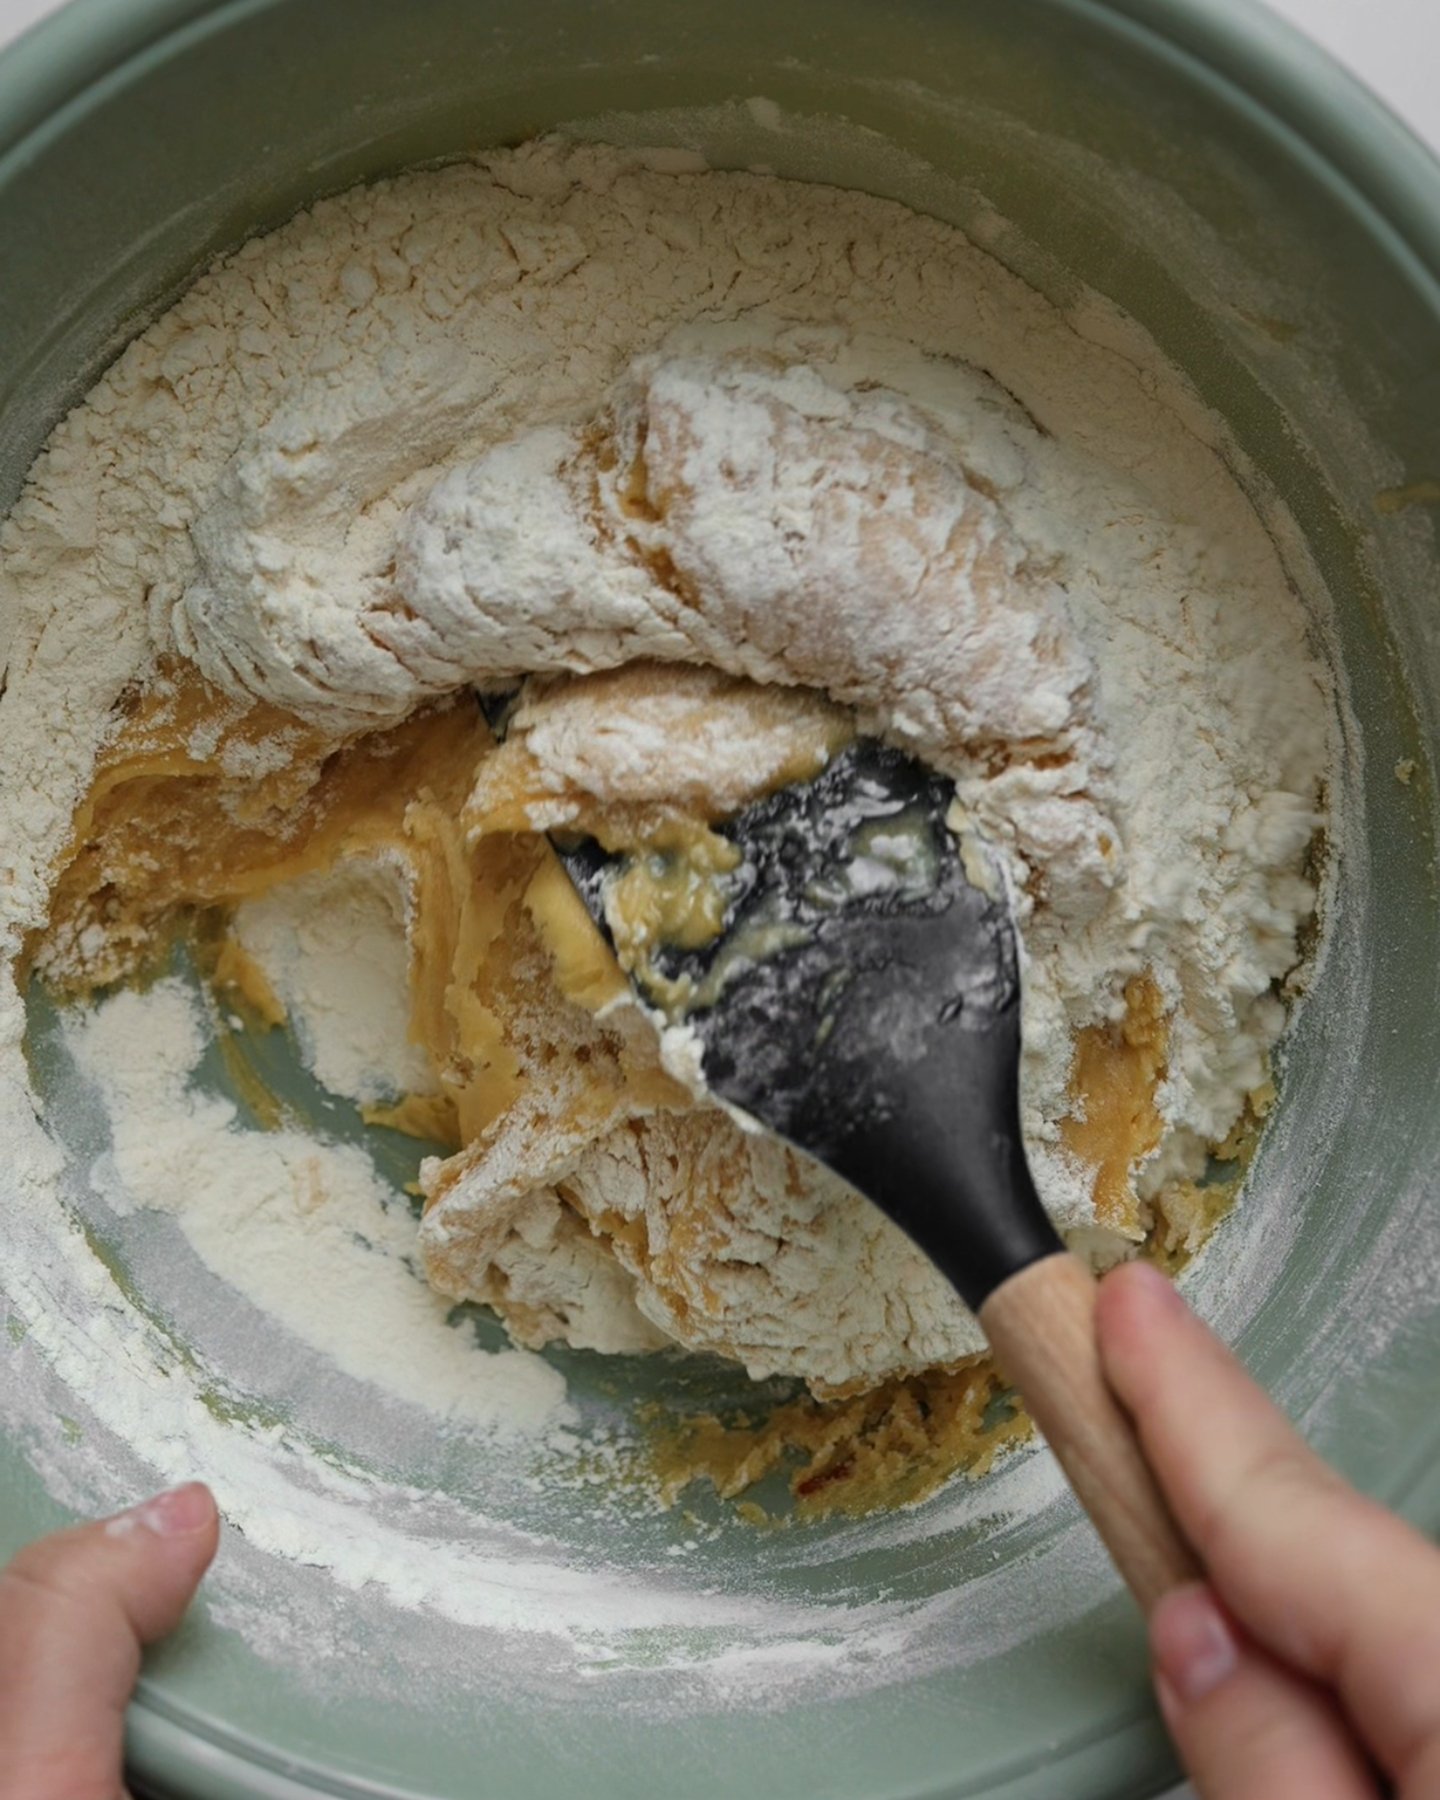
Gradually add the sifted flour into the warm honey mixture. Start mixing with a spoon or spatula, then continue kneading gently by hand once the dough becomes thicker.
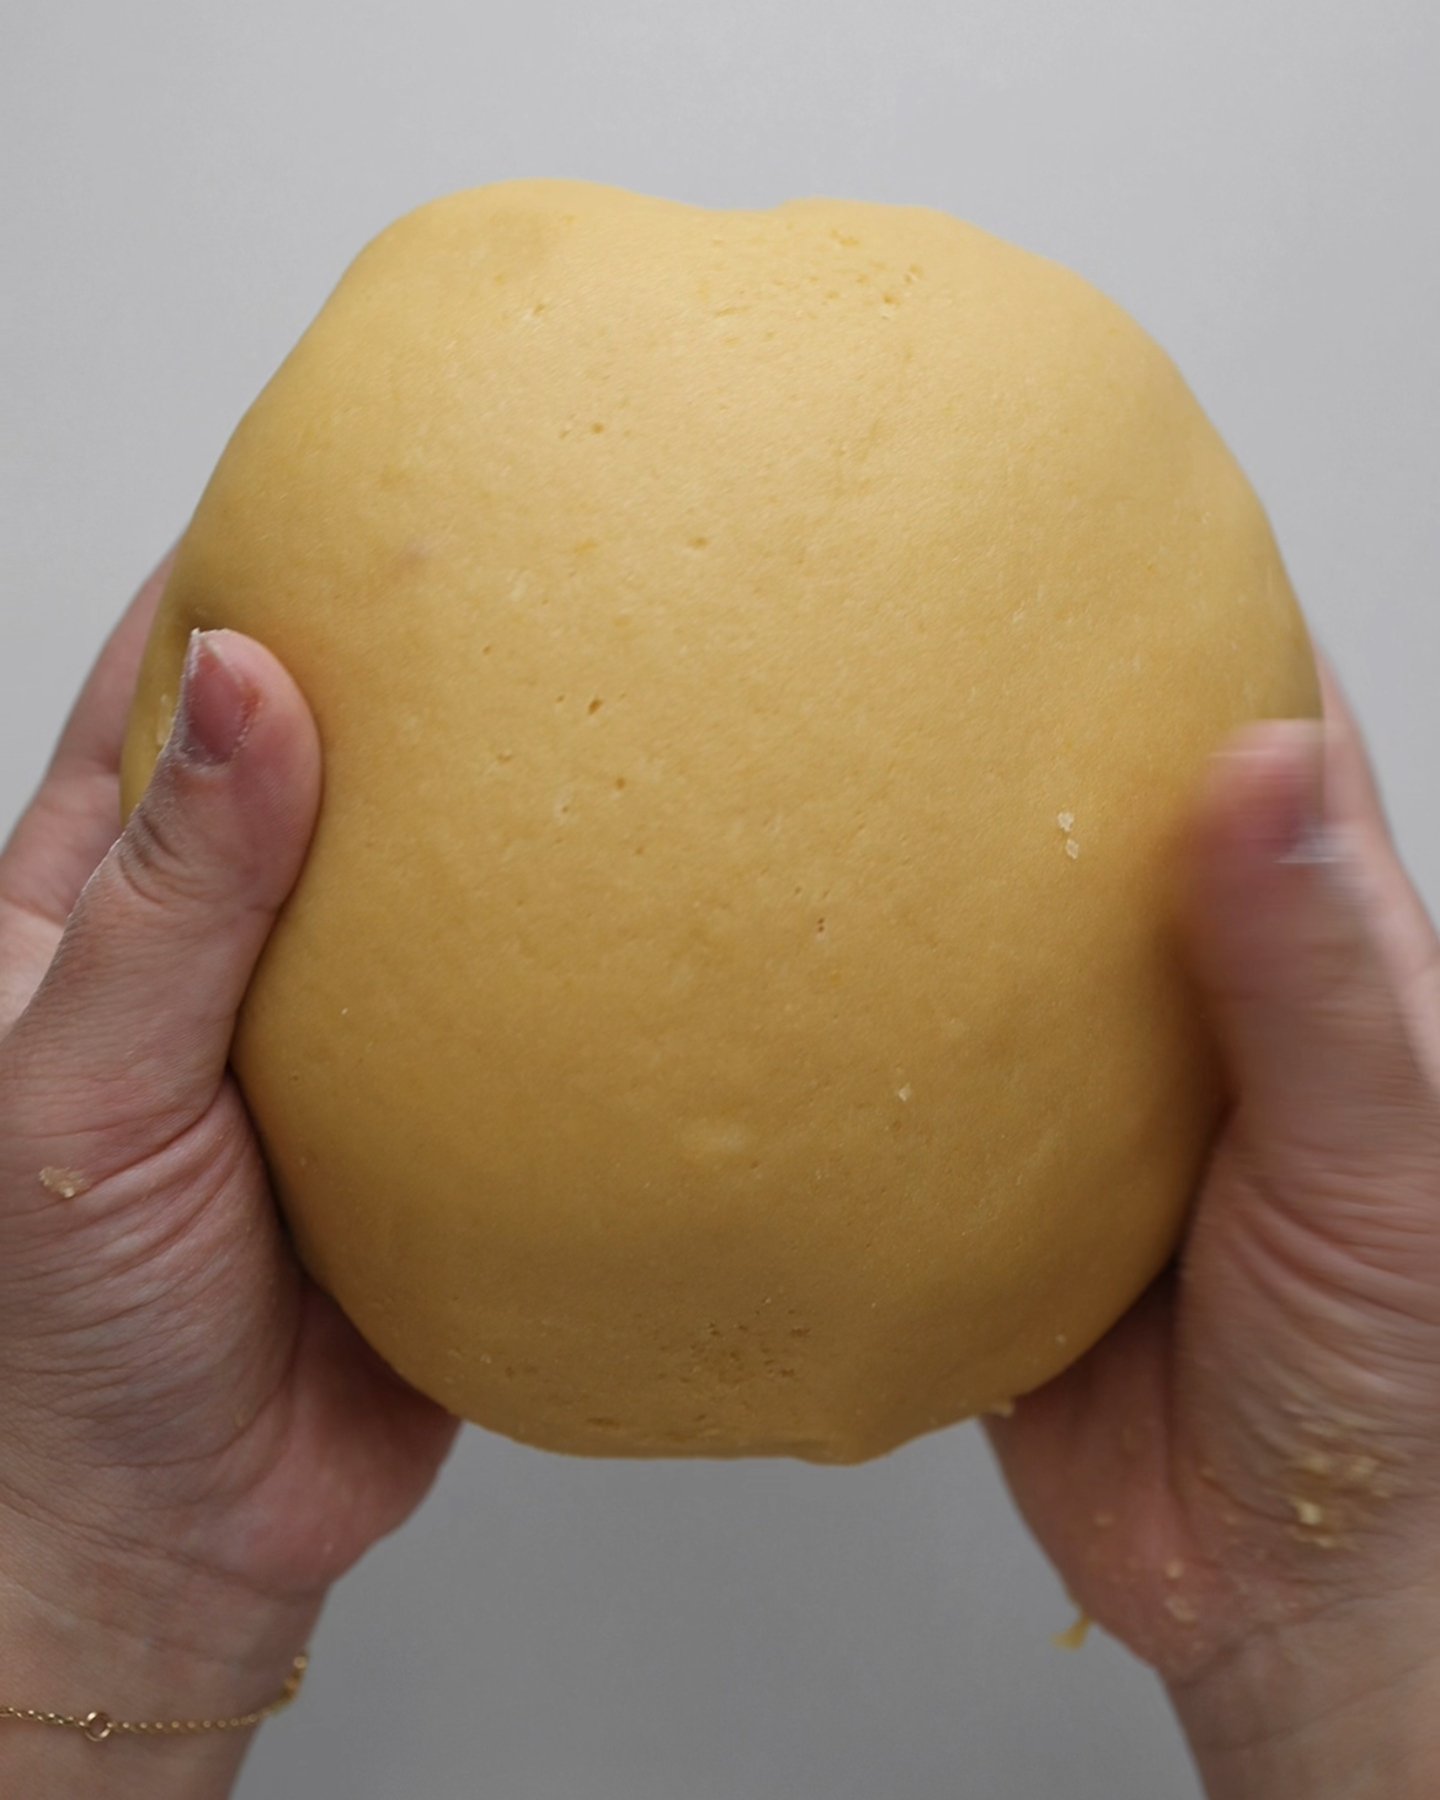
The dough should turn soft, warm, and slightly sticky but still manageable. Avoid adding too much extra flour, as this can make the cake layers dense instead of tender.
Form the dough into a smooth ball.
Step 3: Divide and Chill
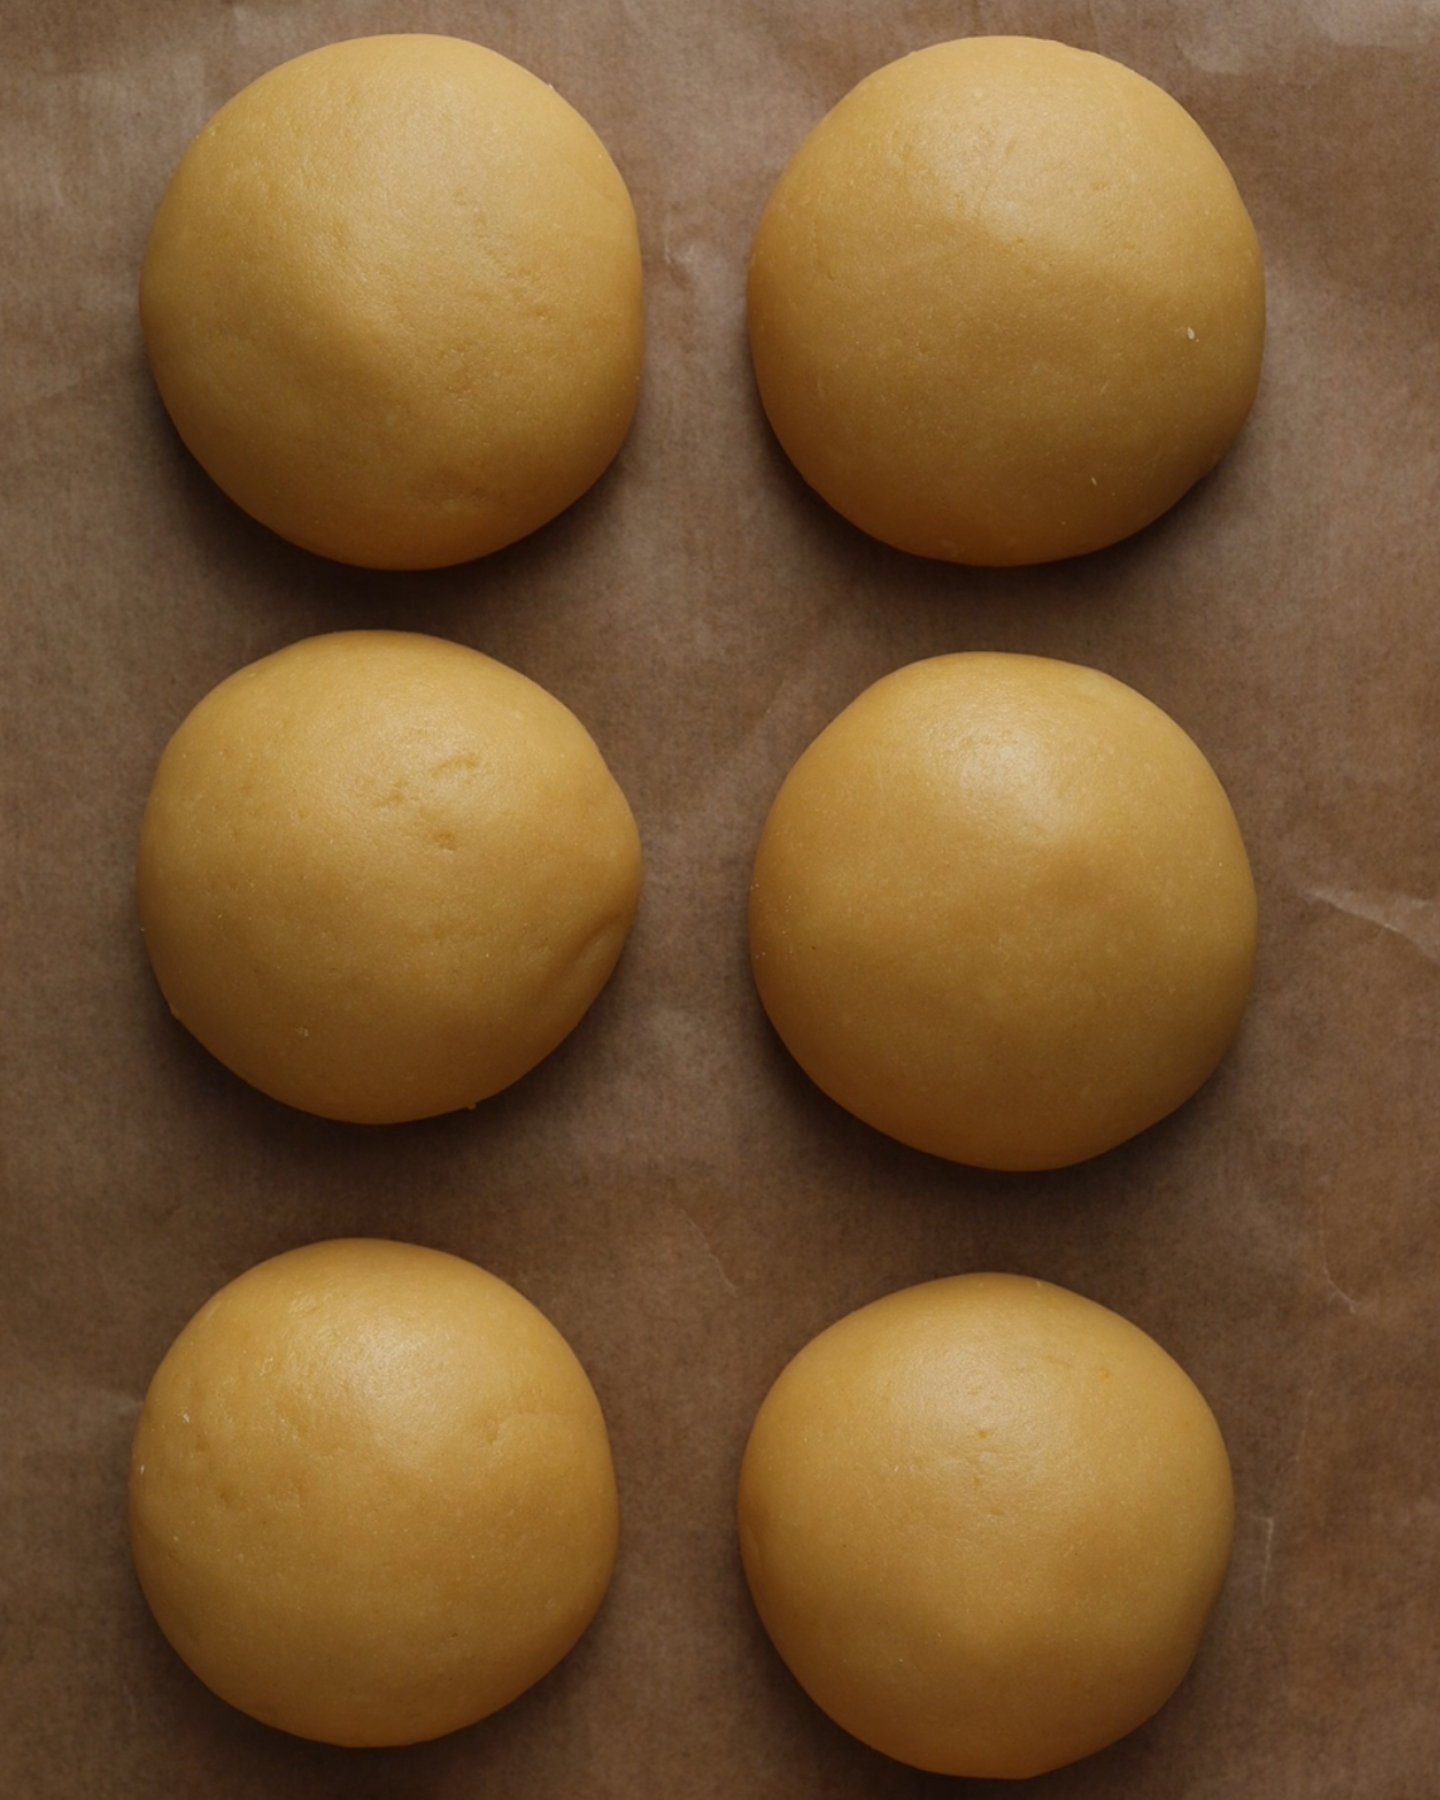
Divide the dough into 8 equal portions. Roll each piece into a ball and place them on a tray or plate.
Cover the dough with plastic wrap and refrigerate for about 1 hour. Chilling helps the dough firm up, making it easier to roll out into thin layers.
Step 4: Roll Out the Layers
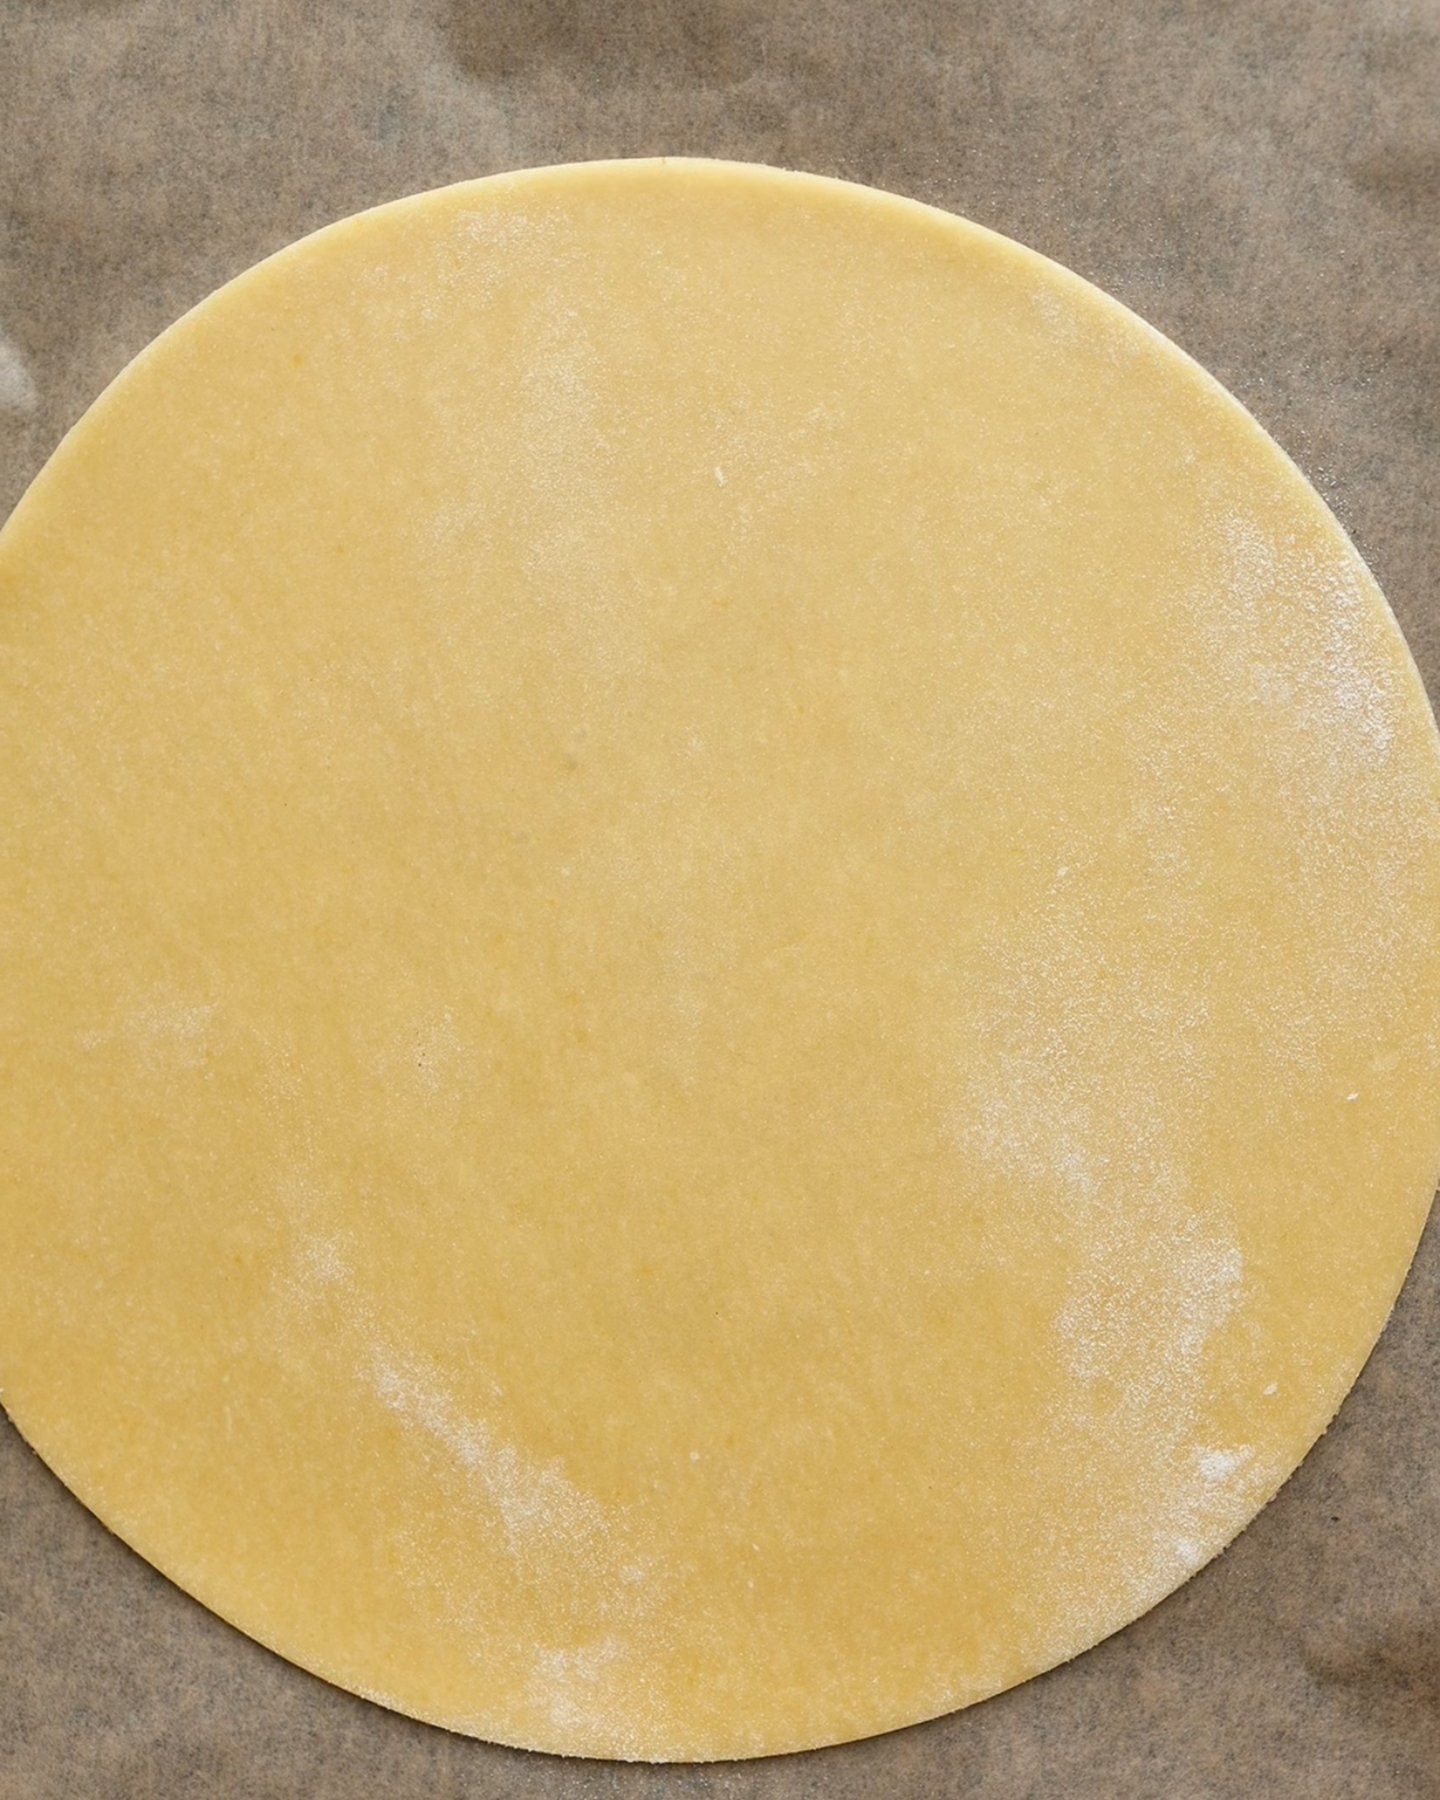
Lightly flour your work surface and roll each dough ball into a very thin circle about 24 cm in diameter.
Trim the edges using a plate or cake ring to create even layers. Do not discard the scraps — bake them as well since they’ll later be crushed into crumbs for decorating the cake.
Try to roll the layers evenly so they bake uniformly.
Step 5: Bake the Layers
Preheat the oven to 180°C (356°F).
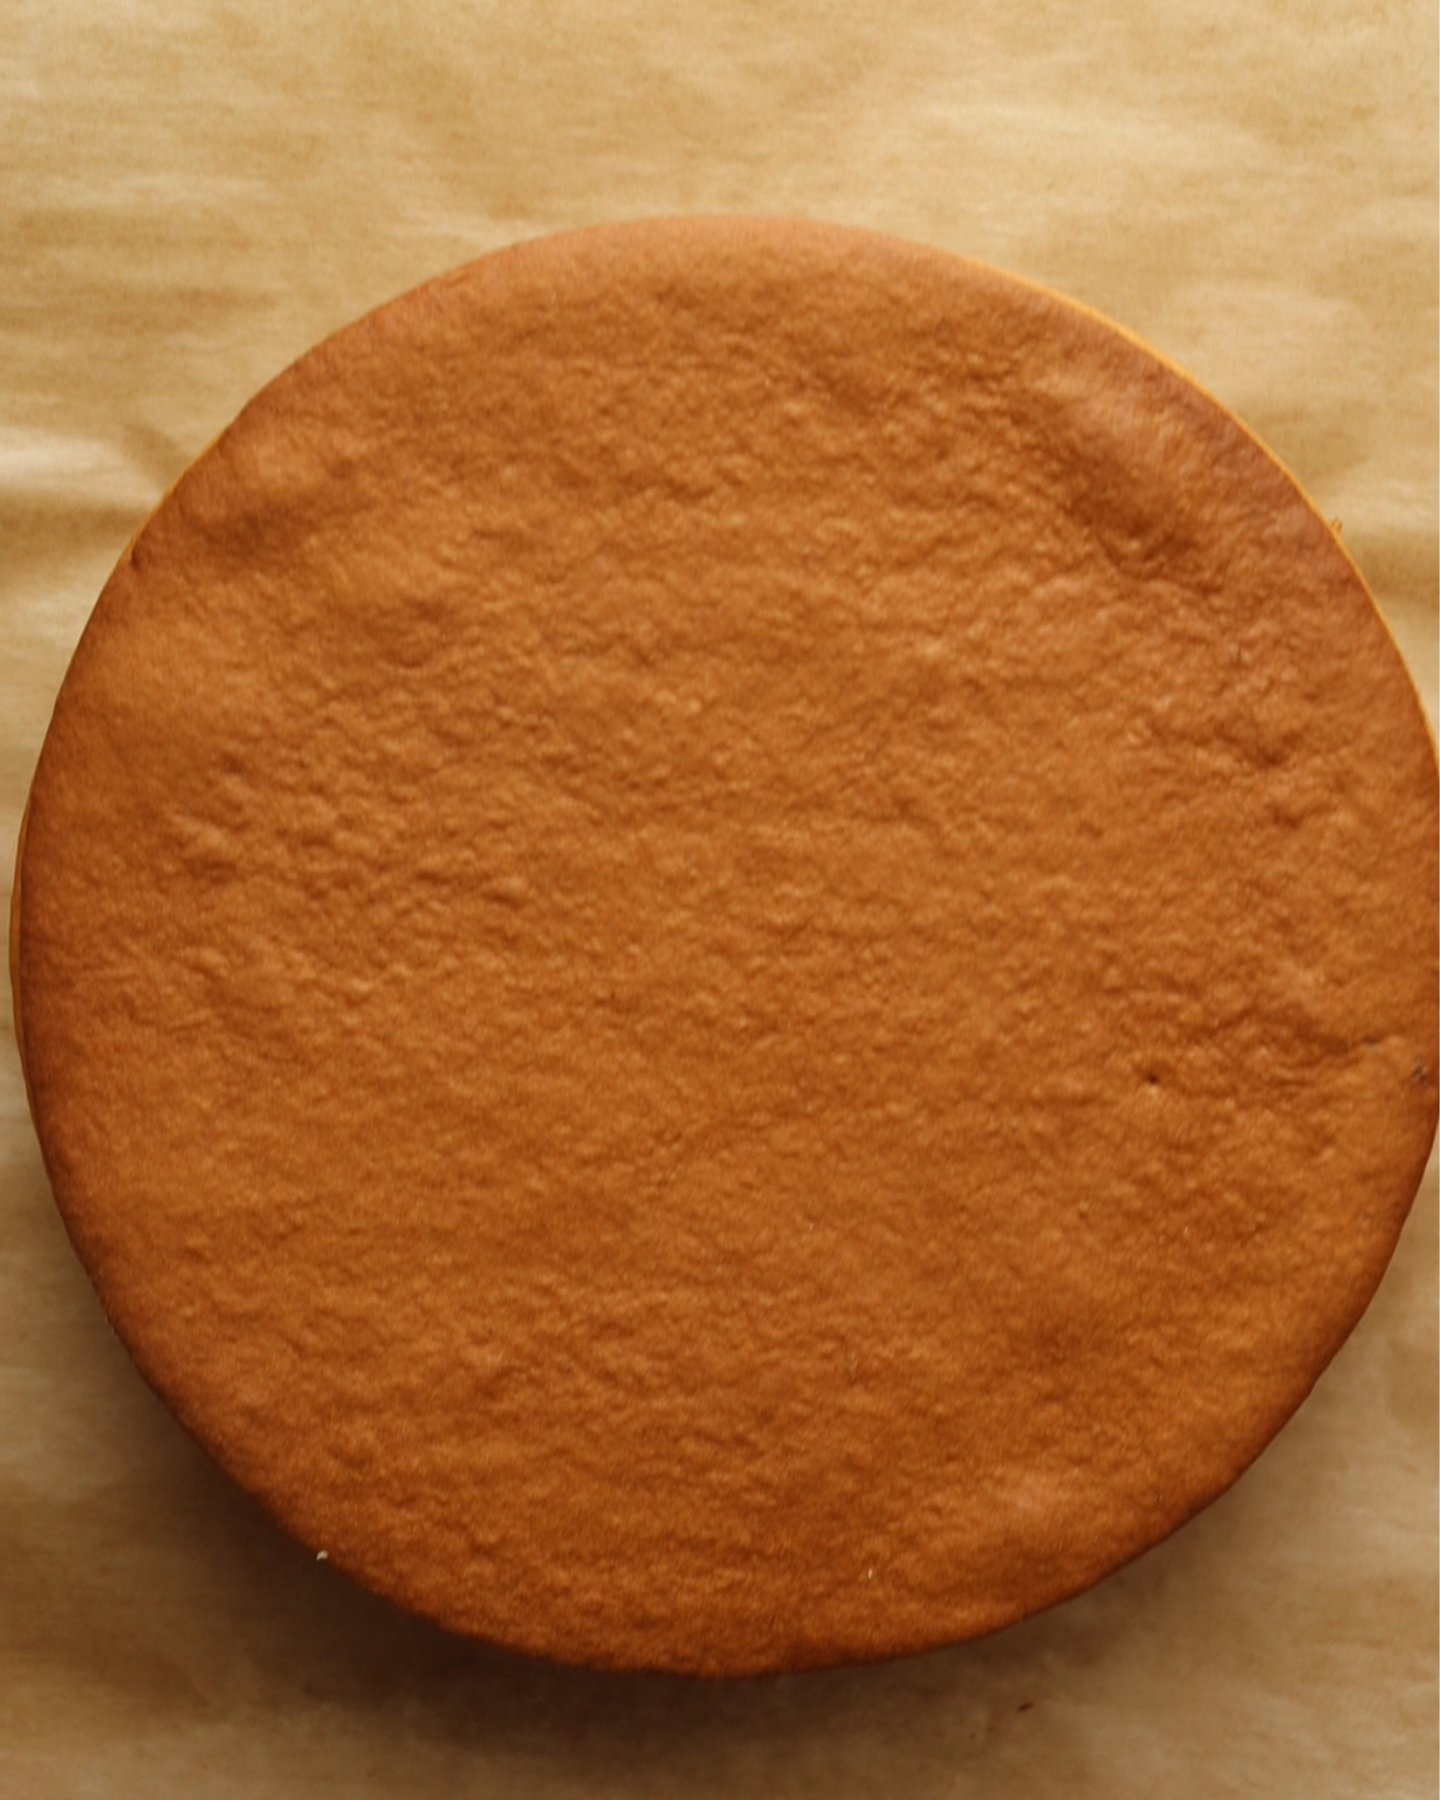
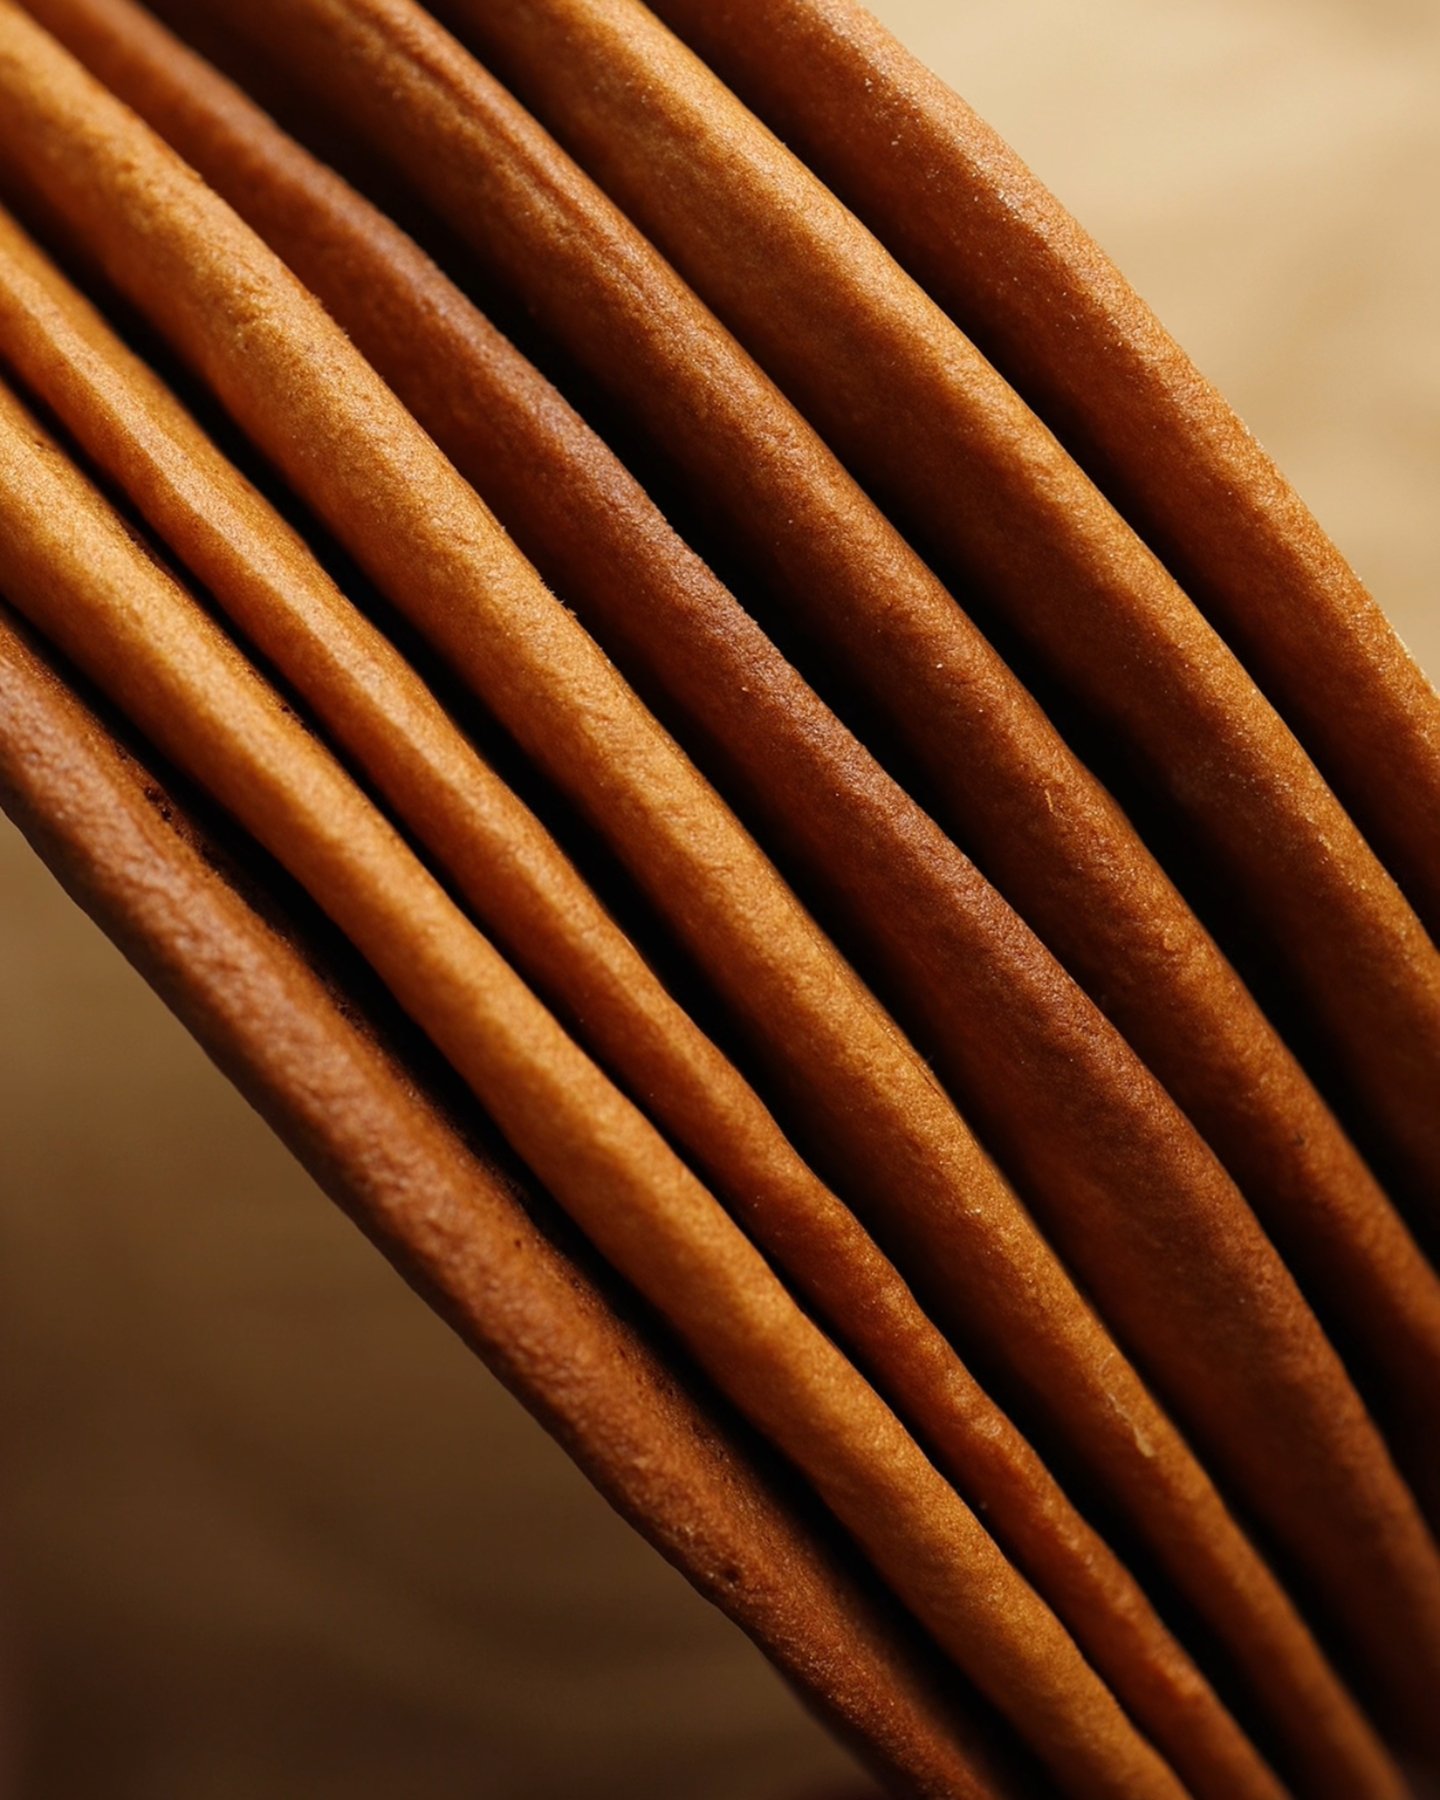
Transfer each rolled-out layer onto a baking tray lined with parchment paper. Bake each layer for approximately 7–8 minutes, or until lightly golden.
The layers bake quickly, so keep an eye on them to avoid overbaking. Once baked, let them cool completely before assembling the cake.
Bake the leftover scraps separately until golden as well.
Step 6: Prepare the Custard Cream
Ingredients:
- Milk – 1 L
- Egg yolks – 2
- Sugar – 2 cups
- Flour – 6 tablespoons
- Cornstarch – 3 tablespoons
In a large saucepan, whisk together the egg yolks, sugar, and a small amount of the milk until smooth.
Add the flour (or the flour and cornstarch mixture for a softer cream), then gradually pour in the remaining milk while whisking continuously to prevent lumps.
Place the saucepan over medium heat and cook the cream slowly, stirring constantly. As it heats, the mixture will begin to thicken into a smooth custard consistency.
Continue cooking until the cream becomes thick and silky. Remove from heat and let it cool completely before using.
Step 7: Assemble the Cake
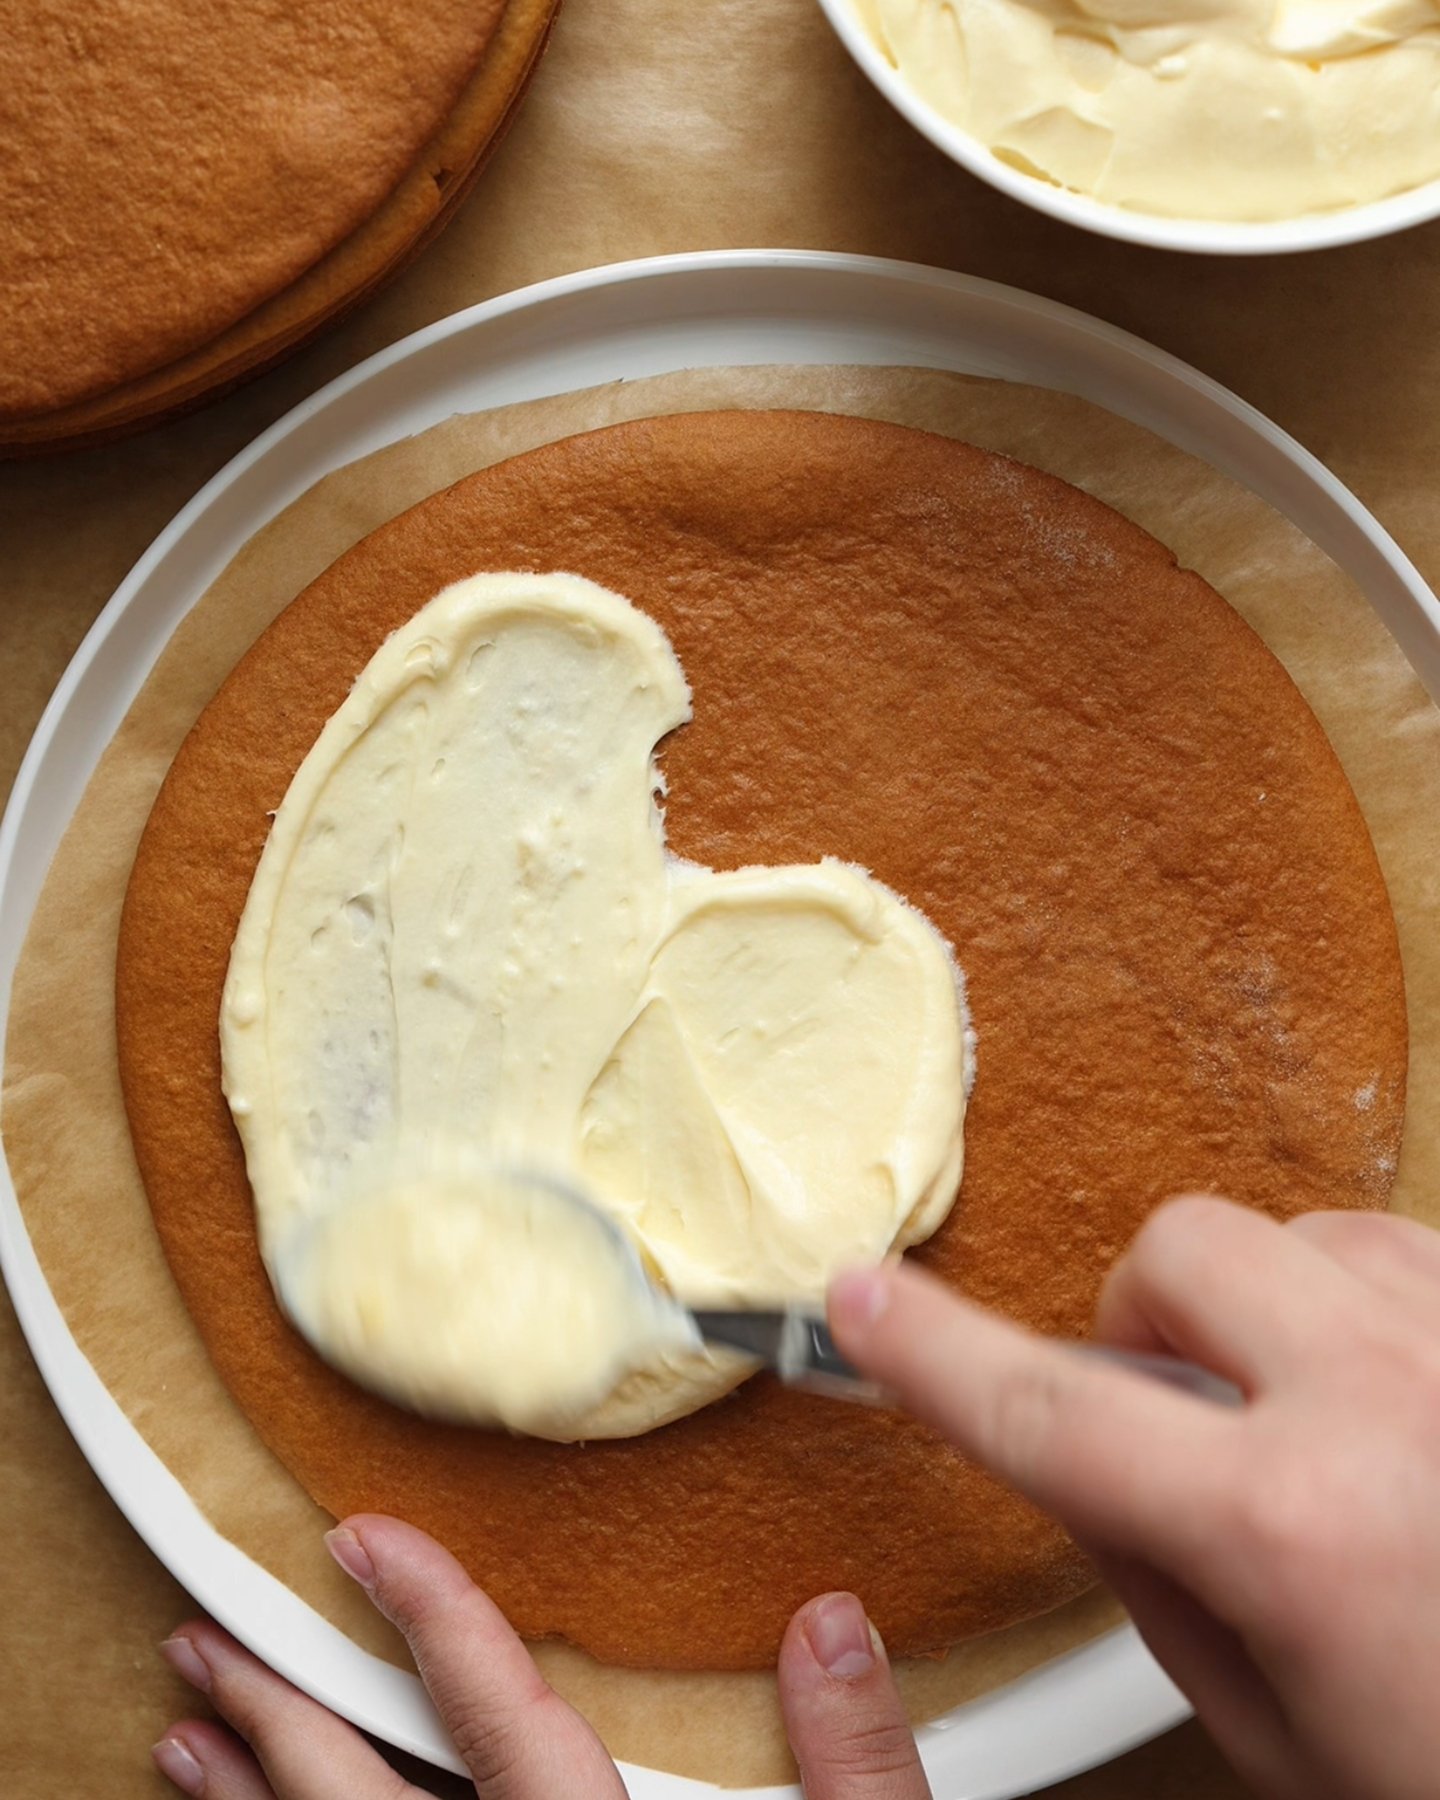
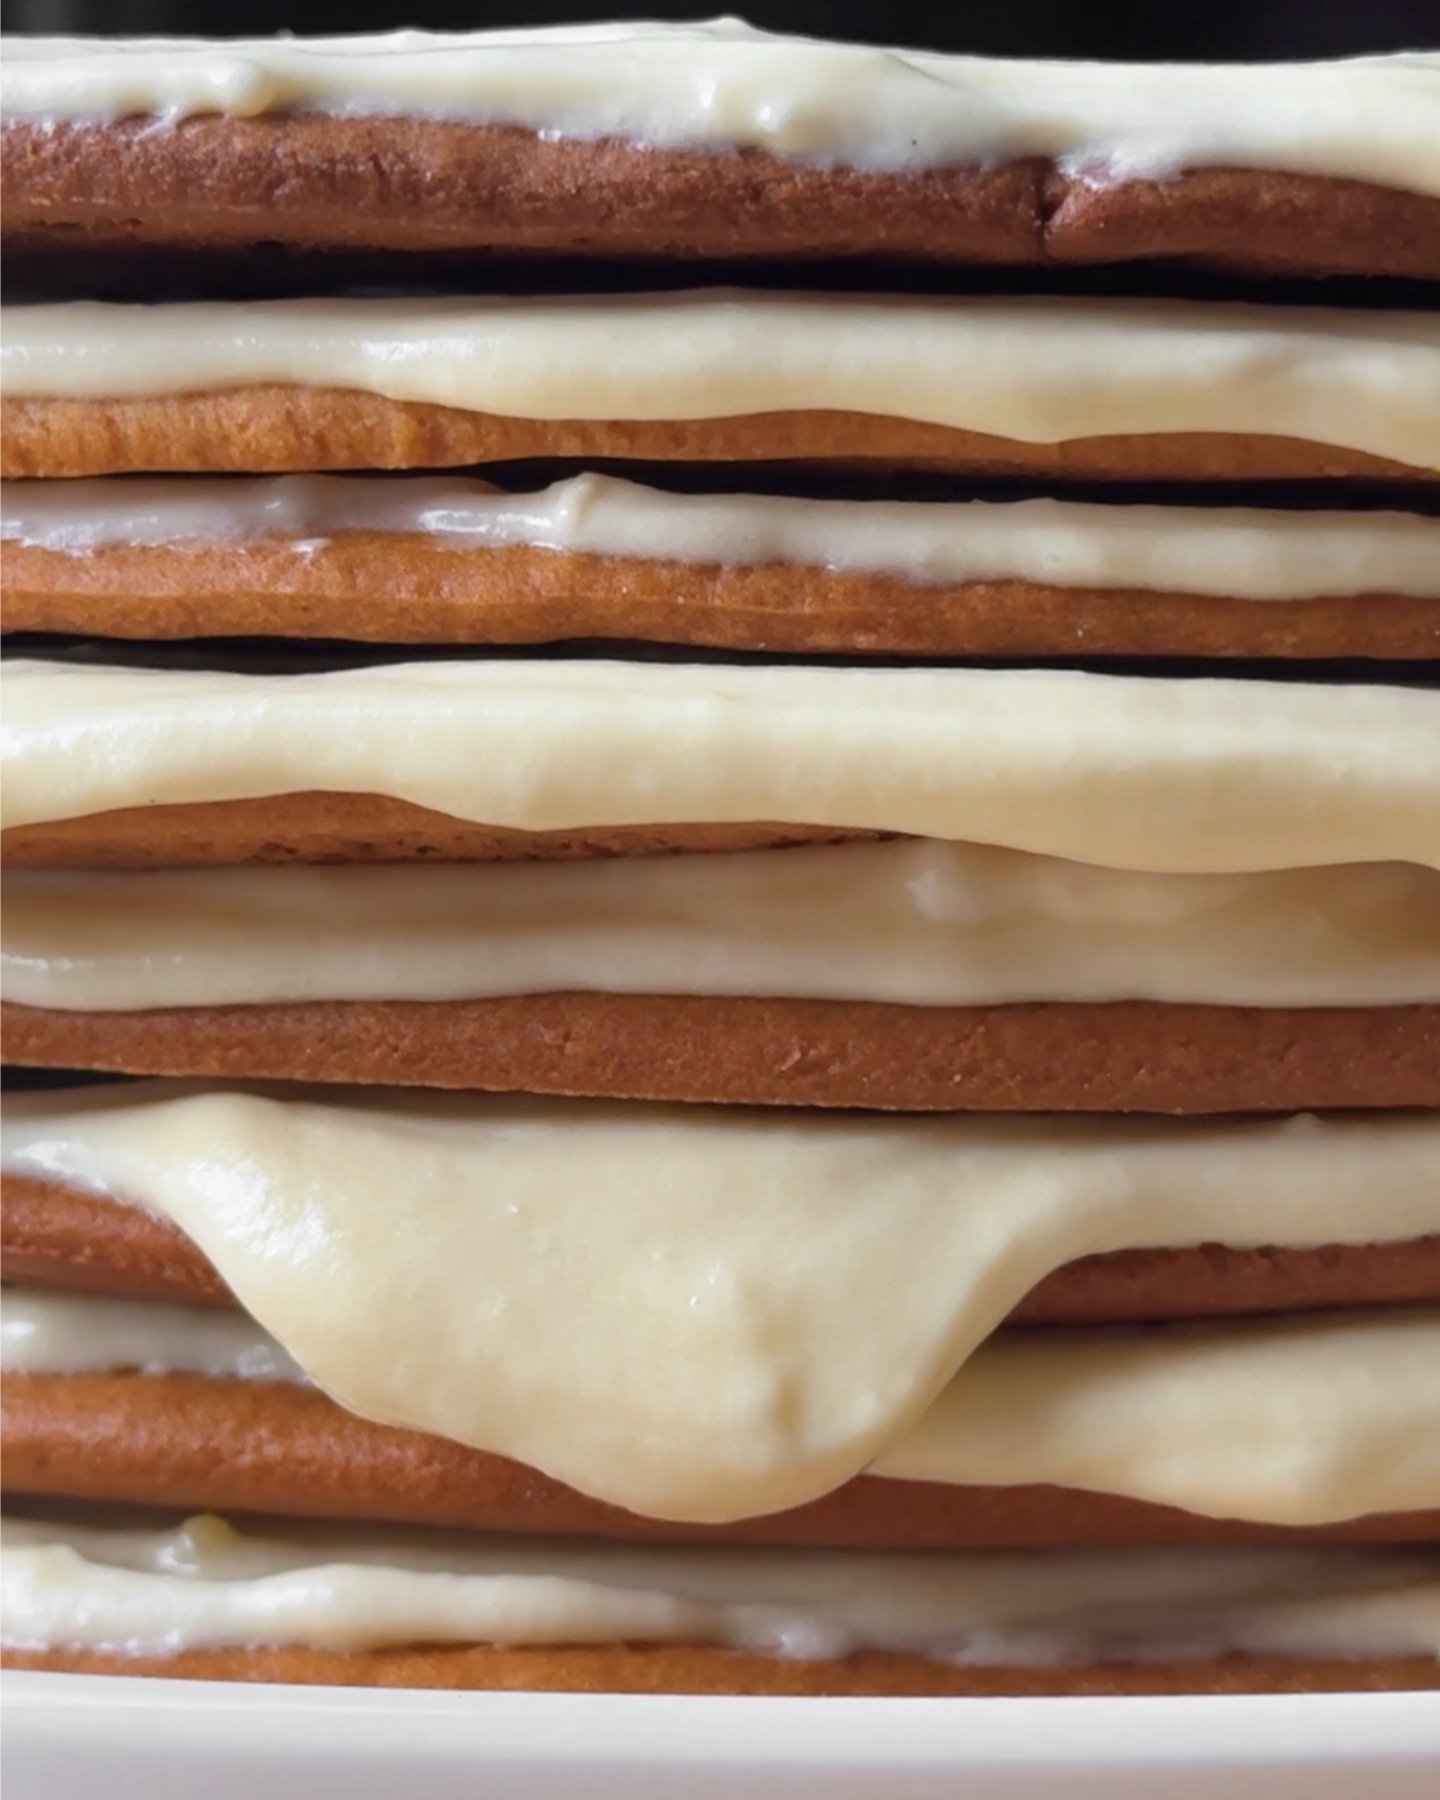
Place the first cake layer onto a serving plate or cake stand. Spread a generous amount of custard cream evenly across the surface.
Repeat the process with all remaining layers, stacking them carefully one on top of another.
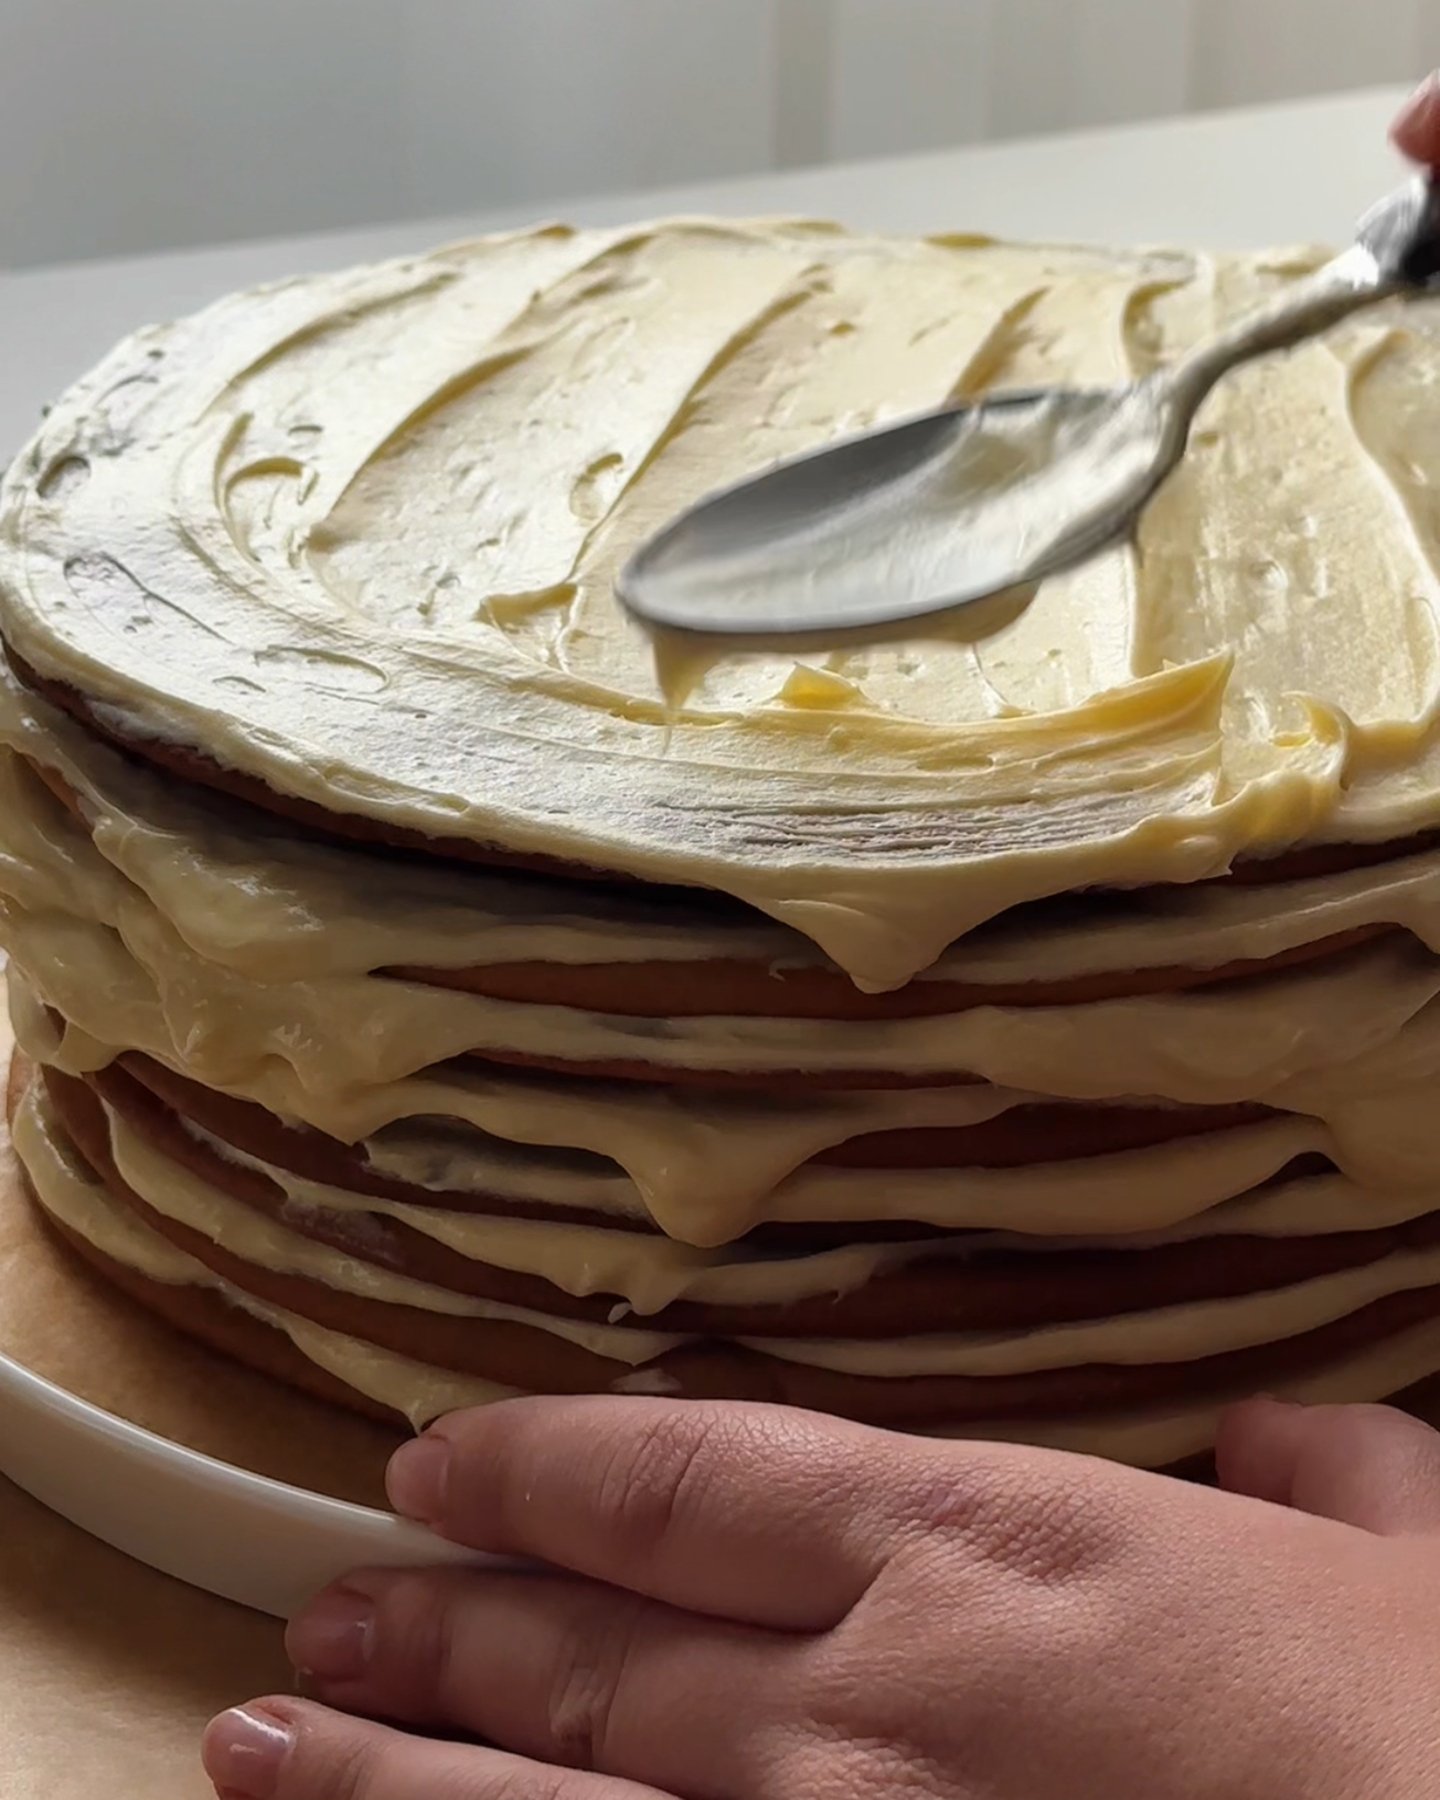
Once assembled, cover the top and sides of the cake with the remaining cream.
Step 8: Decorate and Chill
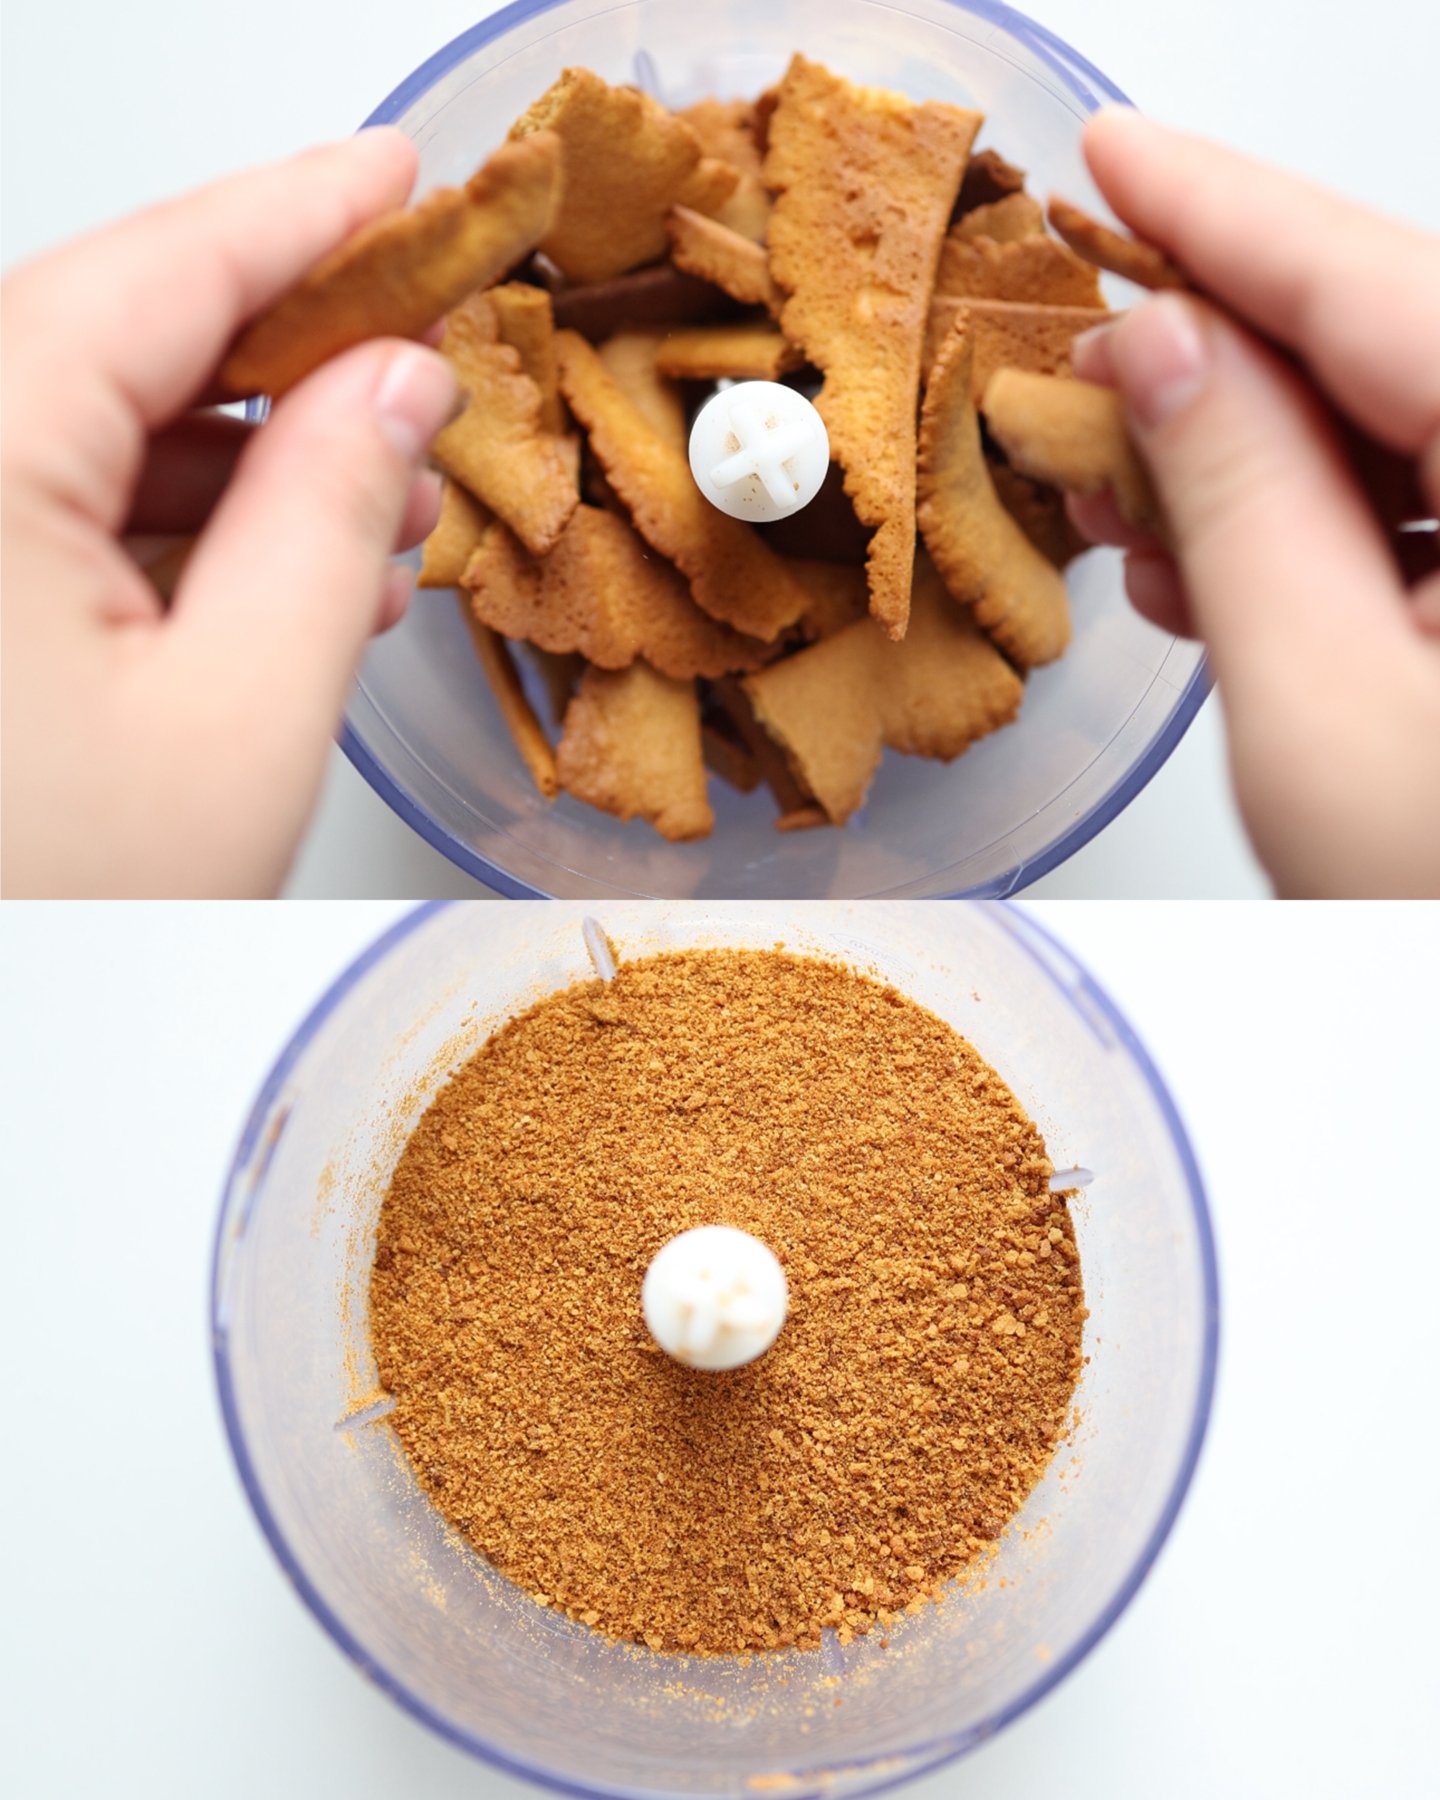
Crush the baked cake scraps into fine crumbs using your hands or a food processor.
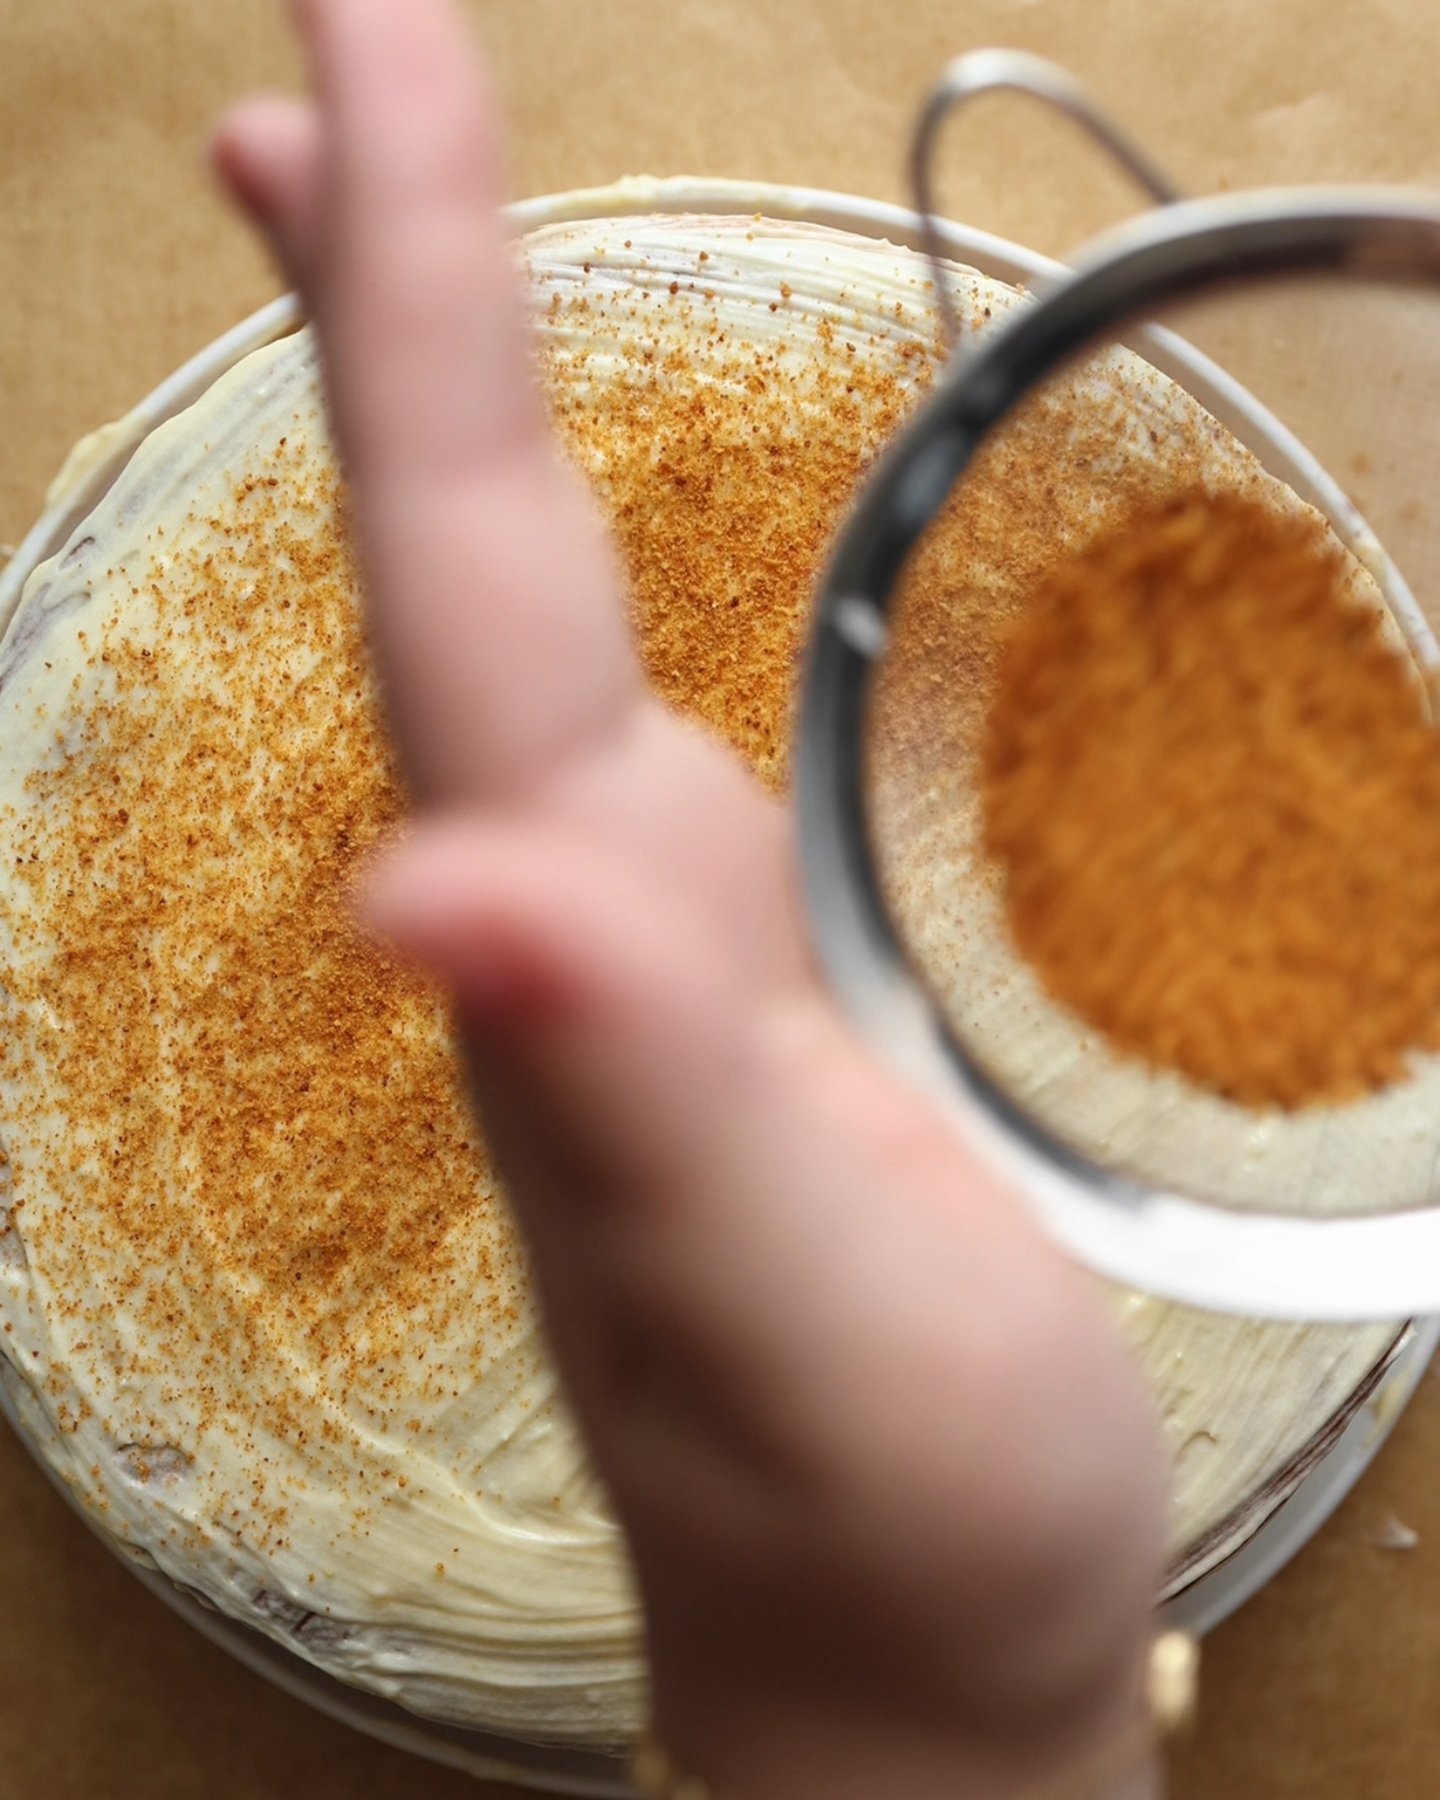
Sprinkle the crumbs generously over the top and sides of the cake until fully coated.
Refrigerate the Honey Cake for at least 6–8 hours, preferably overnight. This resting time allows the layers to soften and absorb the cream, creating the signature melt-in-your-mouth texture.
Recipe Variations
- Softer cream: Add cornstarch for a silkier texture
- Less sweet: Reduce the sugar slightly in the cream
- Sour cream version: Replace part of the custard with sour cream frosting
- Chocolate twist: Add cocoa powder to some of the cake layers
- Berry filling: Add raspberries or cherries between the layers
How to Store & Serve
- Store the cake covered in the refrigerator for up to 4–5 days
- The cake tastes even better after resting overnight
- Serve chilled or let it sit at room temperature for 15–20 minutes before serving
- Do not freeze fully assembled custard cakes for best texture
Frequently Asked Questions
Why does Honey Cake need to rest overnight?
The resting time allows the cream to soften the cake layers, creating the classic tender Medovik texture.
Can I make the layers ahead of time?
Yes. The baked layers can be stored wrapped at room temperature for 2–3 days before assembling.
Why is my dough sticky?
The dough is naturally soft while warm. Refrigerating it makes rolling much easier.
Can I use a different cream?
Yes. Sour cream frosting, whipped cream frosting, or condensed milk buttercream also work beautifully.
How thin should the cake layers be?
They should be rolled quite thin since they puff slightly while baking.